Are you looking for an easy way to display a collection of images on your WordPress website? Well, keep reading then! Images are a great way of presenting content like photography or modeling portfolio, pictures of an event, a house or cars for sale or even product images on eCommerce sites.
Gutenberg, the default WordPress editor has a built-in block to create an image gallery but it provides very little customization options. So you might be in search of something like Gutenberg gallery plugin or a way to build a Gutenberg image gallery. If you want to customize every aspect of your image gallery to your liking, Qubely Pro’s Gallery block is the perfect way you can do so. In this tutorial, we will show how to do it in a few simple steps.
Step 1: Install and Activate Qubely Pro
To install Qubely Pro on your WordPress site, go to the Qubely page on Themeum, and log in (sign up if you haven’t already). You will find a “Go Pro” button on the right side of the page. Select which license package you want, and then proceed to Checkout. When you are done with checkout, the order will be processed. As soon as your download is ready, head over to your Themeum dashboard. You will then be prompted to download a “.zip” file. You can then move to your WordPress admin panel, then hover over plugins, and click on Add New.
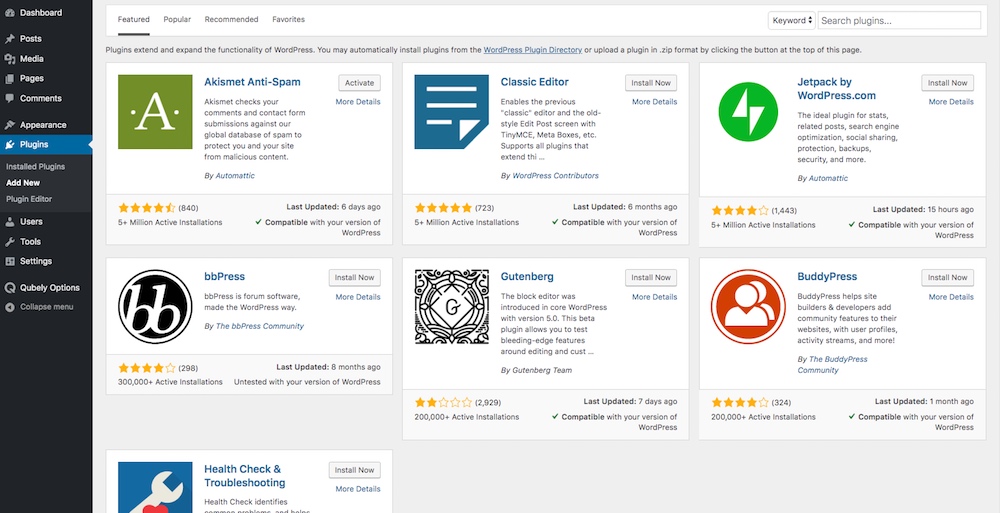
To use Qubely Pro, you must install its free version beforehand. So let’s do that right now. On the Search Plugin box, type in Qubely to find the free version, then click “Install Now” and then “Activate” to activate Qubely free.
After that, we need to add the Pro version. Head over to the “Add New” plugin section, then on top, you will see an “Upload Plugin” button. Click on it and a prompt window will ask you to upload the “.zip” file you just downloaded. Upload it, and click Install Now to install Qubely Pro. Then click on Activate Plugin, and you’re done!
After adding and activating Qubely Pro on your website, you can use the Qubely Gallery block on an existing page/post or simply create a new page (or post).
Step 2: Insert Qubely Pro’s Gallery Block
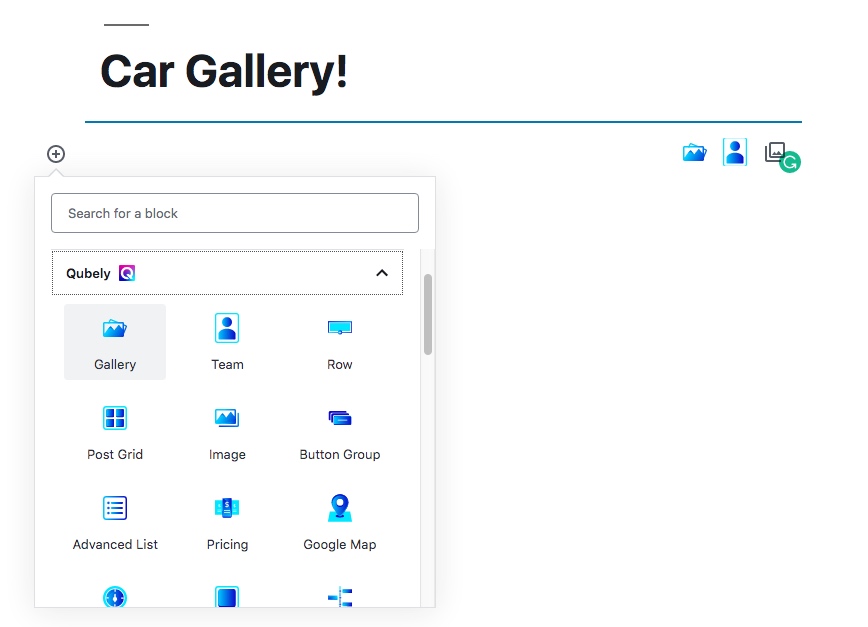
In the Gutenberg editing interface on any post or page, press the plus (+) icon to add a new block. Scroll down to the Qubely section, then select the Gallery block.
Step 3: Add Images to the Gallery
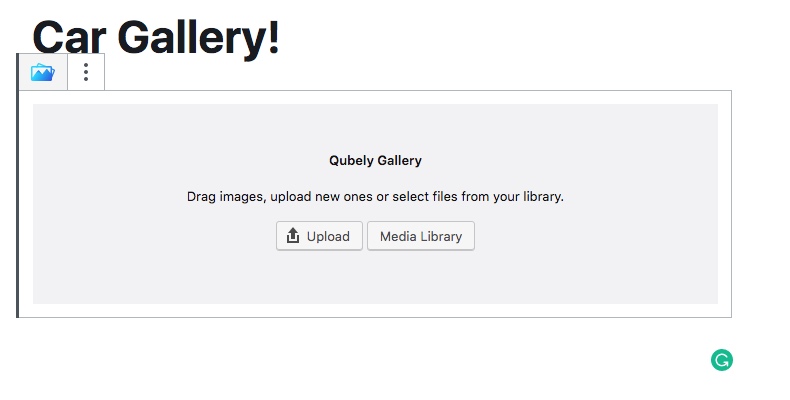
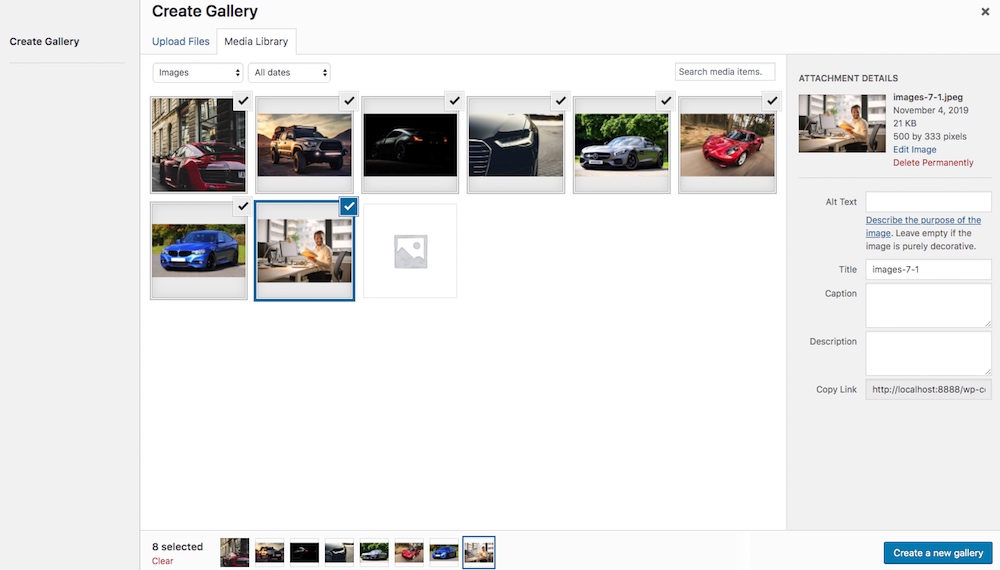
After inserting the Gallery block into your page/post, a prompt will ask you to either upload new images or select from your WordPress media library.
Once you upload or select image(s), you can edit the meta-data of the images such as alt-text. An alt-text will allow search engines to index these images for SEO purposes. After uploading the images, click Create a new gallery > Insert Gallery button.
You’re all set! Now you can utilize all the block settings options to customize all aspects of your image gallery.
Step 4: Customize and Style the Gallery
Tweaking the General Settings
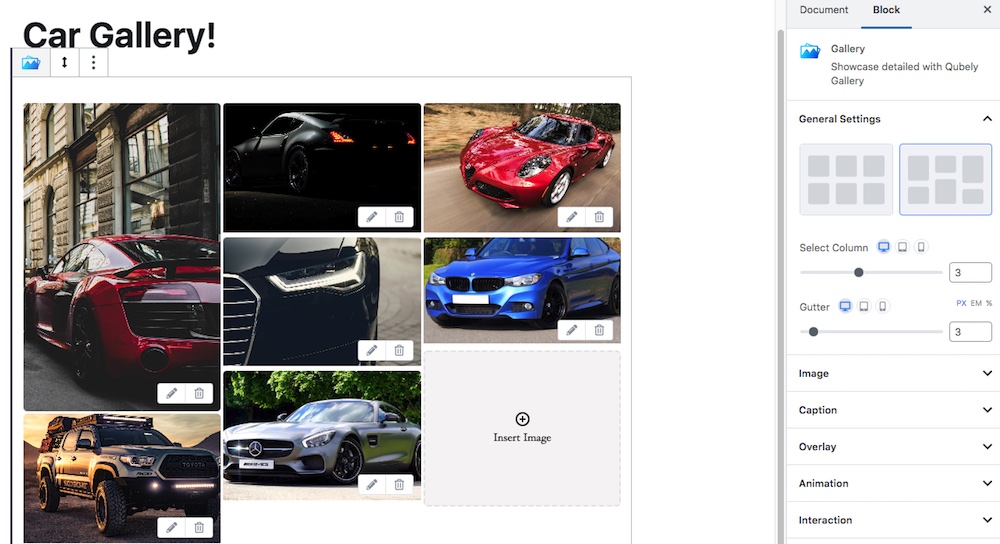
The general settings options can be used to change the layout of the gallery. Currently, there are two default gallery layouts. You can use whichever you like. In this tutorial, I’ve used the second one. Here you can define the number of columns along with the gutter (space between columns). You can also change these settings for all platforms regarding responsiveness.
Tweaking the Image Settings
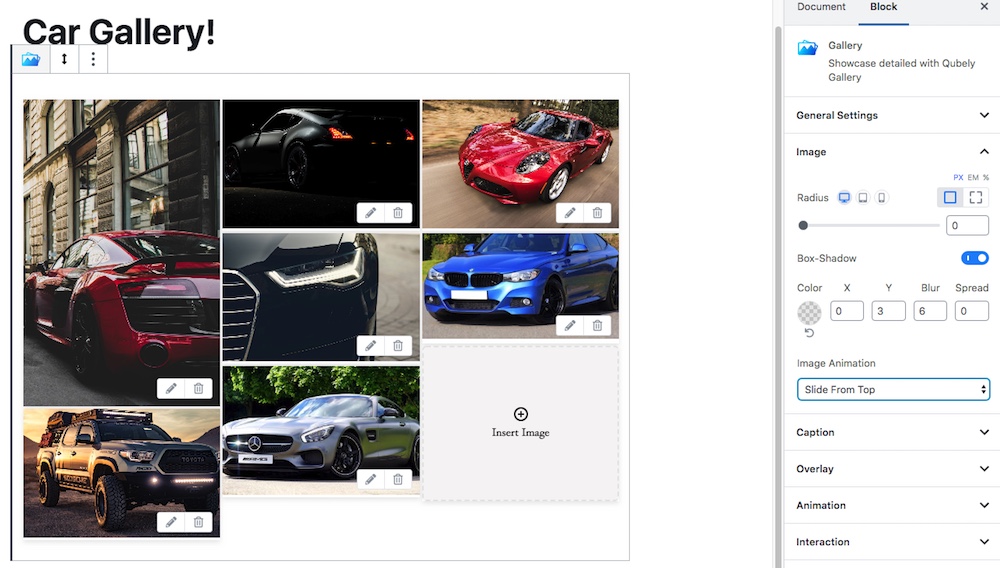
Radius: Shave the corners! Whether you want soft corners or sharp ones, it’s up to you. Increase the radius to give the pictures a more aesthetic look, but don’t go too far, otherwise, you’ll end up with a circular image. You can also add a Box-Shadow effect to your images, and edit its color using the Color panel. For this particular gallery, I set the radius to 0 and a short dark shadow, An image animation can also be applied that will animate the images when the cursor hovers over it. There are 7 options at present, and I like to use the “Slide from left” animation.
Adding Captions
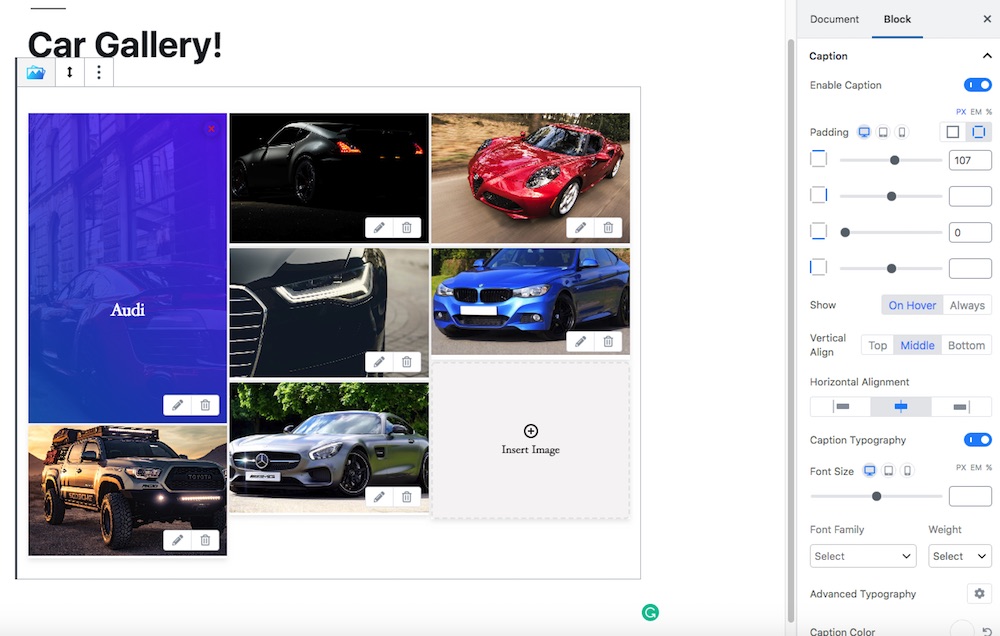
Captions provide a super-short description of the image. Any caption added while adding the image will be imported here. Now you can change the font styling, positioning, and typography to fit your needs. Paddings can help position the caption on the image, and I like to position it in the lower half to make it less intrusive.
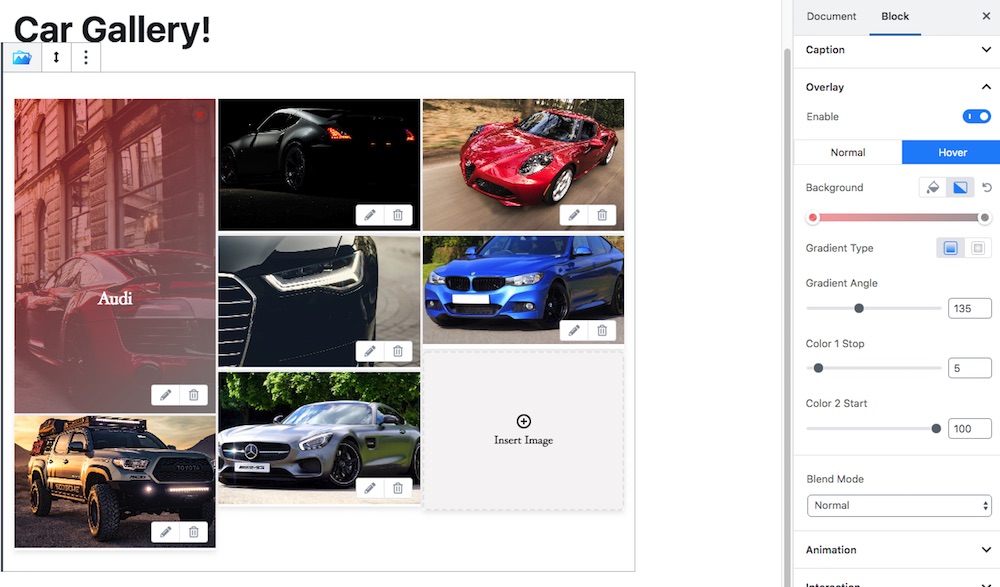
Adding an Overlay Color
An overlay color can be added from the Overlay section. To do so, move to the hover tab in the menu, and then choose a desired overlay style. I’m a fan of a red-grey theme so I changed both colors to a red-grey overlay.
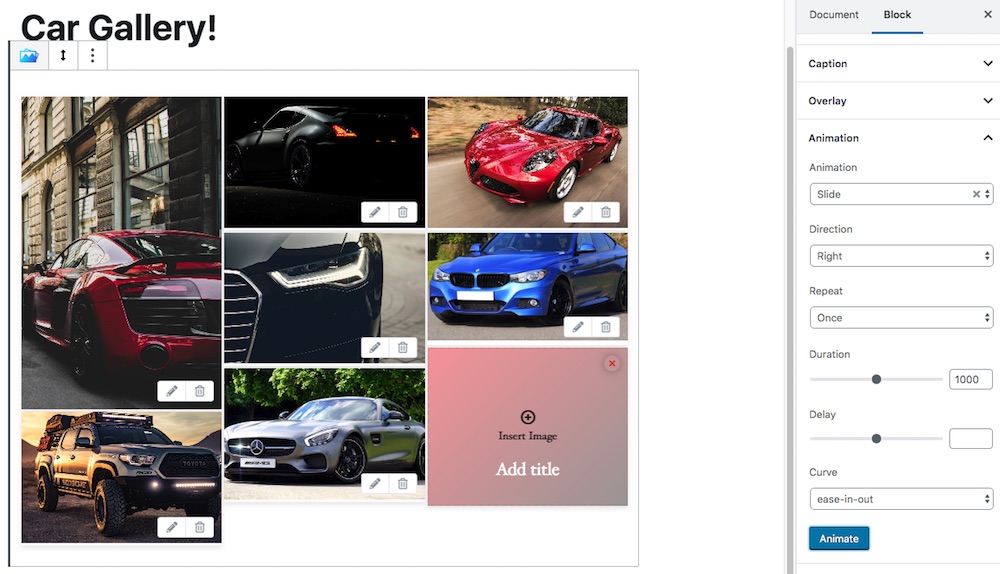
Load Animation:
You can add a loading animation to the entire gallery. This will help make your gallery more lively and interactive. There are 7 preset animations as well as some settings to tweak the animation duration and delay. You can also test the animations directly from the settings panel.
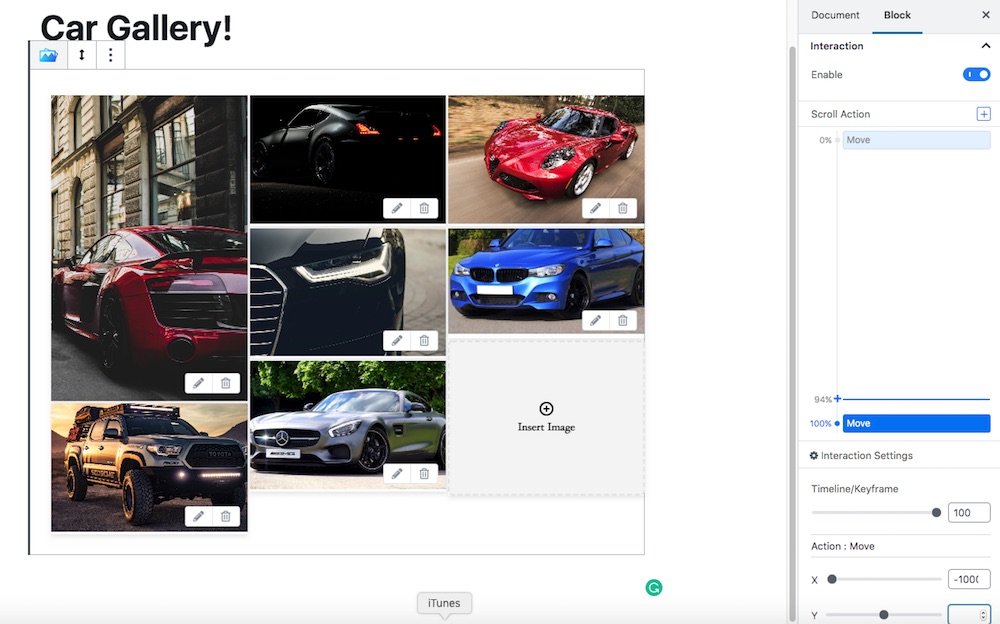
Interactions: More Movement!
This panel contains options to add interaction effects to your gallery. I like to add a scrolling action to do a desired animation as the user scrolls by the gallery. Change the settings as such to get a nice right to left swipe effect!
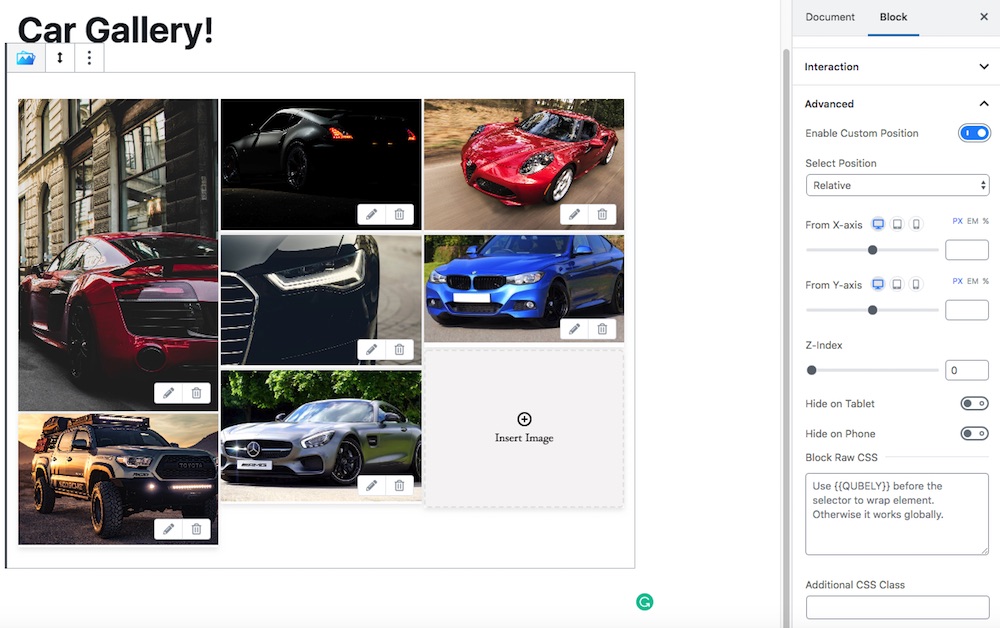
Advanced Options: This panel has some in-depth user settings for adding custom positions as well as configuring the Z-index of the block. Besides that, you can opt-out of providing this block for mobile and tab users with hide toggles. Moreover, if you still need any extra features, you can add additional CSS classes to the block.
The Output
So, we’ve successfully created an image gallery on WordPress using Qubely Pro’s Gallery block. And here’s the output.

It’s all done! Now you can go ahead and check the preview. If everything looks okay, then save the changes by updating (or publishing) the page/post. Your brand new image gallery is now ready to share with the world. To get more useful tutorials, please subscribe to our newsletters and follow us on social media. Have a great time!