Docent Pro Options
This section will provide you an in-depth guide on how to use the Docent Options. To access the Docent customization page, go to Dashboard > Appearance > Customize > Docent Pro Options.
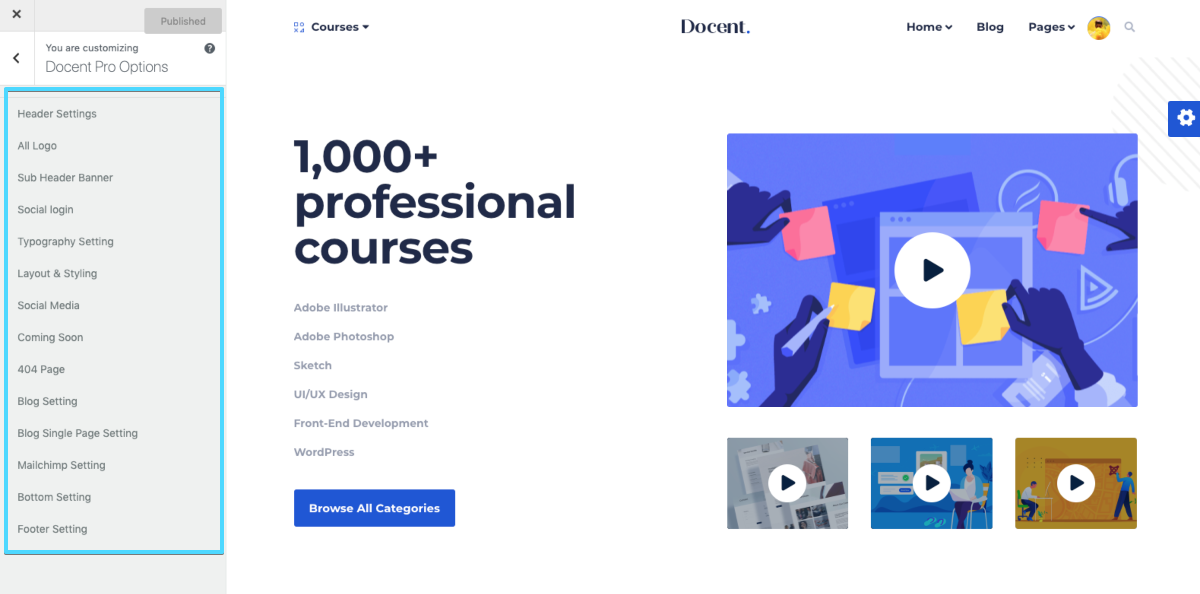
Here is a screenshot of the Docent Options page. The default settings are shown in the following image.
Header Settings
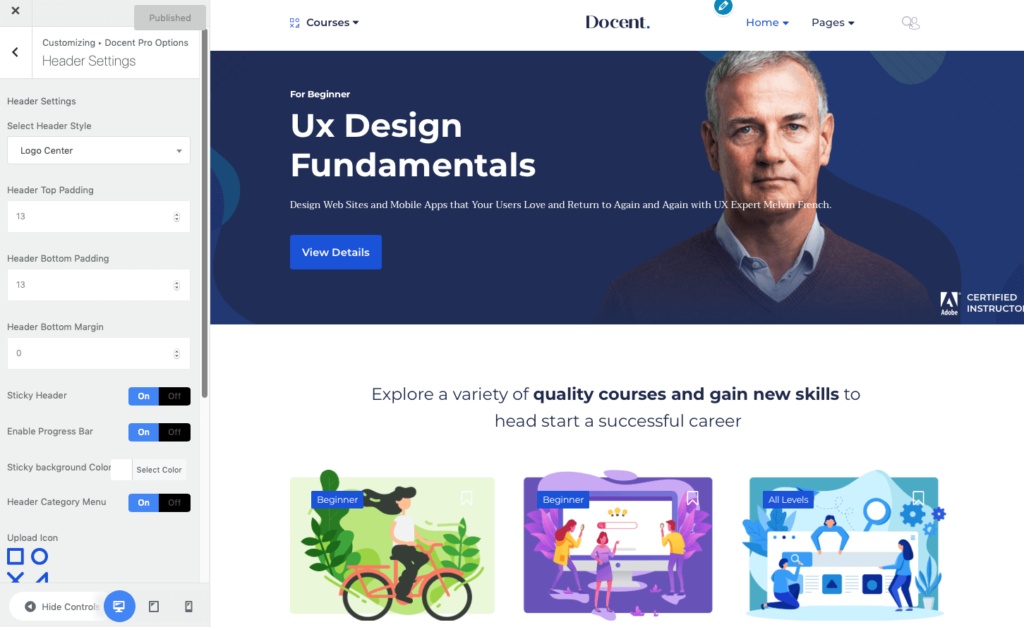
Select Header Style: Choose from a set of 2 different layouts. One being where the logo is at the left side of the page and one where the logo is on the right side.
Header Padding and Margin (Top & Bottom): If you want some vertical spaces on the top and bottom of the menu, you can use these fields. The values are in pixels.
Sticky Header: If you enable this option, the menu will stick to the top of the browser window when you scroll down a page.
Enable Progress Bar: The header bar in Docent comes with a default progress bar. Turn this feature OFF if you want to disable the progress bar.
Sticky Background Color: This is different from the header background color. The header background color is applicable when you are at the top of the page. This color will be visible on the menu when you are scrolling down.
Header Category Menu: with Docent you can show all your categories in the header and give it a custom name.
Upload Icon: Upload an icon that will be shown beside the Header category button on the menu. Simply upload your image file using the WordPress media uploader and it will show up on the header category.
Category Menu Label Text: Set the text of the header category menu. Use the text box to write your desired text.
Header Search Enable: Enable or disable the search option for the user on the header section of the theme.
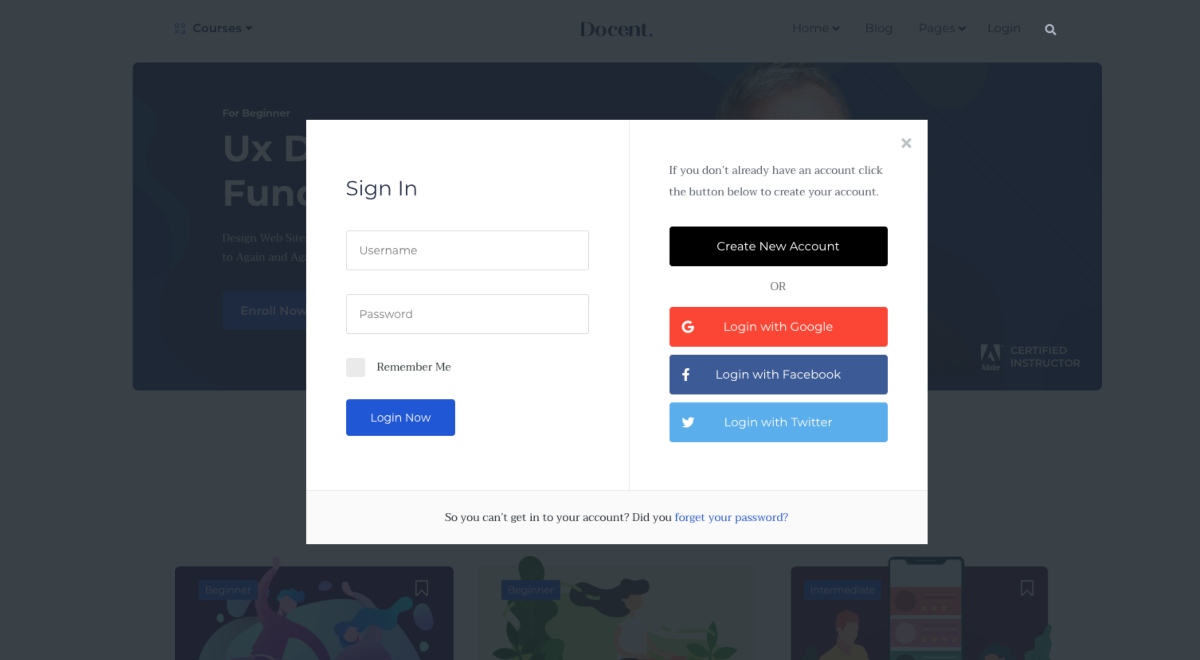
Header Login Enable: Enable/disable the login function for the users on the header section of the theme.
Login Text: Set the text for the Login option in the header menu of the theme. Use the text box to set your desired text.
All Logo options
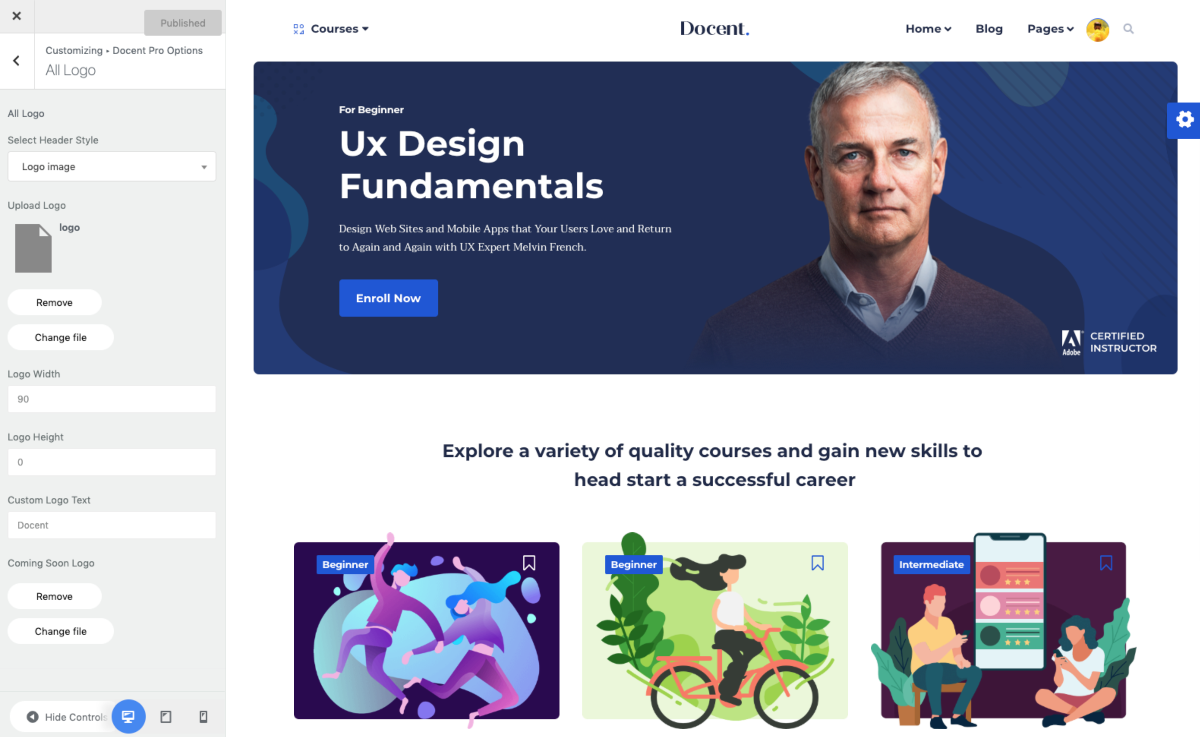
This section will let you set everything related to your website logo. You can define whether an image or text will be used as the logo and customize them.
Select Logo Style: You can have text or image as your site logo. Define the type using this feature.
Upload Logo: If you’ve chosen image type for the logo, you need to upload it from here. The supported file types are jpg, svg, png.
Logo Height and Width: You can set a fixed value for the logo height and width. Leave the field blank to get the default image site automatically.
Custom Logo Text: If you’ve chosen text type for the logo, you need to write down the text in this field.
Coming Soon Logo: You can upload the logo for the Coming Soon page of your website using this feature.
Sub Header Banner
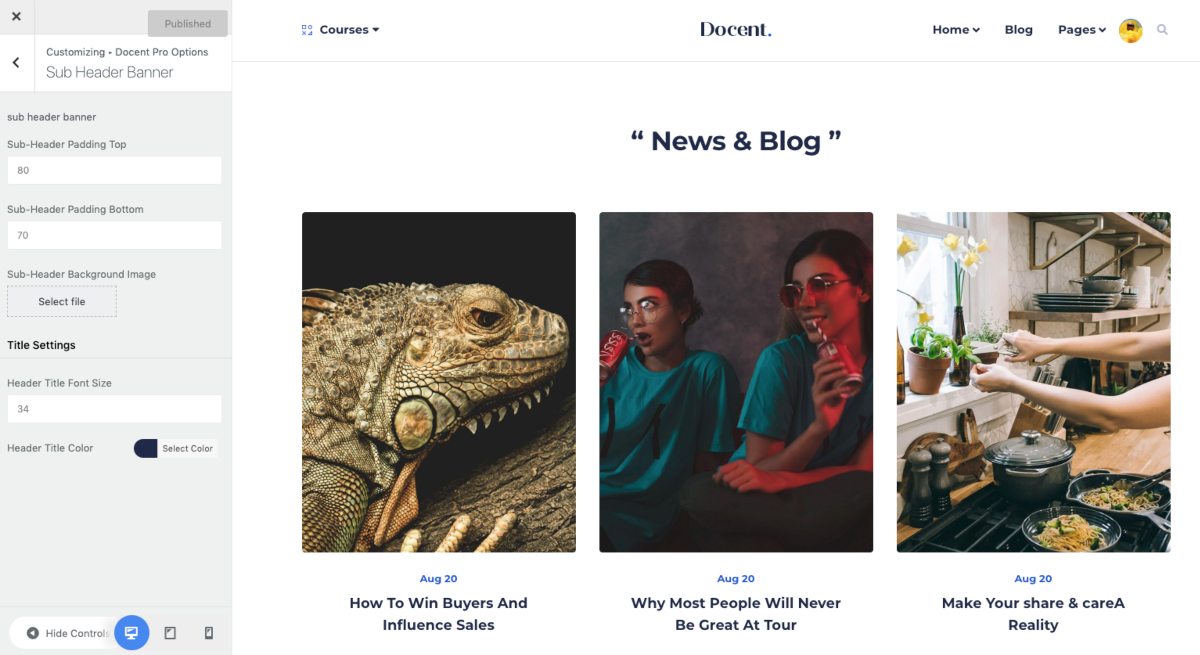
You can control the sub-header banner settings for your site from this section. You will have the options to set a background image, control the padding/margin and set the size or color for the title text.
Social Login
With Docent theme, you can get your users to sign up with their social media accounts, this saves them from the frustrating traditional signup methods.
Enable Social Login: Turn this feature on to enable social media login along with traditional email sign up process.
Google Login Client ID: To enable your users’ login with Gmail, you need to get a Google Login Client ID. You can head over here to get more insights.
Facebook login App ID: To enable your users’ login with Facebook, you need to get a Facebook App ID. You can head over here to get more insights.
Twitter Login Consumer Key/Consumer Secret/Auth Redirect URL: To enable your users’ login with Twitter, you need to have these credentials. You can head over here to get more insights.
Typography Settings
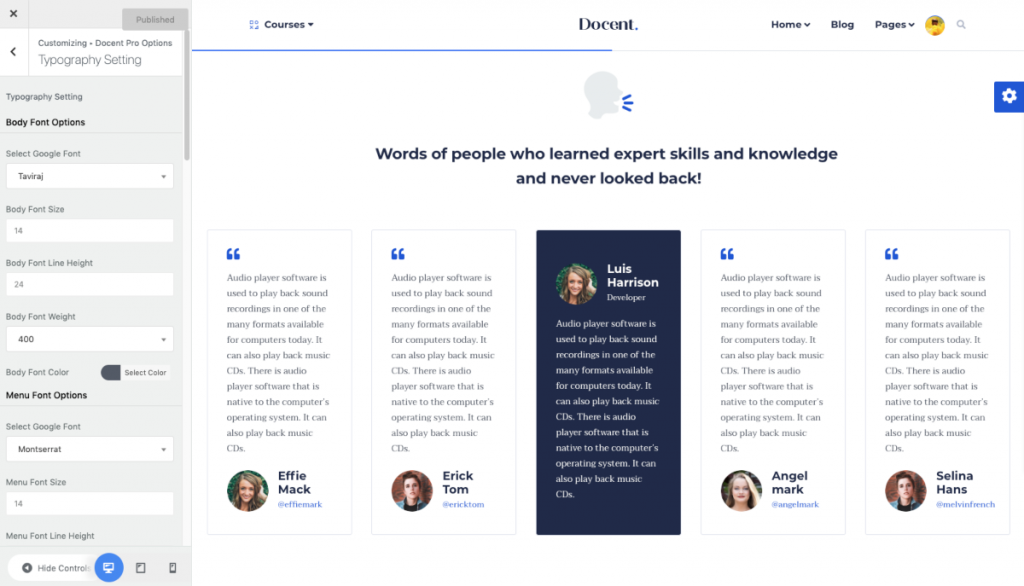
On this page, you can change your site’s font-family, font size, font weight, font color etc. 600+ Google fonts are added in this font selection option. Typography settings will let you customize the font options for the body, menu, and heading 1 to heading 5.
Layout & Styling
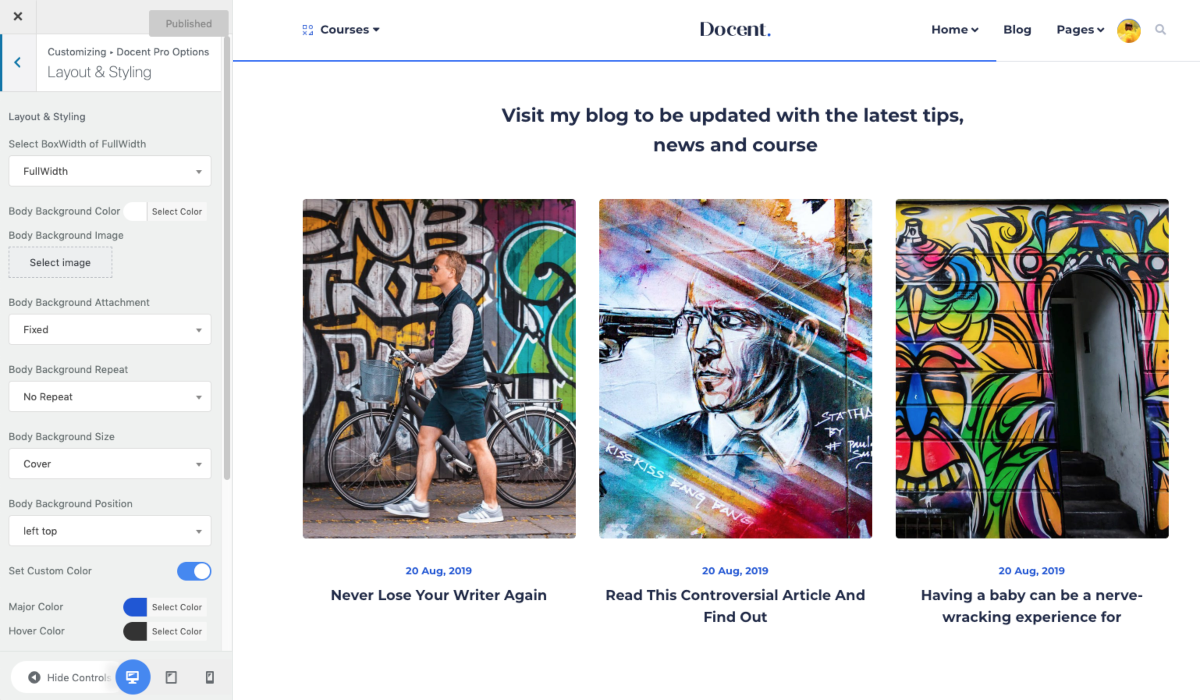
These options manage the layouts and color variations of your theme. There are two types of layouts available for you to choose from: BoxWidth and FullWidth. You can choose a color or image for the background and control its styling. You can also take control of menu and sub-menu content color styling.
Coming Soon
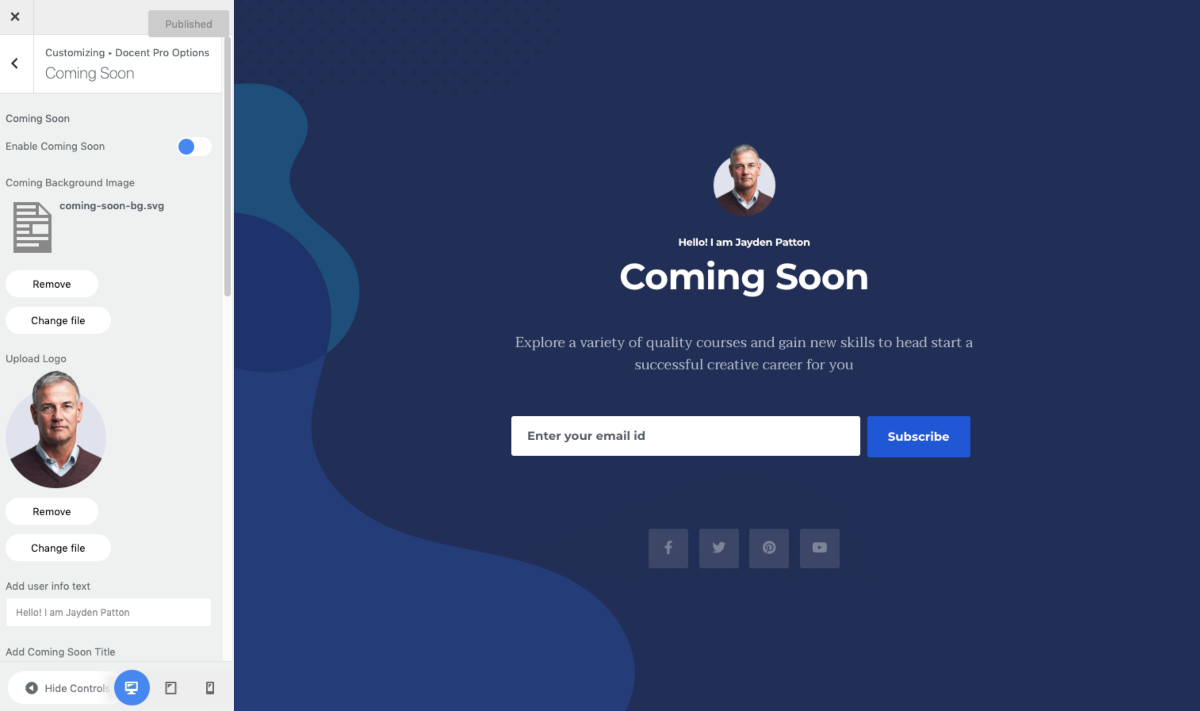
We’ve provided a coming soon page template with a few customization options. You can change the background image/ or set the color, change the title/address, define the estimated arrival time and put social media links. To set turn on the coming soon page, click on Enable and hit the Publish button from the top.
404 Page Setting
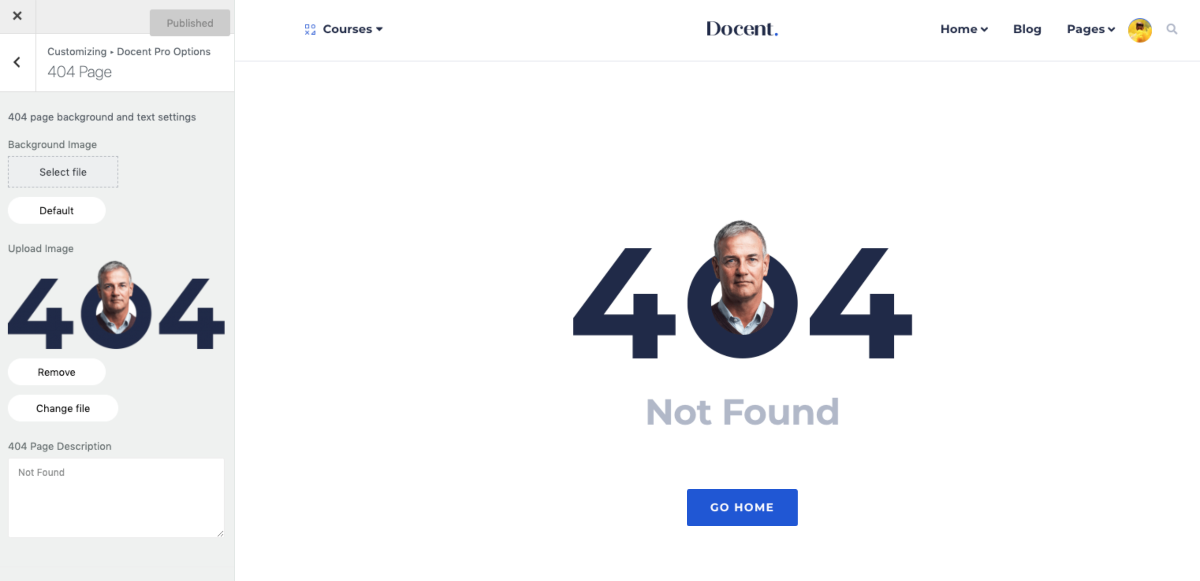
We’ve provided a preset 404-page template. You can either choose a background image or a color. Set the page title, description, and the button text.
Blog Setting
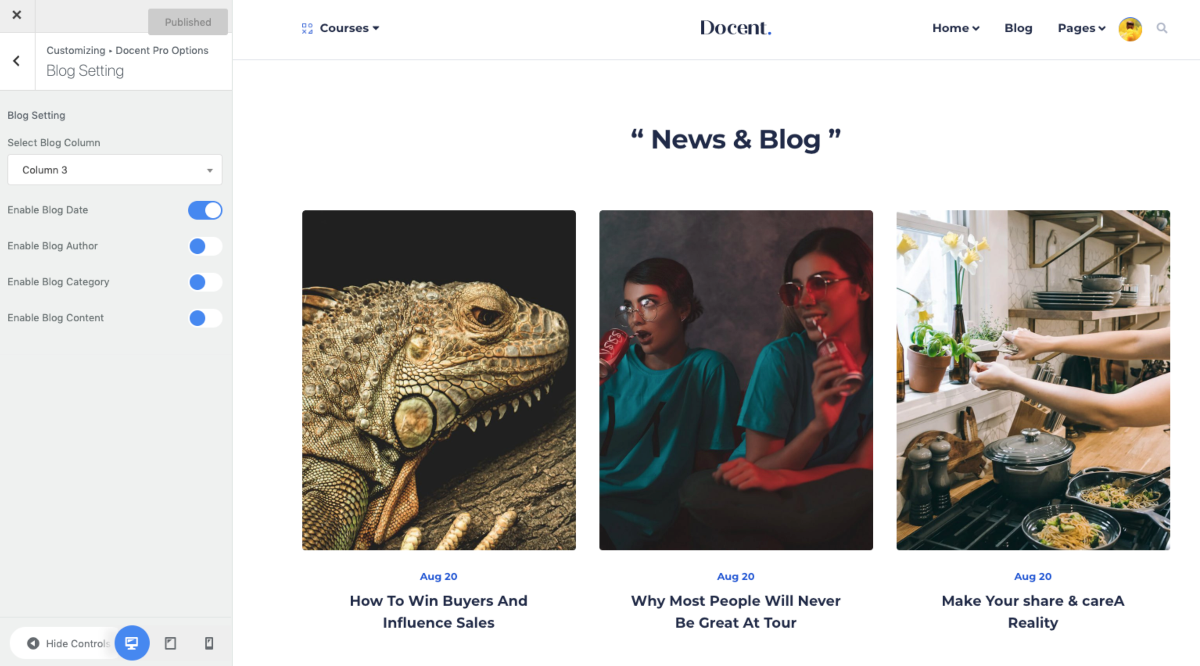
This section controls the look and feel of your website’s blog. Set the number of columns of the blog section here. You can determine whether the blog pages will show page views, categories, authors, date etc. Enable or disable these options here as you want them to be.
Blog Single Page Setting
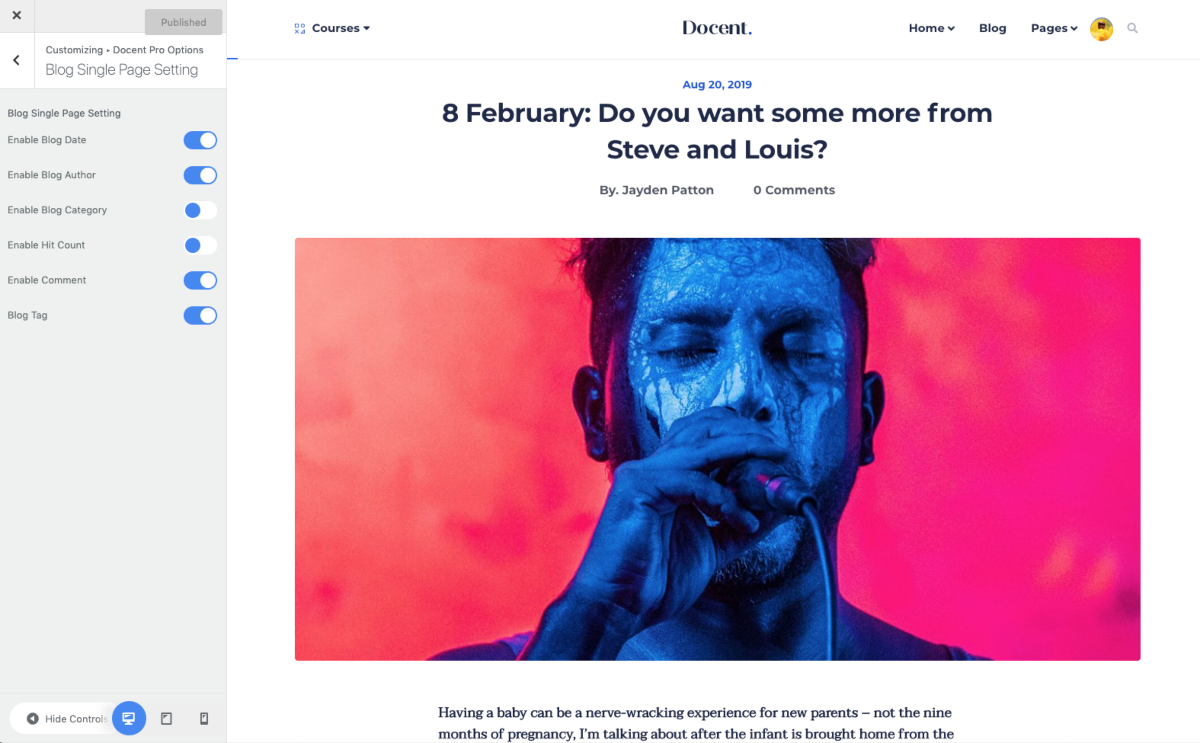
This section helps you customize attributes to your blog single pages. You can choose whether you’d like to enable the blog sidebar or not. You can also control the display option for publishing date, author, category, tags, hit count and comments.
MailChimp Setting
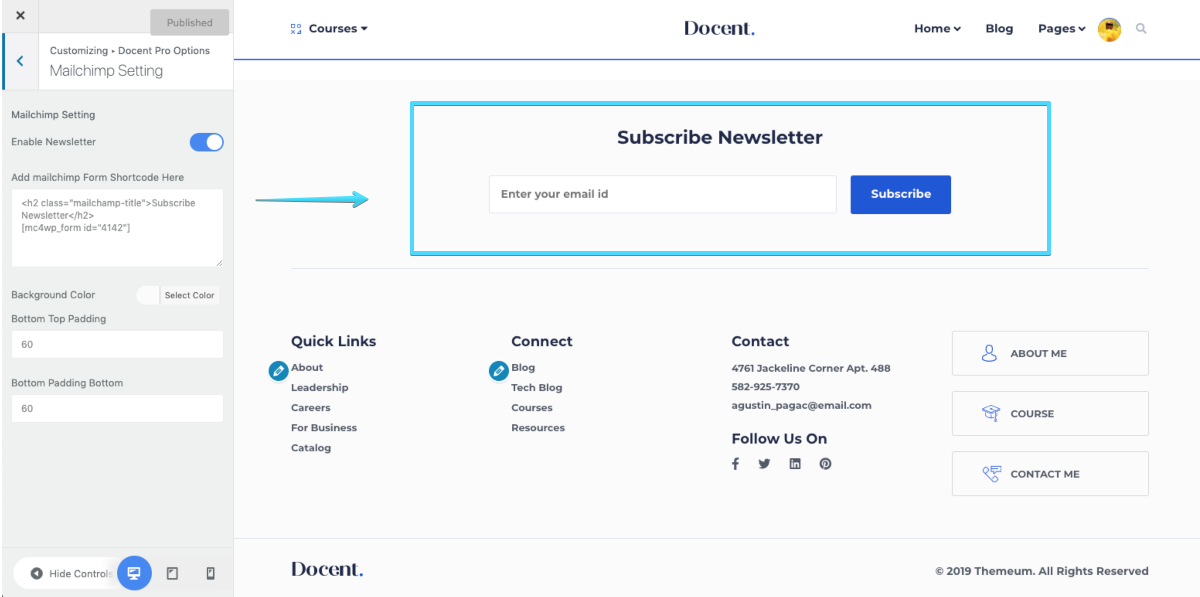
Enabling newsletter adds a MailChimp form that was created when you imported demo data. The shortcode can be found from Dashboard > MailChimp for WP > Form > you’ll find the shortcode written something like [mc4wp_form id=”4142″]. Copy that shortcode and paste it here to showcase newsletter subscription section on your frontend.
Bottom setting

Docent options allow you to personalize the bottom settings of your website that goes perfectly with your design. You can enable the bottom area and customize the background color, title color, link color, link hover color, text color, etc. You can also take control of the top and bottom padding.
Footer Setting
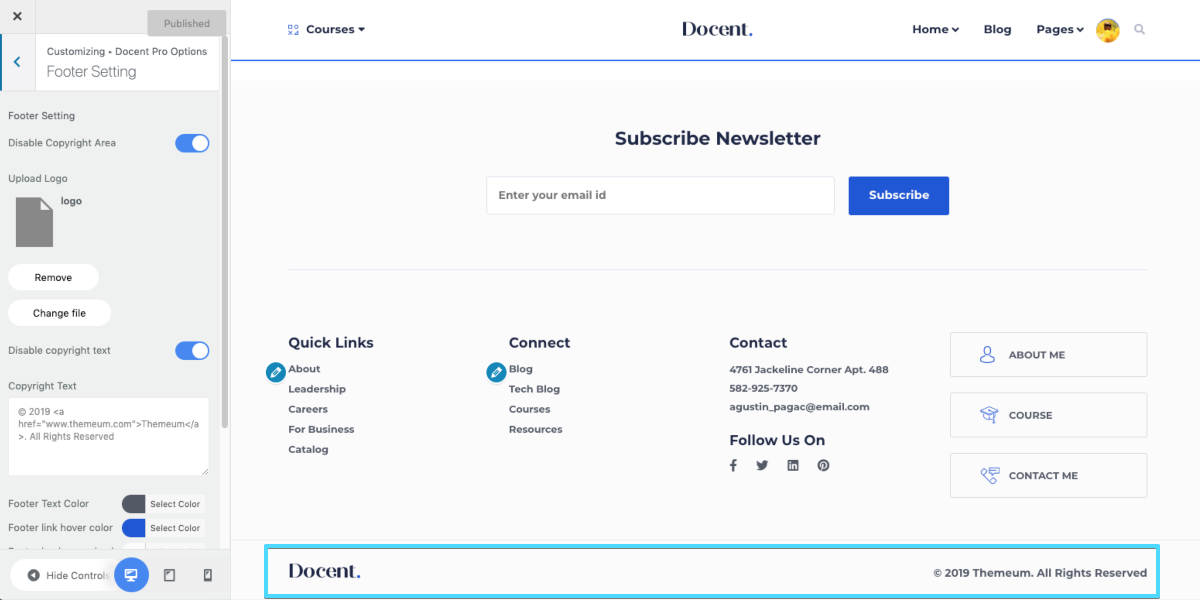
If you want to show some texts (e.g. copyright notice) on your website footer, turn on this option, define the padding values and set the stylings. You can enable/disable/customize your website copyright text from here.