Have you ever come across an eLearning course and felt like, “Ugh, was this designed in 1995?”
You might feel that because of outdated content, poor outline design, or something else. Whatever the reason, you definitely don’t want your online students to feel the same about your course, right?
That’s why you must develop your eLearning course in the most planned way possible. But, developing a pitch-perfect online course isn’t as easy as it sounds. It requires hours of patience, steadiness, enough resources, and most importantly a proper planning.
However, planning the whole online course might get a little bit messy only if you don’t maintain a proper eLearning storyboard. So, today we are going to explain almost everything you may need to create a storyboard for eLearning.
Sounds not so bad, right? Let’s start.
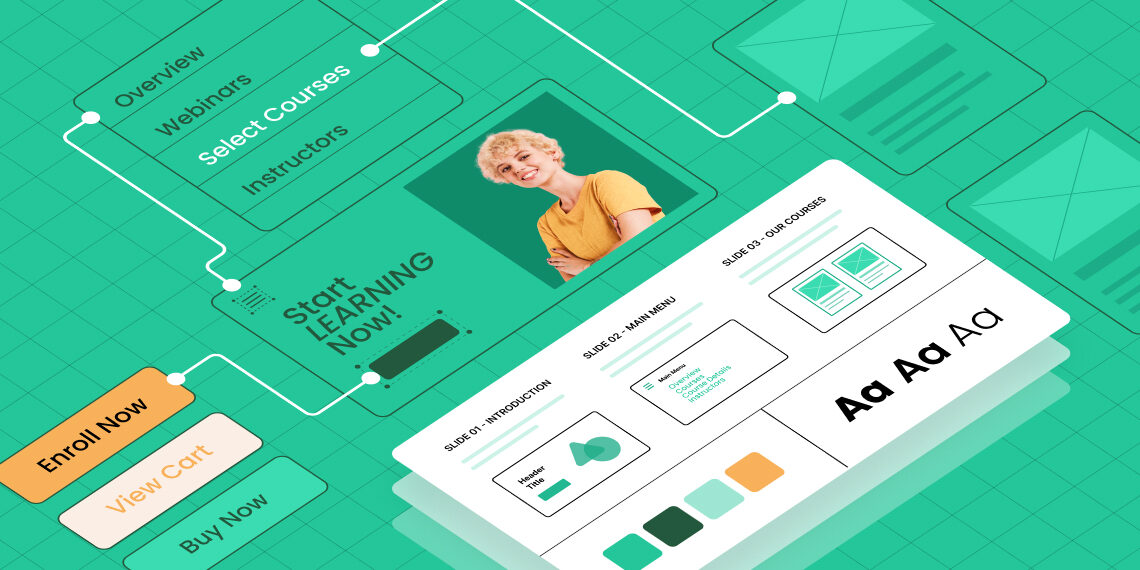
What is an eLearning Storyboard?
As the name implies, the storyboard is nothing but a board….like a virtual whiteboard. The online trainers use this storyboard to design the course content, visual content, topic interactions, slide or screen navigation, etc. Overall, it serves as the blueprint of an entire online course.
Why is Storyboarding Important in eLearning?
Creating an exquisite storyboard is like wireframing an online course. There are hundreds of reasons to use eLearning storyboards. Here are some of the top reasons:
- Content clustering: Clustering is the process of grouping similar content together. It helps to design the content outline in an organized way. If you create an eLearning storyboard, you’ll have the whole content plan in hand. Thus it makes the clustering process easier than ever.
- Visualizing training wireframe: Storyboarding the whole course plan helps the instructor to understand how the course will look in its final form. So, you can plan to renovate the whole course curriculum even before launching your online course. It helps to improve the learners’ engagement with your online course.
- Organizing course content: Every section or slide of your storyboard represents an idea or lesson of your online course. Thus, creating an appropriate storyboard will help the instructors to organize the whole course curriculum.
- Save time: It does take time to create a perfect storyboard. But if you see the bigger picture, you’ll realize that storyboarding actually saves time. Creating course content and making changes on the fly distracts the course instructors. On the contrary, designing the entire course first will reduce the possibility of making mistakes even on larger projects. Overall, storyboards save you time in terms of project completion time.
- Team collaboration: As an instructor, you might have a team of several subject matter experts to design the whole course content efficiently. Creating a storyboard will help the other team members work on the same project with ease.
Most importantly, you can use the Tutor LMS course monetization feature to share the revenue with your team members. So, everything will work like a charm, from content planning to generating revenue, if you use storyboarding with Tutor LMS.
Overall, it seems like using storyboarding with Tutor LMS will make your course development and monetization process work like a breeze from day one.
What are the Main Elements of a Great eLearning Storyboard?
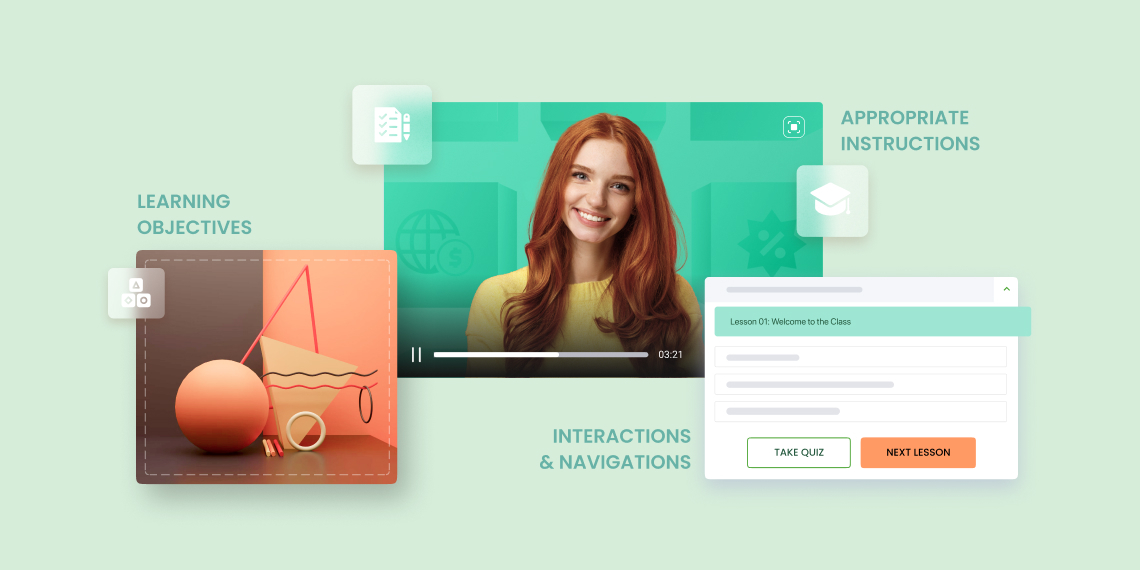
Every eLearning storyboard must have three key elements. These are:
- Learning objectives
Every storyboard should contain the course and lesson name with a slide label and title. A captive storyboard design with proper titles not only helps to identify the course module but also helps to keep the course in order.
- Appropriate instructions
While developing an online course, you may need to include different types of instructions like graphical content, text elements, audio or video instructions, etc. You should apply the same strategy while designing a storyboard too. Thus you’ll know when and which elements you have to include in your course content.
- Interactions and navigation
Describe your course interactions and topic navigation properly on your storyboard. Anyone who reviews your storyboard must understand what you’ll teach on that slide and what comes next.
Easy Steps to Create an Intriguing eLearning Storyboard
Now that we have explained almost all of the background information you may need to create an intriguing eLearning storyboard, it’s time to create a storyboard.
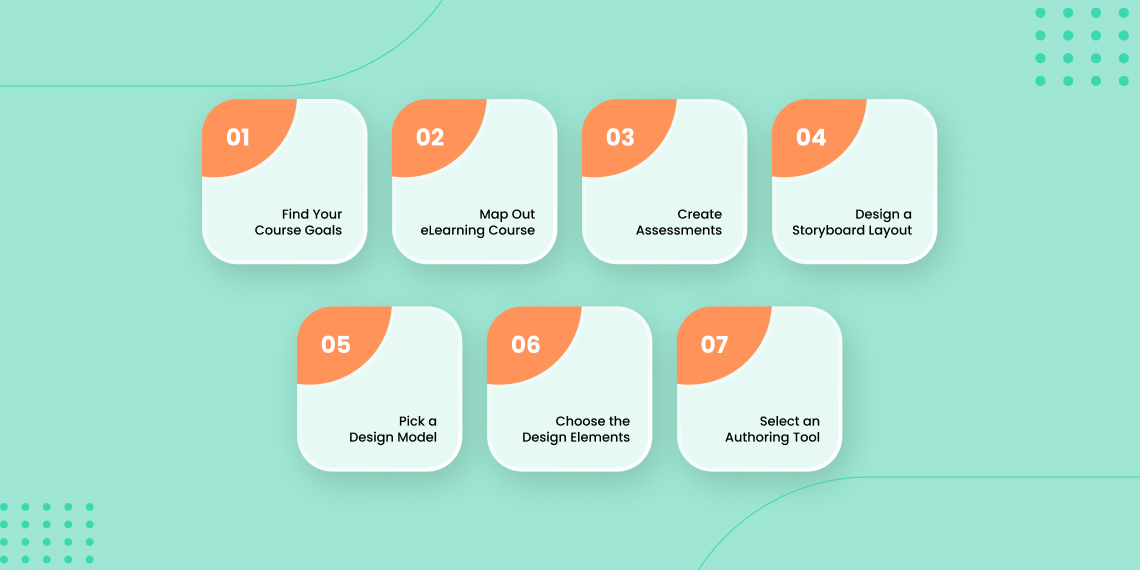
Here’s the step-by-step process of designing an eLearning storyboard.
Step #1: Find Your Course Goals
The very first step of creating an eLearning storyboard is identifying the target audience, aka learners, and their learning objectives. You may gather this information by researching the course topics. Simply try to find the answers to the following questions, and you’ll get to know the target audiences:
- What is this course?
- Why are you creating this course?
- How to engage the learners?
- What are the results learners expect from it?
Gathering the answers to these questions will guide you toward the actual goal of your online course.
Step #2: Map Out a Well-articulated eLearning Course
In the second step, you have to collaborate with the clients, stakeholders, a few students, team members, and subject matter experts to map out the course. Try to collect the following data in this step:
- Analyze the learners’ needs
- Identify the challenges
- Gather required information for course modules
Your answers to these questions will help to shape the entire storyboarding process.
Step #3: Create Qualitative eLearning Assessments
It’s important to find out what type of assessment suits the best for your target learners group. You might use different assessment tasks like short quizzes, descriptive questions, MCQs, etc in your course curriculum. It helps the students to evaluate their learning growth. However, you may also add lesson recaps or topic summaries at the end of your module.
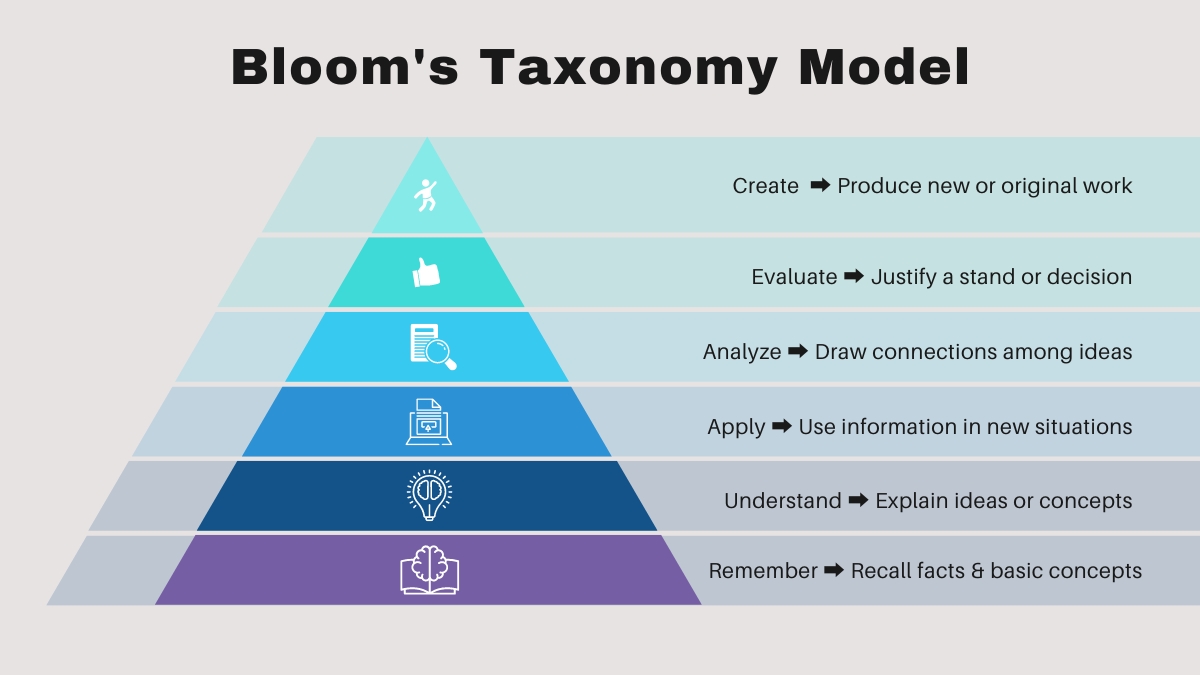
By the way, whichever assessment strategy you are following for your eLearning course, make sure that it aligns properly with Bloom’s Taxonomy. It helps the instructors to identify achievable learning goals and the process of developing plants to reach those goals.
Step #4: Design a Storyboard Template
By now, you might have collected all of the required information for creating your online course. It’s time to organize that information in a storyboard. You may design a storyboard on your own via Microsoft Word, PowerPoint, Google Docs, etc.
However, you may also use an advanced storyboarding tool in order to design the storyboard more efficiently. Here are some of the most popular storyboard designer tools:
- Storyboarder by Wonder Unit
- FrameForge Storyboard Studio
- Boords Storyboard Software
- StudioBinder board creator
- MakeStoryboard etc.
These advanced tools offer lots of storyboard templates and easier customization facilities. You can simply choose a template and start customizing that.
Step #5: Pick an Effective eLearning Design Model
Delivering top-notch content is the prime concern for every online instructor. So, you’ll need to choose a design model for your storyboard to offer your students the best eLearning content. Here are some of the most effective eLearning design models to choose from:
- Knirk and Gustafson Instructional Design Model
- ADDIE instructional systems design framework
- The Successive Approximation Model (SAM)
- The Action Mapping Process
- Gagne’s 9 Principles etc.
Use your preferred design model and make your eLearning course better than ever.
Step #6: Choose the Design Elements Carefully
The design elements are one of the most important parts of your storyboard, which is directly connected with your learners. So, there’s no alternative to choosing the perfect elements to deliver your eLearning course content. Here are some of the most commonly used elements to design eLearning storyboards:
- Interactive quizzes
- Attractive videos
- Eye-catchy images
- Gamification etc.
We are happy to inform you that you can add all of these elements to your online course by using the Tutor LMS eLearning and online course solution plugin. Just give it a try!
Step #7: Select an Authoring Tool
Here comes the last step of creating a storyboard for eLearning. The authoring tool will help you to create the content modules and course lessons by using texts, interactive media, and other interactions.
You may choose none other than the Tutor LMS as your authoring tool. This WordPress plugin offers lots of features to publish your storyboarded content. A few top features of this tool are:
- Intuitive course building
- Advanced quiz creation
- Video player with resuming functionality
- Different student & instructor dashboards
- Revenue sharing
- Automated results for the online assessments
- Detailed quiz report for learners
- Lots of third-party tools integrations etc.
You may check the Tutor LMS features page to get the full list of this eLearning authoring tool.
This is the complete process of creating a perfect storyboard for your online course. Start creating your storyboard right away.
Tips for Effective Storyboarding in eLearning
We have already covered the storyboard creation process in this article in detail. Now, let’s have a look at some tips to make your storyboard even better.
- Make the storyboard visually appealing.
- Use a consistent theme throughout the whole storyboard.
- Get SME’s feedback before developing the eLearning course.
- Combine different learning modalities if possible.
- Use easier navigation and branching.
- Cover all of the learning objectives, etc.
Try to keep these tips in mind while designing a storyboard for your eLearning industry.
Conclusion
Creating the eLearning storyboard might be the most challenging step in developing an eLearning course. But, you shouldn’t ever shy away from a challenge. So, use our tips for creating an eLearning storyboard and offer your best to the learners.
However, if you have any questions or suggestions regarding creating an online storyboard, shoot that in the comment box below. We’d love to hear your thoughts.