There are many good reasons that could make you choose WordPress (WP) as the CMS (Content Management System) for your blog, personal site or business website. Starting a site is much easier when it’s powered by a CMS. Your hosting provider may offer simple ‘One-click’ method to install WordPress on the server. You can also download WordPress package from wordpress.org and then upload it to your web hosting account to install the CMS manually. In either way, you can get the site live, and there are lots of things to do after the launch.
Here is a checklist that tells you about some of the most important tasks you need to do after installing WP.
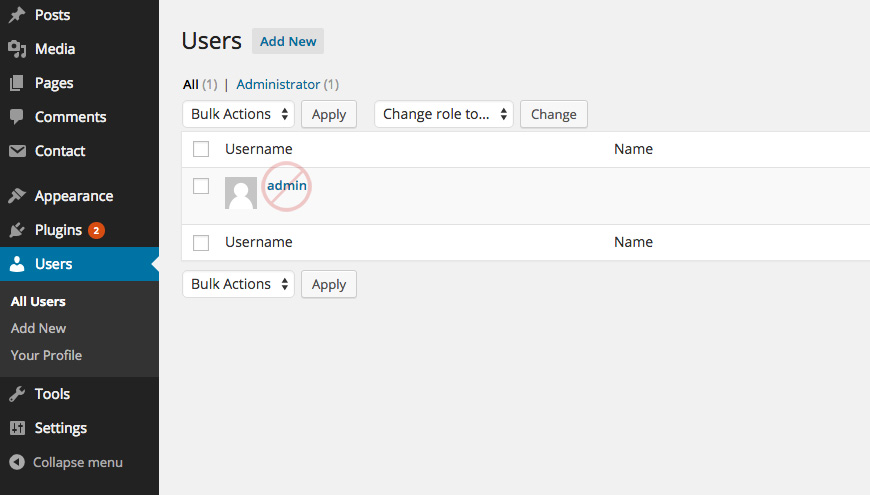
When you install WordPress, it creates the first super-user of the site with a username ‘admin’. Experts say that this default login name is a risk to your site’s security because cyber-attackers could try to hack your site with automated scripts those try to login to the site using the common ‘admin’ username. You can fix this issue while installing WP by setting a username something other than the default one. And if you mistakenly start the site with the ‘admin’ username, you can change it later by editing the database or using plugins. There is another easy way to solve this issue. Simply create a new user with full administrative privileges and then delete the default ‘admin’ user from ‘Users’ dashboard menu. When deleting the ‘admin’ entity, attribute its all contents to your newly created super user.
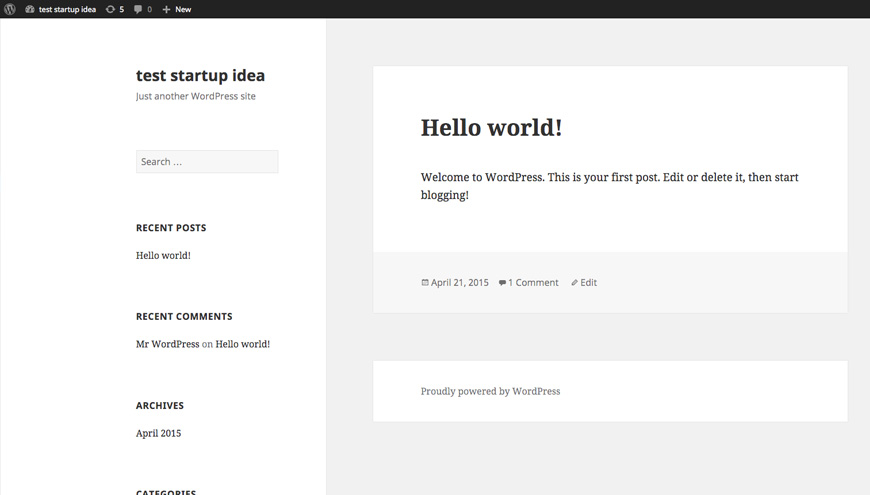
The WordPress installation comes with some default contents like a ‘Hello World’ article, some automated comments, widgets and plugins. Remove or at least deactivate these things if you really don’t need them.
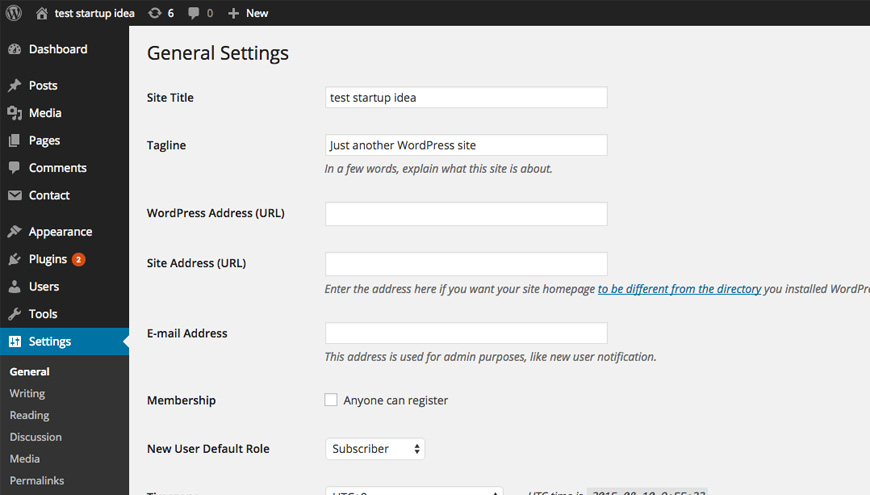
Each of the individual page tabs of your site will certainly have a title. But the homepage tab also needs to tell something about the website. Edit the site title from the dashboard’s Settings > General menu. SEO people suggest that the title should be limited within 55 characters.
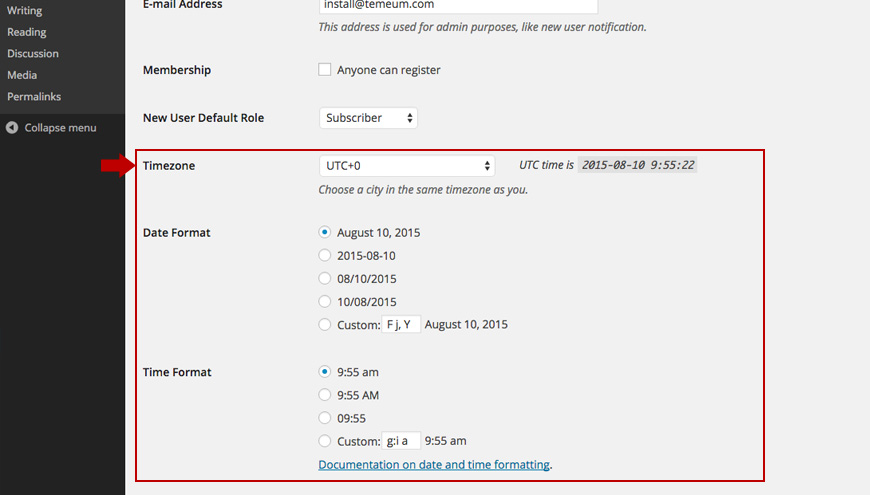
Choose the default timezone for your site’s published posts, scheduled posts or other contents. The General section under the Settings menu provides an option to choose and update the site’s timezone.
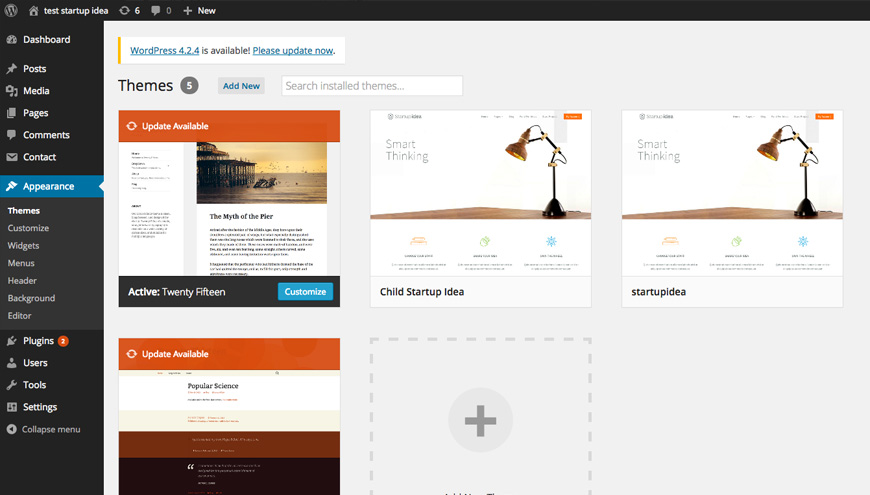
A website’s design visualizes the entity for which it exists. So find the right theme for your site and install it. Visit the wordpress.org theme directory to get free and paid themes easily. Go to the WP dashboard to customize the theme appearance further. You can also visit this list of free WordPress business themes if you have been looking for a corporate or business related theme.
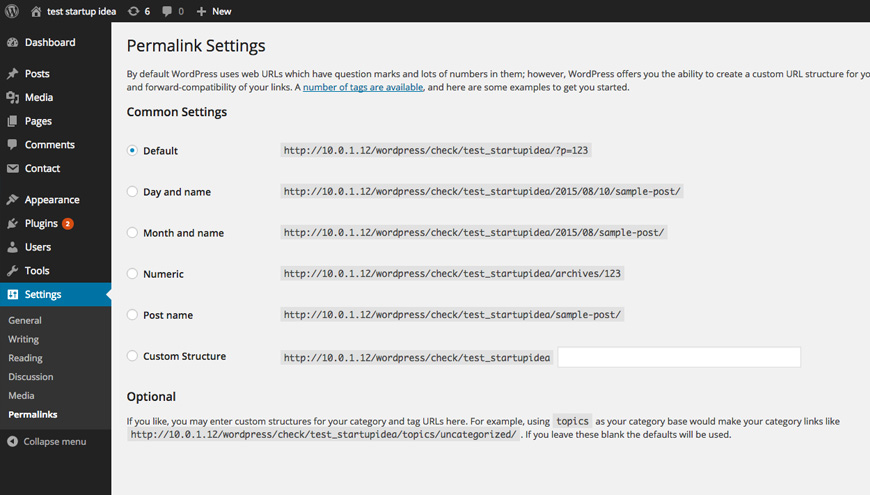
The default link structure of WordPress isn’t recommended for Search Engine Optimization (SEO) purposes. You can customize the link structure from Settings > Permalinks panel. There are some predefined link structures which can be customized as well.
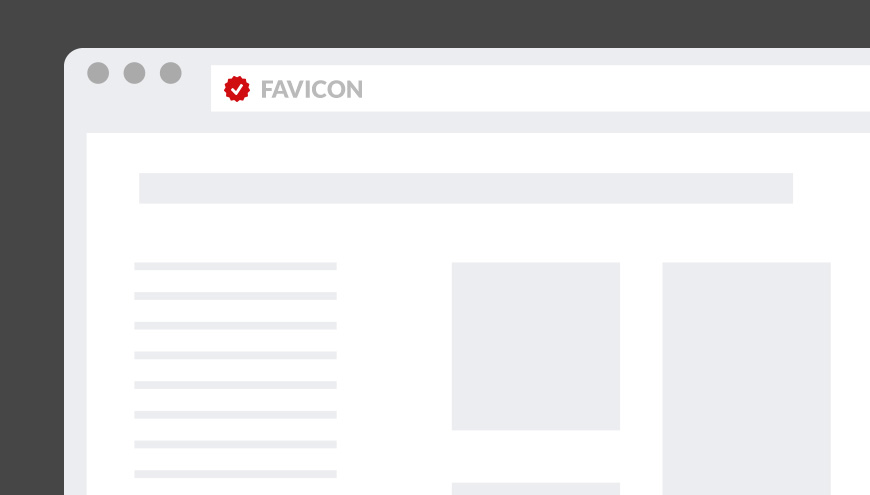
A Favicon is the small logo/icon that appears on the browser tab or bookmark title to quickly recognize a website. Typically it’s a 16px by 16px graphic piece. The image can be a .png or .ico file depending on what your theme requires. The theme itself may provide an option to add a Favicon to your site. This can be done via plugins or adding some codes in you theme’s header.php file as well. See here for more details.

Plugins let you utilize the power of WordPress more efficiently. You can call them ‘apps’ for the self hosted WP platform. There are more than 40K plugins available inside and outside wordpress.org. Some important plugin fields are security (plugin suggestion: iThemes Security), caching (plugin suggestion: WP Super Cache), SEO, social networking, visitors engagement and business.

Webmaster tools are useful for Search Engine Optimization and site performance analysis. Some SEO plugins like Yoast and even themes provide easy-to-use options to install trackers like Google Analytics, Alexa ID, Google Webmaster code, Bing Webmaster code etc. If you use the Jetpack plugin, you will get wordpress.com stats, Jetpack site uptime alert, wp.com CDN etc.
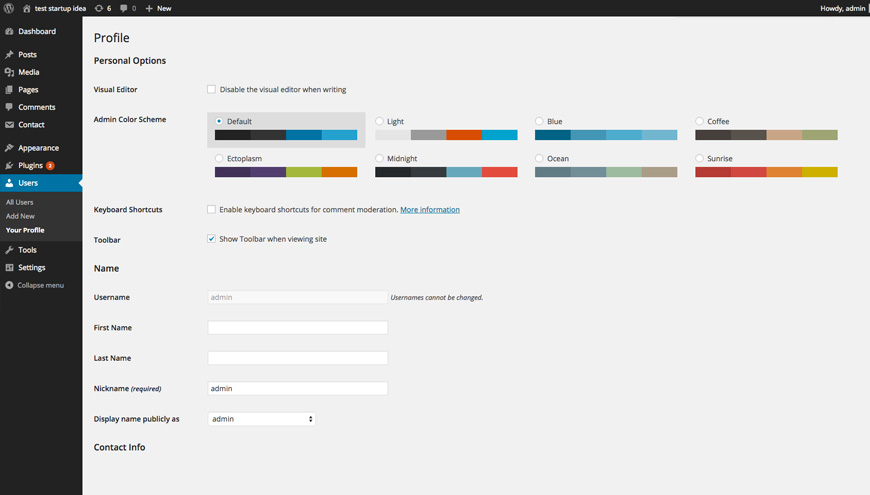
Once you have completed the above tasks, now organize your WordPress account. Edit your profile information from the Users menu in the dashboard. Create a Gravatar account with the same email address that was used to open the self-hosted WP account. Your Gravatar photo and other useful information will be shown on your WP profile as well. A Gravatar (now merged with WordPress.com) account is a centralized user ID for any WordPress user. WP stats and Jetpack services require you to sign-in using WordPress.com account.
After launching the site and organizing its components, start adding contents to let visitors know about your business. Don’t forget to backup the entire website/cPanel account along with individual segments like the database and home directory to hedge risks. Hopefully, I’ll discuss the WordPress backup system in near future. Stay tuned. Thank you.

© 2026 All Rights Reserved. An Ollyo company