
August 24, 2026
Share


Most first-time store owners do not fail to build their store. They fail at the twelve small things nobody warned them about: the tax setting they skipped, the test order they never placed, the theme they picked before deciding what they were selling. The build feels like the hard part. It rarely is.
WordPress powers roughly 41% of all websites, according to W3Techs, which means the path you are about to take has been walked millions of times. That also means the mistakes are well documented, and you can skip them.
This WordPress eCommerce store setup checklist covers all 17 steps, grouped into four phases, with honest time and cost estimates for each.
Setting up a WordPress eCommerce store means registering a domain, buying hosting, installing WordPress, adding an eCommerce plugin, configuring payments and shipping, and testing everything before launch.
A beginner working steadily can finish in 8 to 12 hours spread across a few days, at a first-year cost of roughly $100 to $250. The plugin choice and the hosting choice carry the most weight, because both are painful to change after you have live orders.
Here is how the work breaks down.
| Phase | Steps | Realistic time | Typical cost |
| Foundation | 1 to 4 | 1 to 2 hours | $50 to $150 per year |
| Build | 5 to 9 | 3 to 5 hours | $0 to $100 |
| Convert | 10 to 13 | 2 to 3 hours | $0 |
| Pre-launch | 14 to 17 | 2 hours | $0 |
Work the phases in order. Skipping ahead to product photos before you have picked an eCommerce plugin is the single most common way beginners lose a weekend.
This phase sets the constraints that everything else lives inside. Get it wrong, and you will feel it every day for years, usually as slow page loads or a domain that no longer matches what you sell.

Write down three things before you spend a dollar: what you sell, whether it ships or downloads, and roughly how many products you will have in a year. Physical goods need shipping zones, inventory, and a returns policy. Digital goods need file delivery and license handling. A catalog of 20 products behaves nothing like a catalog of 2,000 once you start querying it.
This sounds like a business exercise, not a setup step. It is a setup step. Steps 3, 5, and 6 all depend on the answer, and doing them blind is how people end up paying for shipping plugins on a store that only sells PDFs.
Your domain is your store’s online identity, so choose one you can keep for years.
Keep it:
For example, GlowCandleCo.com can still work if you later start selling diffusers, home décor, or fragrances. A name like VanillaBeanCandles.com may become limiting as your business grows.
A .com domain is still the safest choice because customers recognize and trust it. If your preferred name isn’t available, extensions like .store, .shop, or your country’s domain (such as .co.uk or .ca) are also perfectly acceptable.
A few tips before buying:
Expect to spend around $10–20 per year for a standard domain.

Running an eCommerce store is very different from running a blog.
A blog mainly serves cached pages to visitors. An online store constantly processes customer sessions, shopping carts, inventory updates, account logins, and payments. Every checkout request interacts with your database in real time, so reliable hosting directly affects your store’s speed and conversions.
When comparing hosting providers, look for these essentials:
Popular hosting options for WordPress eCommerce sites include:
Nearly every host offers one-click WordPress installation from the control panel. Run it, then immediately do three things: set a strong admin password, change the default admin username away from “admin”, and confirm your SSL certificate is active so the site loads over HTTPS.
No SSL means no payments. Stripe and PayPal both require it, and browsers will flag your checkout as unsafe. Check this now rather than discovering it during Step 8.
Now your store starts to take shape. Choosing a feature-rich eCommerce plugin can save significant time, as every missing capability may require another plugin, settings page, and update to manage.
WordPress cannot handle eCommerce on its own. You need a plugin to add essential features such as product management, shopping carts, checkout, payments, and order processing.
While WooCommerce has long been the most popular option, this guide will introduce a more modern alternative: EasyCommerce, an AI-powered eCommerce plugin designed to help you build and manage your store more efficiently.

From your dashboard, go to Plugins, then Add New, search for EasyCommerce, and click Install, then Activate.
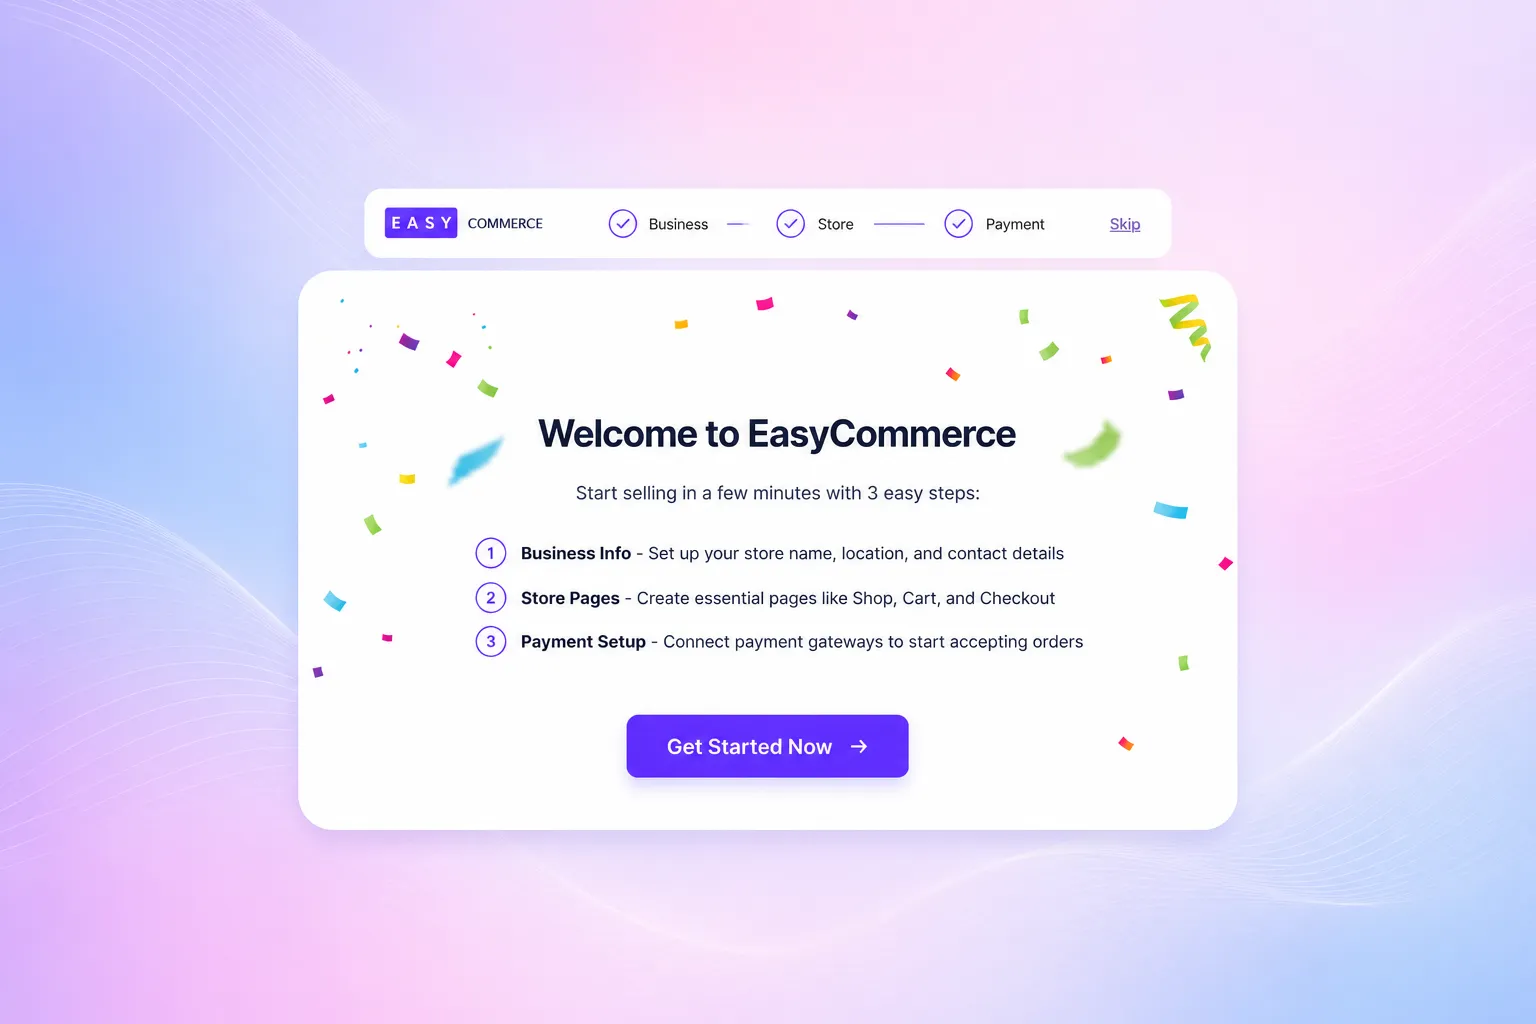
The setup wizard opens automatically and asks for your store address, currency, and what you sell. Three minutes of answers and you have a working store skeleton.
Two things are worth knowing before you commit to any plugin here.
First, check whether it takes a cut of your sales. Processing fees from Stripe or PayPal are unavoidable, but a platform fee stacked on top is not, and at real volume, a 2% cut is a meaningful number. EasyCommerce does not charge one.
Second, ask how it stores product data. Plugins that keep products in standard WordPress posts slow down as catalogs grow. EasyCommerce uses dedicated database tables, which is why the difference shows up at a few hundred products rather than a few thousand.
If you are moving to an existing store, the one-click WooCommerce migration brings products, orders, customers, coupons, and categories across while your current store keeps running.
Choose the theme after the plugin, not before. A beautiful theme that fights your plugin is worse than a plain one that cooperates.

Prioritize speed over decoration. A theme loading four web fonts, a slider library, and 900KB of CSS undoes every hosting dollar you spent in Step 3. Block themes built on native WordPress blocks tend to be leanest, and EasyCommerce builds its pages with native Gutenberg blocks, so any current block theme works without a compatibility layer.
Before installing anything from the WordPress theme directory, check the active install count and last update date. Anything untouched for over a year is a liability.
If you would rather not start from a blank page, the storefront templates give you a laid-out shop, product, and checkout page you can edit rather than build.
Adding a product takes two minutes. Adding it well takes ten, and the extra eight minutes is where your organic traffic comes from. For each product:
If writing 40 product descriptions is what is stopping you, the EasyCommerce built-in AI Copy Writer turns a product name into a draft description you then edit. Treat the output as a first draft, not a finished one, because generic copy converts about as well as no copy.
The same applies to the AI image generator: useful for filling gaps, not a replacement for photographing what you actually sell.
For products with sizes or colors, set up variations now rather than retrofitting them later. Each variation carries its own price, stock, and SKU, so one t-shirt covers five sizes across eight colors without a separate plugin.
Product structured data matters more than beginners expect. Google’s product structured data documentation lists price, availability, and review fields as requirements for rich results. Verify your plugin outputs it rather than building it by hand.
Settle your category structure before product number 50. Reorganizing 12 products in an afternoon. Reorganizing 200 with live URLs is a redirect project.
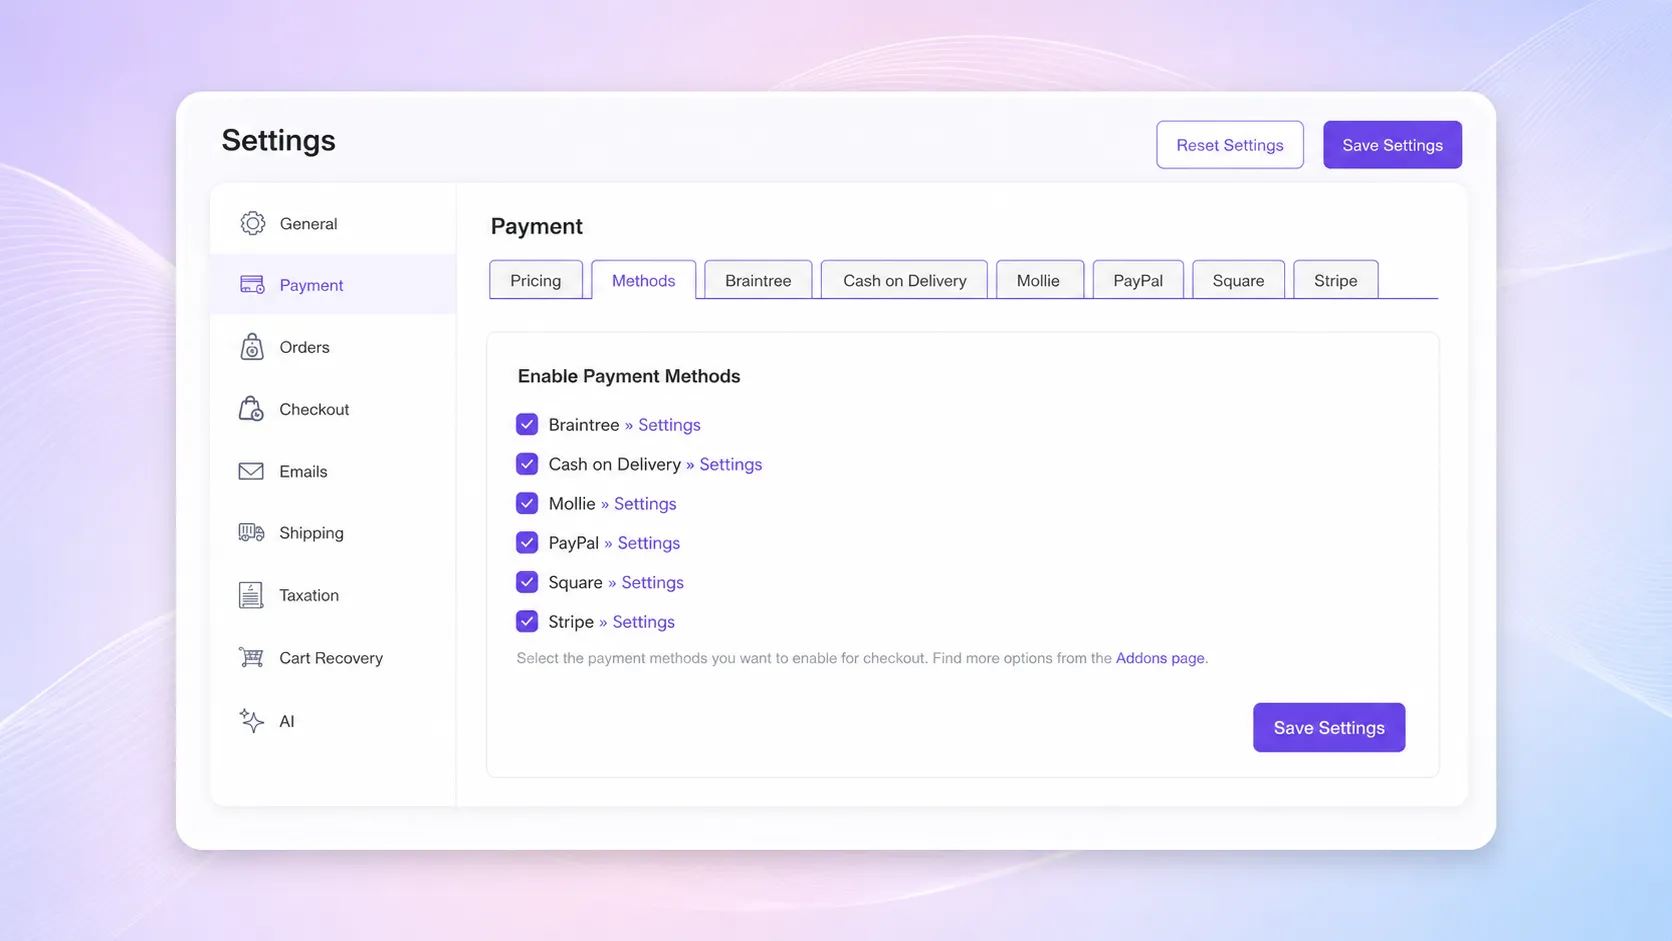
Enable at least two payment methods. Offering a second option catches the shoppers who bounce off the first.
Under Payments, you will find Stripe, PayPal, Mollie, Square, and Braintree built in, plus Cash on Delivery. Connect one, then connect a second. Each takes an API key or an OAuth connection, and takes about five minutes.
Expect processing fees around 2.9% plus a fixed amount per transaction. That is the processor’s cut.
If you sell in a market with strong local payment habits, add the local method as an add-on: bKash, Nagad, Razorpay, and Paystack are available that way.
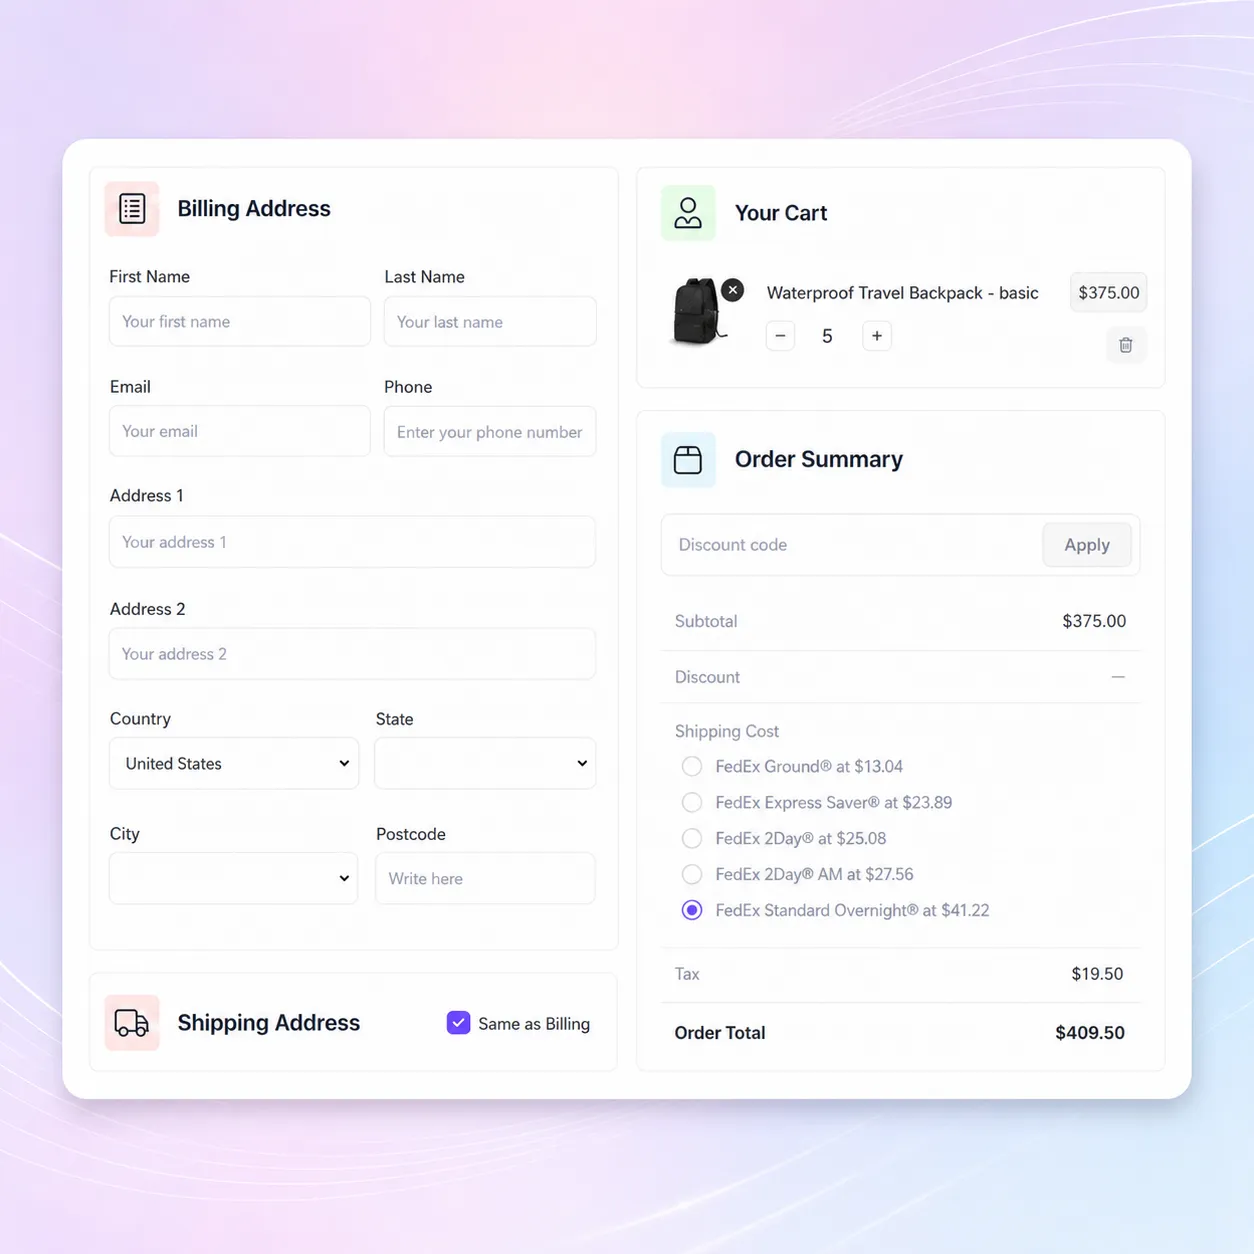
Shipping and tax are the two settings beginners postpone and then regret. Both change the total a customer sees at checkout, and surprises at checkout kill orders.
Create a shipping class for each region you ship to, set by country, region, or city, with a rate for each. Flat rate per zone is fine to start. Free shipping above a threshold works well if your margins support it. If you ship with DHL, the addon pulls live rates and prints labels from the dashboard.
For tax, the US rule is economic nexus: once your sales into a state pass a threshold, commonly $100,000 in sales or 200 transactions, you must register there and collect. Several states are retiring the transaction-count half of that rule.
Most new stores are nowhere near these numbers, so configure automatic tax calculation for your home state or country now, assign tax classes as you add products, and revisit quarterly. Selling into the EU or UK means VAT applies from the first sale, which is worth an accountant’s hour.
Your store can take money now. This phase decides how many people actually give you anything.
Beyond the shop and product pages, buyers look for evidence that a human is behind the store. Publish an About page with a real story, a Contact page with a working form and a response-time promise, and a Shipping and Returns page written in plain language.
These pages do not feel like conversion work. They are. A shopper deciding between you and a competitor with identical pricing will pick the one that looks more accountable.
You need a privacy policy, terms of service, and a refund or returns policy before you take a single order. Privacy policies are legally required under GDPR in Europe and under state laws, including California’s, and the requirement applies to you if you have customers there, regardless of where you sit.
Generators will produce a serviceable first draft. Read it and edit it, because a generic policy that describes data practices you do not follow is worse than useless. If you handle health data, sell to minors, or run subscriptions, get a lawyer to look at it.
The average cart abandonment rate across eCommerce sits at 70.22%, based on Baymard Institute’s analysis of 50 separate studies. The leading fixable reason is unexpected extra costs at checkout, cited by 48% of shoppers who abandoned. The second is being forced to create an account. Both are settings you control right now, before you have a single customer to lose.
So show shipping costs before checkout, or on the product page if you can. Enable guest checkout. Cut every form field you do not genuinely need, starting with the company name and phone number. Display your payment logos and SSL indicator near the pay button.
A checkout that asks for eight things converts better than one that asks for fourteen. That is not a theory; it is the most replicated finding in eCommerce usability research.
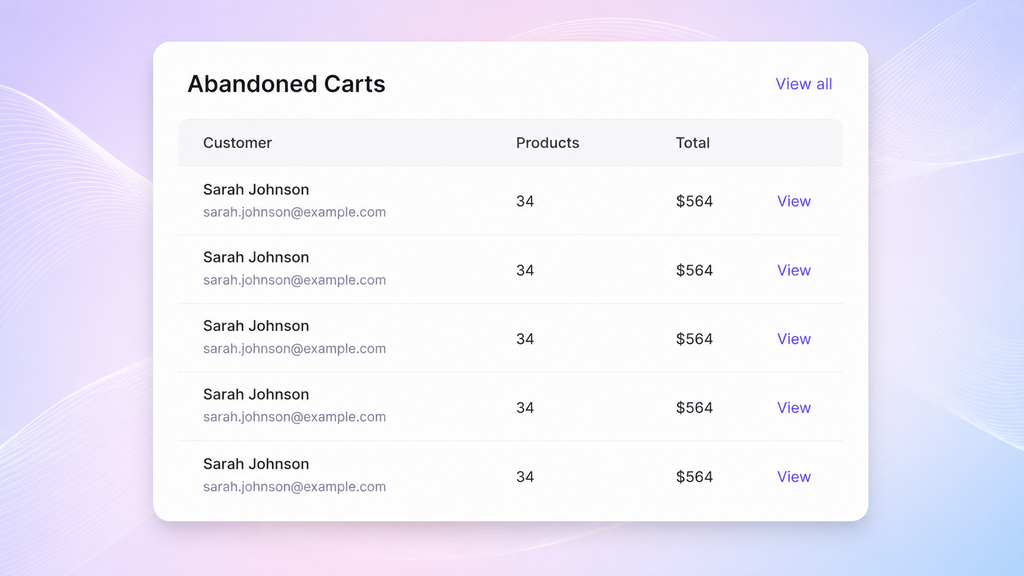
Seven in ten carts get abandoned. Some of those people were browsing and were never going to buy. A meaningful share got distracted, and a well-timed email brings a portion of them back.
Set up three transactional emails at minimum: order confirmation, shipping notification, and a cart recovery sequence.
EasyCommerce includes built-in abandoned cart recovery in the free version, while others require a paid extension or a connected email platform. Check which situation you are in before you build the rest of your email stack around it.
Send the first recovery email about an hour after abandonment, the second the next day. Three emails is the practical ceiling before you start annoying people.
Launch day is a testing day, not a marketing day. Do this before you tell anyone the store exists.
Here’s a smoother, more authoritative version that keeps your intent while naturally preserving references to the tools and concepts.
Before announcing your store to the world, complete one full purchase on your live website using a real payment method, not a sandbox transaction.
Place an order just like a customer would. Then verify each step:
Next, process a refund and confirm it reaches your payment gateway without issues. If you sell digital products, download the file using the customer-facing download link instead of accessing it from your admin dashboard.
This simple test often catches problems with payment gateways, email notifications, downloads, and inventory before your customers do.
Tip: Also test your checkout using both desktop and mobile devices. Many checkout issues only appear on one platform.
Website speed directly affects conversions.
According to a Google-commissioned study covering 37 brands and 30 million sessions, improving mobile page speed by just 0.1 seconds increased retail conversions by 8.4% and average order value by 9.2%. That tiny improvement can have a measurable business impact.
Use PageSpeed Insights to test your:
Aim for these Core Web Vitals:
If your scores are poor, the most common causes are:
Today, mobile shopping is the default for many customers. According to Statista, mobile commerce accounts for a significant share of global eCommerce sales, making mobile usability essential rather than optional.
Don’t rely on your desktop browser’s responsive preview. Instead, open your store on a real mid-range Android or iPhone using a cellular connection.
Check that:
A store that performs well on real devices creates a better shopping experience and helps reduce abandoned carts.
Once your store is ready, make sure you can measure performance and recover quickly if something goes wrong.
Start by connecting Google Analytics 4 with eCommerce tracking enabled and verifying your website in Google Search Console. These tools help you understand where visitors come from, which products they buy, and how your pages perform in search results.
Next, configure automatic daily backups and store them somewhere other than your hosting server. That way, you can restore your store even if your hosting account experiences problems.
Finally, strengthen your store’s security by:
A few minutes spent on security and backups today can save hours, or even days, of downtime later.
Here is the full list in one place. Copy it, work on it, and check things off.
| # | Step | Phase | What usually goes wrong |
| 1 | Define what you sell and how much | Foundation | Skipped, so later steps get done blind |
| 2 | Register a domain | Foundation | Too narrow to survive product expansion |
| 3 | Buy eCommerce-grade hosting | Foundation | $3 shared plans that stall under load |
| 4 | Install WordPress and enable SSL | Foundation | SSL is not verified until payments fail |
| 5 | Choose your eCommerce plugin | Build | Picked after the theme instead of before |
| 6 | Install a lightweight theme | Build | Heavy themes undo hosting spend |
| 7 | Add products with full details | Build | No SKUs, no categories, thin descriptions |
| 8 | Configure payment gateways | Build | Only one payment method is offered |
| 9 | Set shipping zones and tax rules | Build | Postponed until after launch |
| 10 | Build About, Contact, Shipping pages | Convert | Left as placeholder text |
| 11 | Publish privacy, terms, and refund policies | Convert | Generic generator output, never read |
| 12 | Simplify checkout, enable guest checkout | Convert | Forced account creation |
| 13 | Turn on cart recovery and order emails | Convert | Templates never tested |
| 14 | Place a real test order and refund it | Pre-launch | Skipped entirely |
| 15 | Check speed and Core Web Vitals | Pre-launch | Tested on desktop only |
| 16 | Test on a real mid-range phone | Pre-launch | Browser resize used instead |
| 17 | Set up analytics, backups, and security | Pre-launch | Backups stored on the same server |
These are the patterns that show up again and again in stores that stall six months after launch. None of them are obvious in week one.
Two things are worth remembering out of all 17 steps. First, the foundation decisions (hosting, plugin, domain) are the expensive ones to reverse, so spend your thinking time there and move quickly through the rest. Second, launch day is a testing day. Place a real order, refund it, open the site on a phone, and only then tell anyone the store exists.
The checklist table above is built to be copied. Work down it in order, and resist the urge to jump to the fun parts. Stores that get the boring steps right in week one spend month six growing instead of rebuilding.
How Long Does It Take to Set Up a WordPress eCommerce Store?
Most beginners can set up a basic WordPress store in 8–12 hours. If your products and images are ready, an experienced user can launch a simple store in just a few hours.
How Much Does It Cost to Start a WordPress Store?
You can start for $100–$250 in the first year, including a domain, hosting, and a free eCommerce plugin. Premium themes, paid extensions, and payment processing fees are additional.
Do I Need Coding Skills to Set Up a WordPress eCommerce Store?
No. Modern WordPress eCommerce plugins use visual setup wizards, so you can build and manage a store without coding. Custom features may require developer assistance.
Which WordPress eCommerce Plugin Is Best for Beginners?
It depends on your needs. WooCommerce is ideal for feature-rich stores, Easy Digital Downloads is best for digital products, and EasyCommerce is a good option if you want a lightweight, modern alternative with built-in features.
© 2026 All Rights Reserved. An Ollyo company