Making websites with wonderful design and superb functionalities will only mean meaningful when visitors can navigate the contents easily. Plenty of stuff in a large site stay out of visitors’ attention since you cannot have everything on the home page. Mega menu, in this case, plays a significant role in making the site-navigation smoother by linking valuable contents.
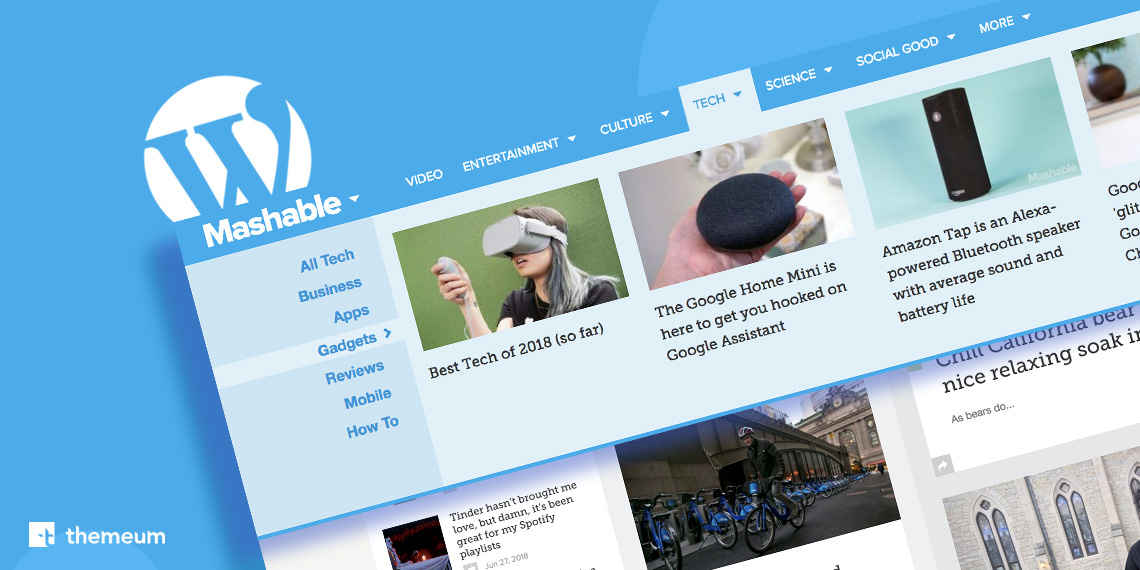
Nowadays, menus on a website are not just for navigation. They add extra beauty to your website displaying links in different styles. If you have visited Mashable’s website and dreamt of having a spectacular menu like them then it is your lucky day. Today, we will show you how to create a Mashable like thumbnailed mega menu on WordPress.
Creating a Mashable-like thumbnail based mega menu on WordPress is not as difficult as it seems once you have the right mega menu tool. In this purpose, we are using the popular WP Mega Menu plugin today. Apart from creating a thumbnail mega menu, there’re plenty of other functionalities that this plugin can offer. And yes, it’s totally FREE!
Let’s get started.
Step 1: To install WP Mega Menu plugin on your website, go to the Dashboard > Plugins > Add New. Search and find ‘WP Mega Menu’ and click on ‘Install Now’. Activate the plugin when the button appears there.

You can also install the plugin manually by uploading the plugin file. Follow the method that suits you best.
Once installed and activated, your dashboard should have a WP Mega Menu option at the bottom.
Step 2: Go to your site’s Dashboard > Appearance > Menus. Check mark on Enable, then save the changes as the following screenshot suggests. Now, upon hovering over the menu item, you will see WP Mega Menu option on the items.
Click on WP Mega Menu on the particular menu item you want to set up thumbnail tabbed option.

Step 3: Click on “Yes” on your left then add row(s).

Step 4: Now drag the “WPMM Grid Posts” drop it on the column.

Step 5: Click on the dropdown icon on your left. Now setup the tabbed menu your way. Select the categories, set the number of columns and posts. Check mark “Show Left Category on the Widgets” and other options if you feel required.

Save the changes at the bottom on your right. You are done with the whole set up. If you have followed each of the above steps properly, your website’s menu will look like the GIF below.

For more of such stuff, visit Themeum blog regularly.
© 2026 All Rights Reserved. An Ollyo company