The integration provides all the necessary functionalities needed to create a full-featured LMS platform, including the header builder, design library, and full responsiveness controls. It also offers a library of pre-made design sets that can be imported directly to create rich web pages. With the Oxygen Builder Integration for Tutor LMS, users can create an amazing platform for their instructors and students alike.
When using Oxygen Builder integration for Tutor LMS, Oxygen Builder will take over any existing theme. This means that you won’t need to use any other theme to build your LMS website. However, if you’re new to using templating engines and designing WordPress websites, we recommend watching some helpful videos on YouTube to get started.
Installation and Configuration
To use the Oxygen Builder Integration for Tutor LMS, you will need to have a few plugins pre-installed and activated on your WordPress site. The following plugins are required:
It is essential that all three of these plugins are installed and activated for the Oxygen Builder Integration to work properly. Once these plugins are in place, you can start using the Oxygen Builder to create custom designs and layouts for your Tutor LMS website.
To get started with the Oxygen Integration, navigate to WordPress Dashboard > Oxygen > Templates and begin building templates for the required pages.
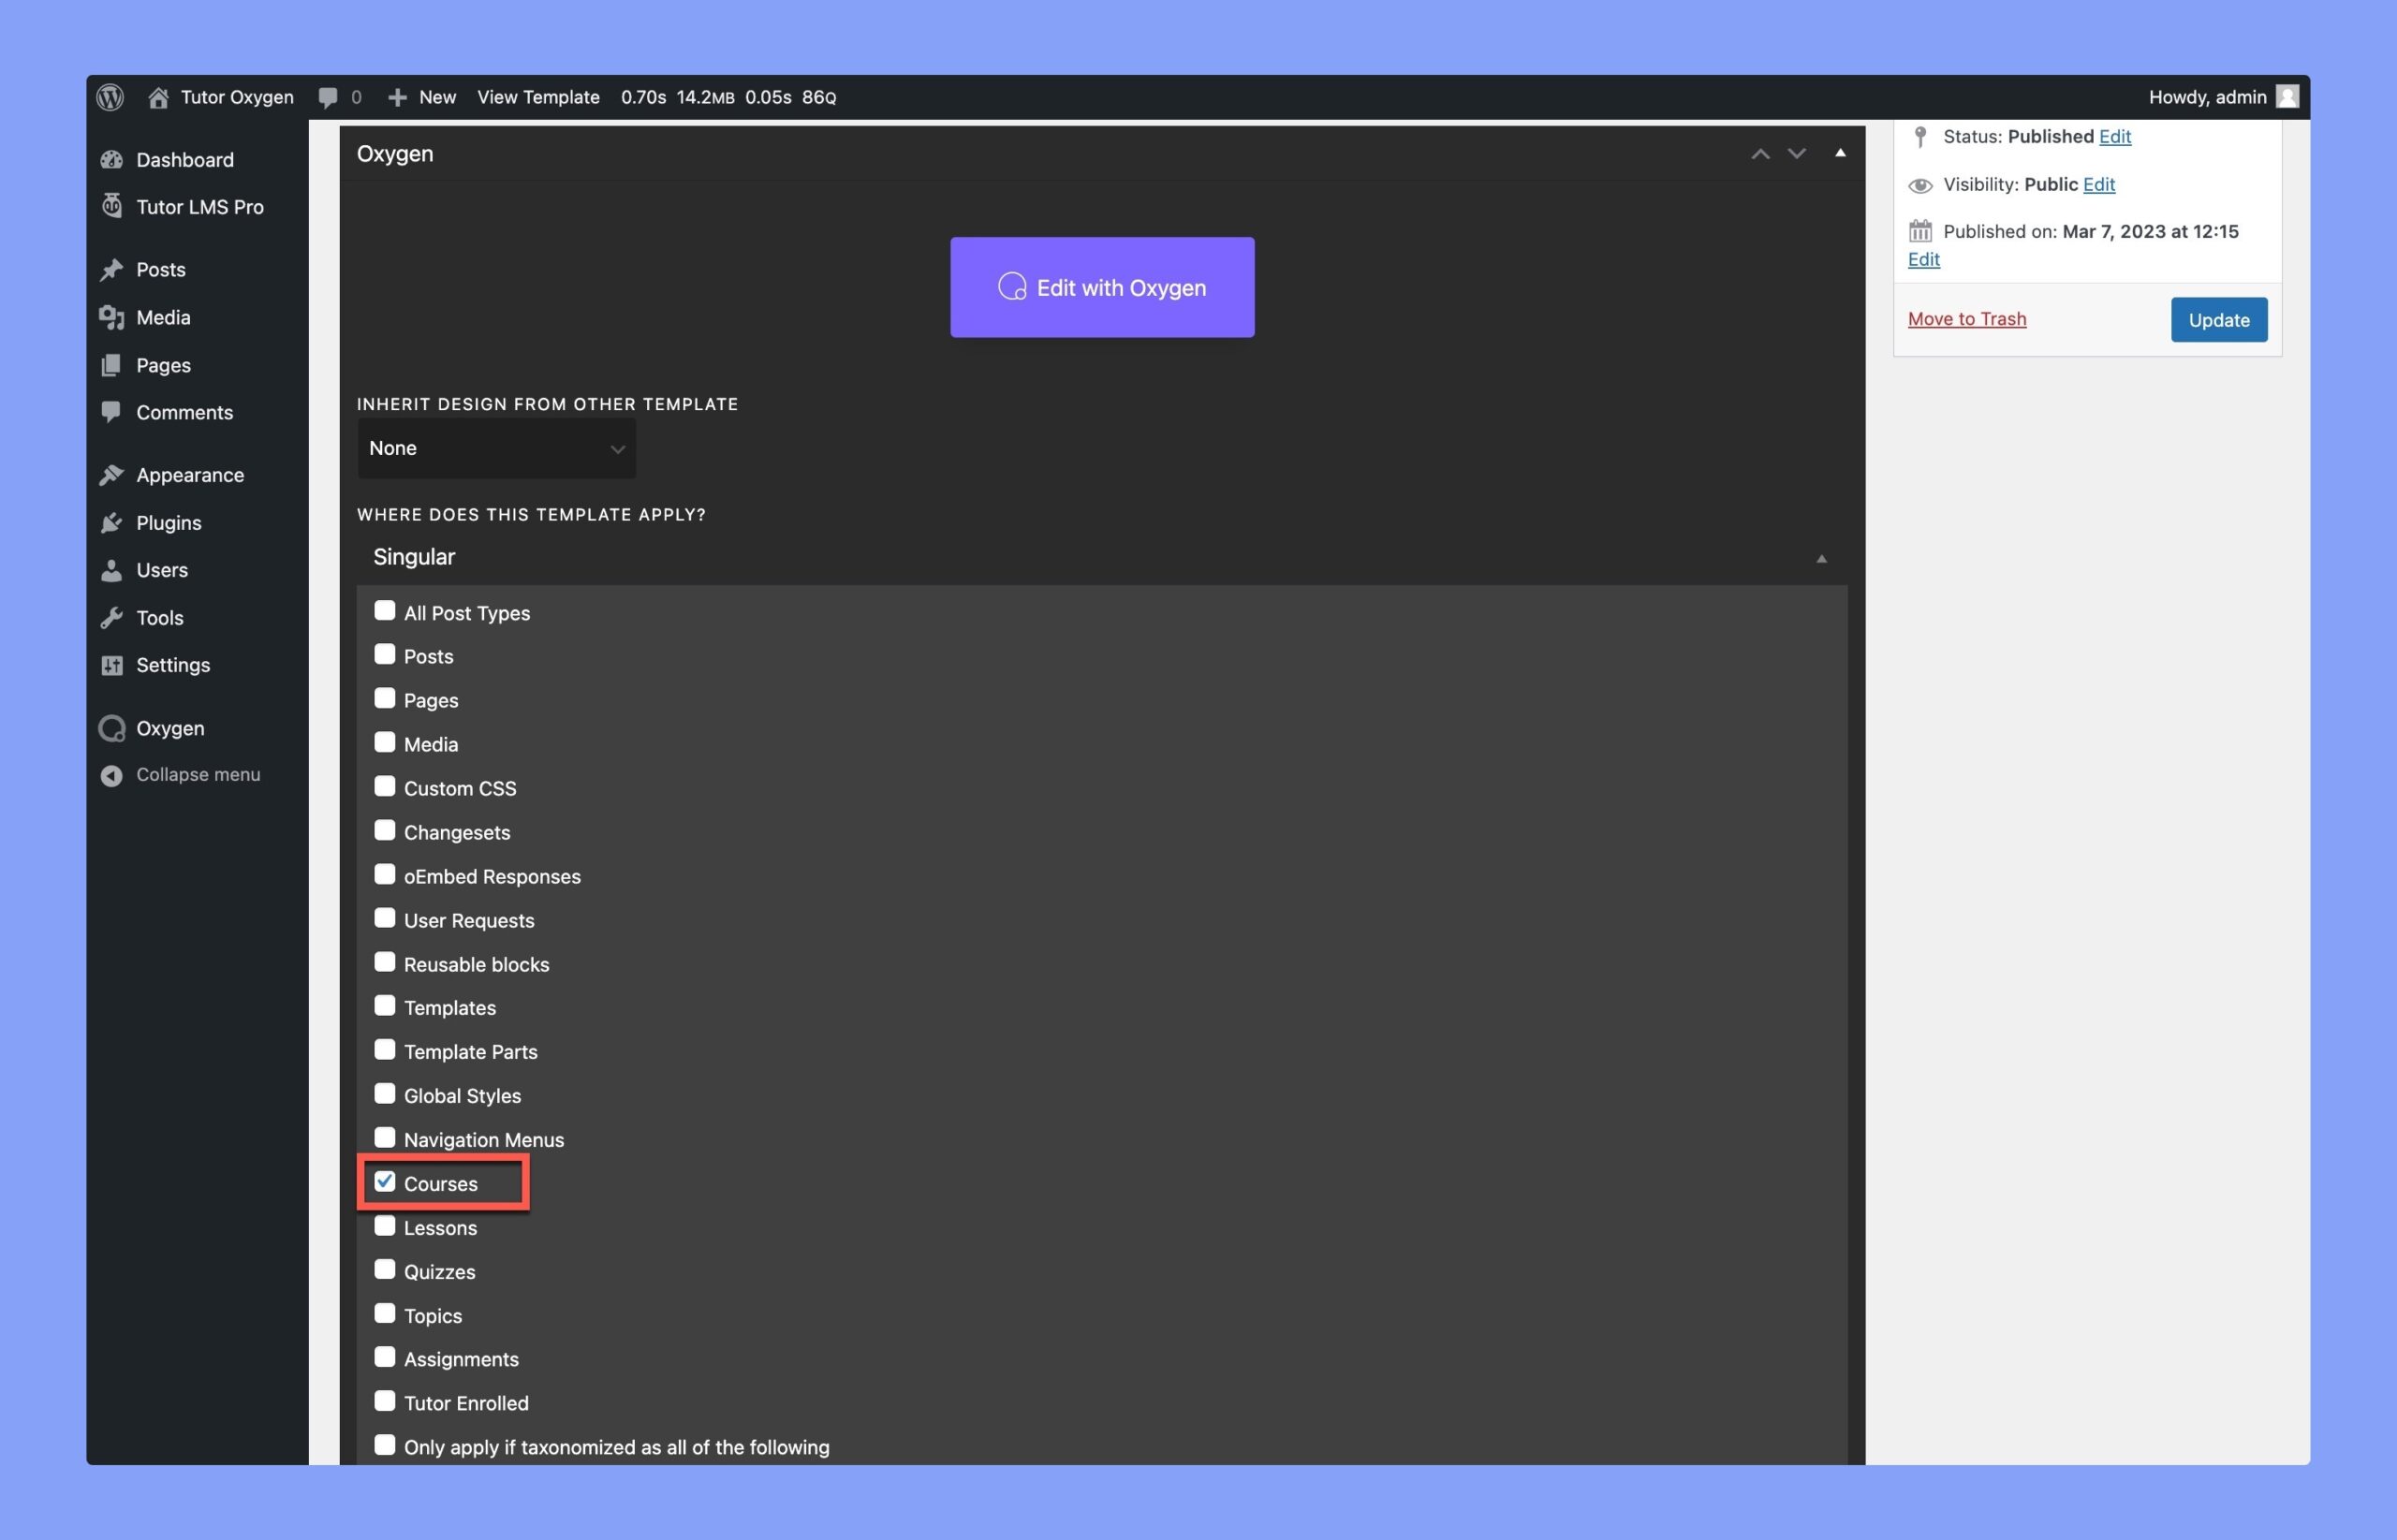
Oxygen templates are a crucial feature in the Oxygen Builder tool, as they allow you to set up templates for various types of pages and posts.
For instance, if you wish to design a template for your course page, you can easily do so by selecting “Course” in the Single tab. Once you have made your selection, you can use the intuitive Oxygen Visual Editor to begin customizing your template.
Oxygen Visual Editor
When you enable the Oxygen Builder integration plugin, a new tab called “Tutor LMS” will appear in the editor. This tab includes all the essential elements necessary to create a perfect LMS website, and it’s suitable for both designers and WordPress developers.
To create a course page, you have two options you can either:
- Add a single course template or
- Build your custom design using single course elements
By adding a single course template, you can edit each element individually. This way, you have complete control over the typographic and visual options for the entire page.
This integration currently offers Single templates for:
You can use these templates to design a full-fledged eLearning course. However, if you are planning to design a custom course, you can do it by using the following single course elements:
- Title
- Rating
- Author
- Social Share
- Categories
- Course Description
- Course Content
- Curriculum
- Benefits
- Requirements
- Target Audience
- Material
- Thumbnail
- Enrollment Box
- Instructors
- Reviews
- Archive Course List
- Courses List
Besides, you can also design the dashboard and registration pages by using the Tutor LMS Pages elements. Here, the available elements are:
- Student Registration
- Instructor Registration
- Dashboard