
February 18, 2019
Share


Sending messages to the interested visitors has been revolutionized with the introduction of web push notification system. The way site owners usually send notifications to the audience is email newsletter. But the process is complicated and requires subscribers to login to their email accounts then open the emails. Many of such emails go unchecked. Even people are so unwilling to subscribe to email newsletters.
On the other hand, web push notification comes handy and superbly flexible for the subscribers. It’s a one click subscription system and doesn’t bother your subscribers that much. But the question is how can you set it up for your WordPress site. This is what we are going to show you today.
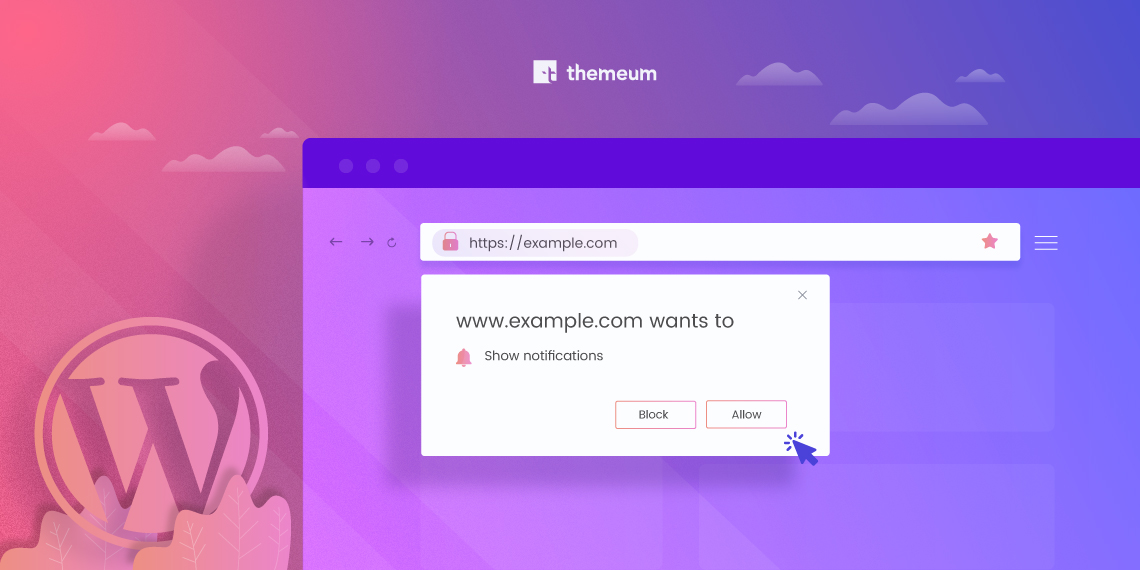
Web push notification is a message delivery system through browsers. Subscribers get them on the web browsers even when the subscribed website is not open in their browsers.

It’s a nascent marketing method to re-engage website visitors without knowing their email or other contact information.
While visiting your website, there’s chance that people will love your content and want to be notified when you release/publish anything new. To have those visitors in the loop, web push notification is the easiest way to go.

There are plenty of reasons why one might want to have web push notification system for their site. The advantages of web push notifications will interest you too. They are:
Most of the major websites these days have web push notification system. You already have experienced web push notification on Facebook, Google, and other popular web sites you regularly visit. Now, it’s time you had this system on your own WordPress site.
Let’s know the whole process in some easy steps.
We will show how to set up web push notification on a WordPress site with a plugin “OneSignal”, a high volume, simple and reliable messaging system built for websites.
Installing the OneSignal plugin is just like any other regular WordPress plugin.

You can either download the OneSignal plugin from the WordPress plugin directory and install it. Or install directly by searching on your website’s plugins dashboard.

Create a OneSignal account on their website. You can create an account using your Facebook, GitHub, Google account or email address. Choose the one that suits you best.

Once you are done with the signup process, create an app by clicking on the ‘ADD APP’ button on your OneSignal dashboard.

Give your app a name and click on the ADD APP button.

Edit your OneSignal app by selecting a platform to configure. You can return to this screen to configure more platforms. Select Web Push as a platform and click on next.
Now it’s time to configure your web push notification system. Select WordPress plugin or website builder out of the three options. Then select WordPress as your website builder or CMS.

Now, enter your site name, website URL, upload an icon and decide whether your website is fully on HTTPS.

Click SAVE and get the App ID and API Key on the next screen.
With every step above, you are done with your part on OneSignal website. Now, go to your WordPress Dashboard > OneSIgnal Push. Put App ID and REST API Key at the respective places in the Configuration.

The system above covers almost all browsers except Safari. To enable web push notification system for Safari, go to your OneSignal account, App dashboard > Settings > Apple Safari and get Web ID from there.

You can also upload your site icon for Safari here. The icon you uploaded before will not work for Safari’s permission request bar.
Now get back to your website Dashboard > OneSIgnal Push. Find the Safari Web ID field and place the ID.

Tweak your web push notification messages as there are several options to take care of.

You can also write the messages that will be displayed in different cases.

Click save at the bottom and you are done.
Sending push notifications is easy with OneSignal. While publishing/updating a post or page, there’s a Send notification on post publish (or update) checkbox at the bottom right. Checkmark that box to send notifications.

Also, there’s a system to send notifications manually from your OneSignal account dashboard. Go to your OneSignal account > Messages > New Push. Setup your message and send that to your subscribers.

You will also get analytics for your notification messages on the OneSignal dashboard.
Having web push notification system on your website will definitely increase the number of returning visitors to your site. This is a system that ensures higher engagements without having to irritate the subscribers much. If you follow all the above steps carefully, you will not face any difficulties setting up web push notifications on your site.
Stay with us and let us know your thoughts. Do visit Themeum blog for more of such tutorials.
© 2026 All Rights Reserved. An Ollyo company