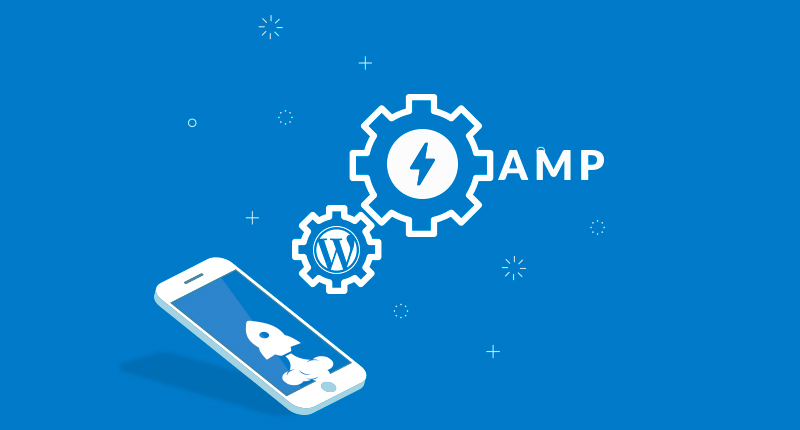
When mobile devices have the most number of Google searches and website visits than other devices, it’s very important that every website owner thinks something special for the mobile traffics on their sites- something that upgrades the experience of visitors on mobile devices and presents the website content smartly. There’s AMP for you to do this. If your site is on WordPress then you are at the right place to know how to setup Google AMP on WordPress. Here in this article, we will walk you through all the steps.
Google AMP (Accelerated Mobile Pages) is an online publishing format, created by Google as a competitor to Facebook’s Instant Articles, which promises faster page load on mobile devices. Google AMP optimizes website files in a way that makes it easy for smaller devices to load those web pages easily.
You have plenty of reasons to try Google AMP. Some of them are mentioned below:
Despite these awesome improvements, there are some negative aspects of Google AMP, such as:
Probably some of its negative aspects could not convince you to give up on Google AMP. Since there are plenty of different ways AMP helps you have better performance on mobile devices. So let’s know how to set things up on WordPress.
1. Go to the WordPress Dashboard and install the AMP plugin into the system just like the way you install every other WordPress plugin.
2. Activate the plugin.
3. Go to the appearance then click on the AMP.
 4. Customize the look of your mobile page view. Change the color.
The AMP plugin for WordPress has very limited customization options. You can use some other WordPress plugins to add few more customizations. Yoast SEO & AMP plugin is the right one to do such customizations.
If you have Yoast SEO plugin installed on your system, then Install Glue for Yoast SEO & AMP plugin. If don’t have Yoast SEO, then install that first (read this blog to learn how to install and configure Yoast SEO).
1. Once you’ve installed Glue for Yoast SEO & AMP plugins, go to the dashboard and hover over SEO and click on AMP. 2. Now click on the Design tab on the page next and customize the look of the mobile view as you want it to be.
 3. You can add a valid Google Analytics tracking code on AMP contents. Just switch to Analytics right next to Design and place your Google Analytics tracking code there.
Hope you have been able to do all these steps by yourself. There are plenty of useful tutorials and standard recommendations for WordPress users on Themeum Blog. Keep visiting our blog for more and do more with your WordPress site.
Bonus: If you want to implement Facebook Instant Articles on your WordPress site then check our tutorial on how to set up Facebook Instant Articles on WordPress.
© 2026 All Rights Reserved. An Ollyo company