Comments bring more engagements by allowing visitors to have their say on the content you publish on your site. Adding Facebook Comments to WordPress site takes it one step further. While leaving comments on your website, visitors can check the box to share their comments with Facebook friends. So, there’s a chance to get additional traffic this way.
Having such potential to boost website traffic, anyone might be tempted to add Facebook Comments to their site. However, doing it in the right way is something that concerns everybody. In this article, we will show you the whole process in some easy steps.
Integrating Facebook Comments replaces WordPress’s default comment system and requires visitors to login with their Facebook ID to leave a comment. Understanding potential benefits, many renowned sites like IMDb use Facebook Comments. Let’s see what values Facebook Comments can add to your website.
Setting up Facebook Comments on your WordPress site is quite easy. Today, we will show the whole process with Social comments by WpDevArt. The plugin has both free and pro versions. But, the free one is enough to do the job for you. Let’s see how it is done.
Step 1: First of all, you need to install the Social Comments plugin. Go to Dashboard > Plugins > Add New. Now search WpDevArt Facebook comments plugin. Click on “Install Now” and “Activate” subsequently.

When you have activated the plugin, you need to configure it. Configuring this plugin requires a Facebook App ID. That’s why, we will configure this after creating an App ID on Facebook.
Step 2: Login to your Facebook account and create an App ID. If you don’t know how to do so, follow our documentation of creating a Facebook ID.

Step 3: Once created, get the App ID. Just click on the App ID, it will be copied automatically. Make the App live following the required criteria.

Step 4: Now you can configure the plugin with that App ID. Go to “FB comments” on your Dashboard. Paste App ID at the top. Check/uncheck Home, Post, Page in the middle to determine where to display the comment box. All three of them are marked by default. Finally save the changes.

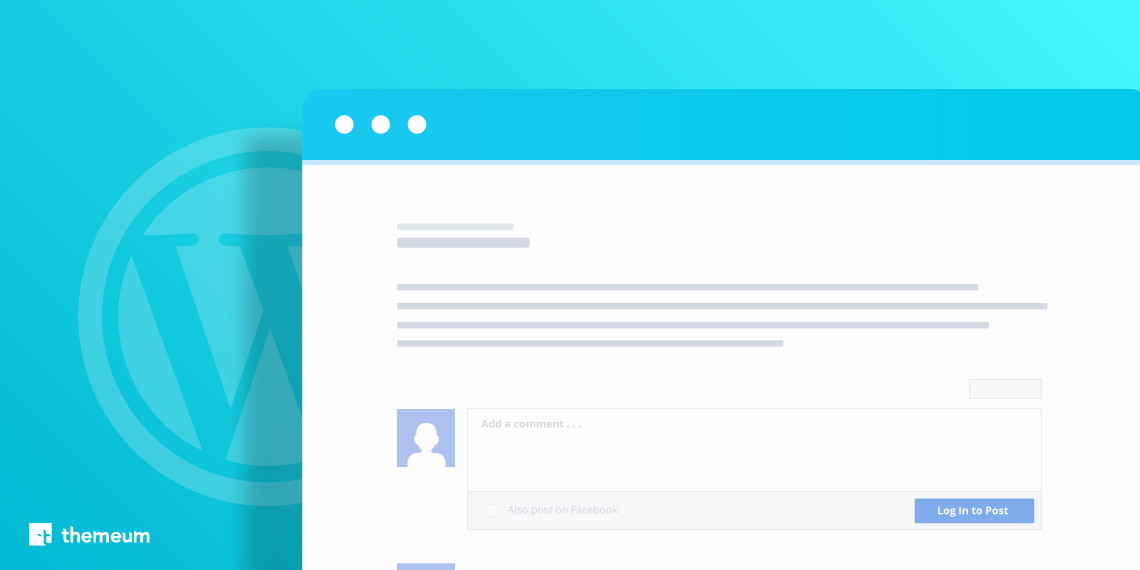
You are done with setting up Facebook Comments on your WordPress site. Now go to any of your posts. You should see the comment option under the post (if you have checked Post while configuring the plugin). Just like the mockup below.

Following each of the above steps means you are completely okay with Facebook Comments setup. Idea of having a system that lets your visitors comment on your contents with their Facebook profile is cool. It does lot more than just having comments. Stay with us for more of such useful tutorials.
© 2026 All Rights Reserved. An Ollyo company