Plugins are extensions that add extra functions to WordPress sites. You can find and install tons of plugins on the official WordPress repository. Developers also offer plugins via their own portals. If you install a plugin from the WordPress.org repository, those can be updated automatically in the background.
But there are times when auto-updates need to be turned of and the plugin versions need to be maintained manually. It’s usually safer to disable auto updates for bigger or more crucial plugins such as LMS plugins, eCommerce, or social media plugins where an unfortunate bug in a new release can render your site unusable.
So, when you are sure that a new version of one of your plugins is stable and safe to install, how do you install it manually? The process is super simple and easy to do, so let’s get going!
First thing first though, as always, create a backup of your entire website before updating the core, themes or plugins. By doing so, you can revert the changes if anything odd occurs.
First, download the latest version of your target plugin from the author’s official source. It will be a .zip file of the plugin. For example, if you want to install Tutor LMS Pro, you can download the latest version from the Themeum downloads page.
To do so, log in to the backend of your WordPress website, and then navigate to Plugins > Installed Plugins and then deactivate and delete your old version of the plugin. Don’t worry though, all your plugin’s data will be safely stored in a separate database.
However, it’s not completely necessary. You can also overwrite the old version while installing the newer version.

After that, you can navigate to Plugins > Add New and add then click on the “Add New” button on the top. Then you can select to upload the .zip file from Step 1. Finally, after the new plugin is done installing, click on activate and you’re good to go!
As with the previous process, get the plugin’s latest .zip file from the official source. But this time, you will have to extract the zipped archive. You will get a new folder containing the plugin files and folders.
Before starting the manual update process, deactivate the target plugin.
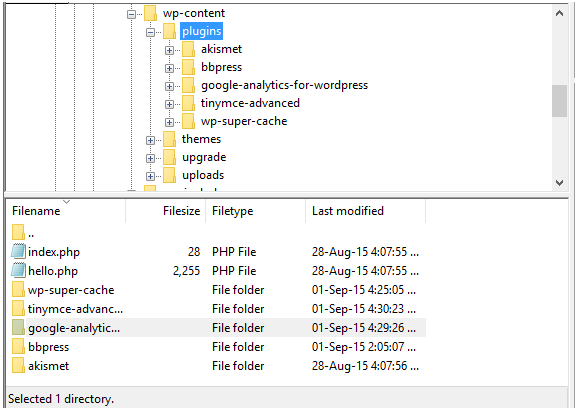
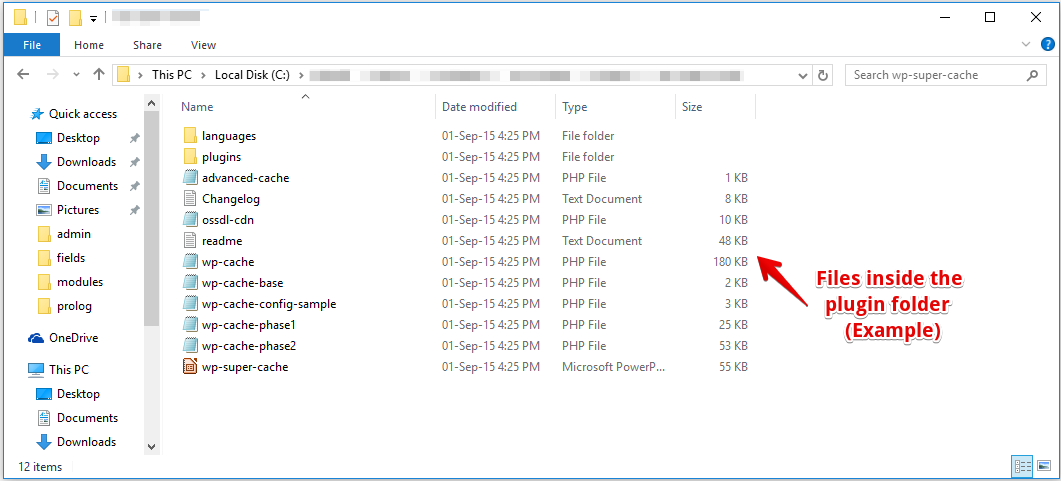
So you have the latest version of the target plugin in your computer. Now you need to install (upload) it to the server of your target site. Use an FTP client or visit the cPanel and follow this directory path your_website_URL/wp-content/plugins. It will show all of the currently installed plugin folders.
Pro Tip: If you want to manually update a theme, simply replace your_website_URL/wp-content/plugins with your_website_URL/wp-content/themes and you’re good to go!
Once you are in the plugins subdirectory, open the target plugin folder. Delete all of the files and folders inside it, and paste/upload everything from the folder (in your computer) containing the latest version of the plugin. You can also simply replace the older version’s folder with the newer one you’ve just downloaded. That’s it.

After successfully following these steps, visit Dashboard > Plugins > Installed Plugins and activate the newly updated plugin.
Hope you will find this procedure easy. Also you may like my previous post on how to update WordPress themes manually. Please let us know your thoughts too. Thanks for reading!
© 2026 All Rights Reserved. An Ollyo company