Starting from February 2020, Google’s Chrome browser will block all mixed content on web pages by default. So, if your website still loads some mixed content, it’s time to fix that. This tutorial tells you how to do it.
Earlier we’ve shown a free and easy way to enable HTTPS on WordPress sites. In that article, we also discussed an important to-do after activating SSL/HTTPS on a website. Yes, we’re talking about that ‘yellow padlock’ which is termed as ‘mixed content warning’. Today we will deal with that.
First thing first, let’s see the post-outline right away.
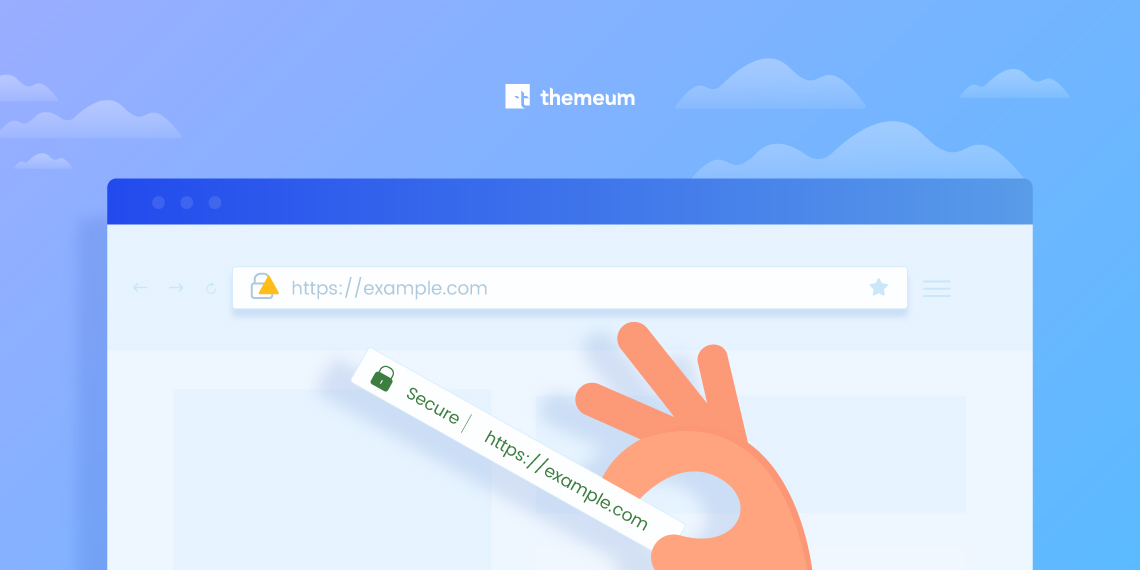
When you add HTTPS to an already live site, the site may have many links inside containing the previous HTTP version of its URL. It’s pretty normal. But the web browsers don’t prefer any non-HTTPS source of contents on a HTTPS page. That’s why, you would not get the green signal on the browser’s address bar.

Rather, a warning appears to tell you that some insecure contents are there on the page. This is what is called ‘mixed content warning’.
You can easily identify the resources that are being loaded via HTTP. On Chrome, right click on the web page and select Inspect, then click Console. The mixed content warning results will be displayed inside. (see this doc for other browsers)
It’s really a matter of concern- for you, for your audience, and of course, for the search engines. But again, don’t worry. We’re here with the fix. We’ll go through several strategies to fix the HTTPS mixed content warning on a WordPress site. Before going details, let me provide you a glimpse at what these solutions are.
N.B. Please remember, every time you apply a fix, you need to clear the cache from the server and the browser then reload your site to check whether the fix is working.
If you use Cloudflare, you can use its Automatic HTTPS Rewrites feature to make some of your site’s resources available via HTTPS. Turning this feature ON will work for most of the links with some exceptions. Simply go to the Crypto section on your Cloudflare dashboard, and switch the Automatic HTTPS Rewrites feature ON.

If applying this method solves your mixed content warning problem, then you’re all set. If you still face the issue, you can follow other methods described in this post. Or, if there are only a few issues, you can fix them manually as well. Check the manual method in the option 4 described in this post.
In case you’ve activated SSL on your site using Cloudflare Flexible SSL (as discussed in this post), then you should not face this issue, because the plugin we suggested there fixes this issue automatically. There are additional options in the Really Simple SSL plugin to fix mixed content warning. Still, if you see this error, (or if you are not actually using Cloudflare Flexible SSL at all), then you can install and activate SSL Insecure Content Fixer plugin on your WordPress site.

You’ll get a comprehensive set of configuration options to solve the insecure content warning problem. After applying this method, if there are only a few issues, you can fix them manually. Check the manual method in the option 4.
Working with the database may sound scary to some users. However, you can do it safely by keeping a full website backup beforehand, so if anything goes wrong, you can always revert. You can edit your website database in many alternative ways. But for this post’s purpose, we would go for an easier method. We will use a free WordPress plugin to replace HTTP based links with HTTPS ones for our target site. So, utilize the easy-to-use plugin Better Search Replace to find and replace http://yoursite.com with https://yoursite.com in a few minutes.

This should solve most of the insecure content warnings. If still a few ‘insecure sources’ remain, go for the manual method to fix the remaining ones.
Earlier in this article, we’ve discussed the process to identify the HTTP based contents. To apply manual fixes, you need to find actually which contents are being loaded via non-HTTPS sources. So find them using your browser tools (e.g. Chrome developer tools), and edit the hard-coded URLs to put HTTPS in them.

Hopefully, this will solve the issue. If not, you should consult with an expert. You can also post on the WordPress.org forum for support.
We hope you will find this post helpful while moving from HTTP to HTTPS. It’s really crucial in these days because HTTPS is now a search ranking signal, and the Chrome browser is marking non-HTTPS sites as “Not secure”. So, enable SSL on your site as soon as possible, and go 100% HTTPS. Please share your experience and thoughts via comments. Thanks for being with Themeum!
© 2026 All Rights Reserved. An Ollyo company