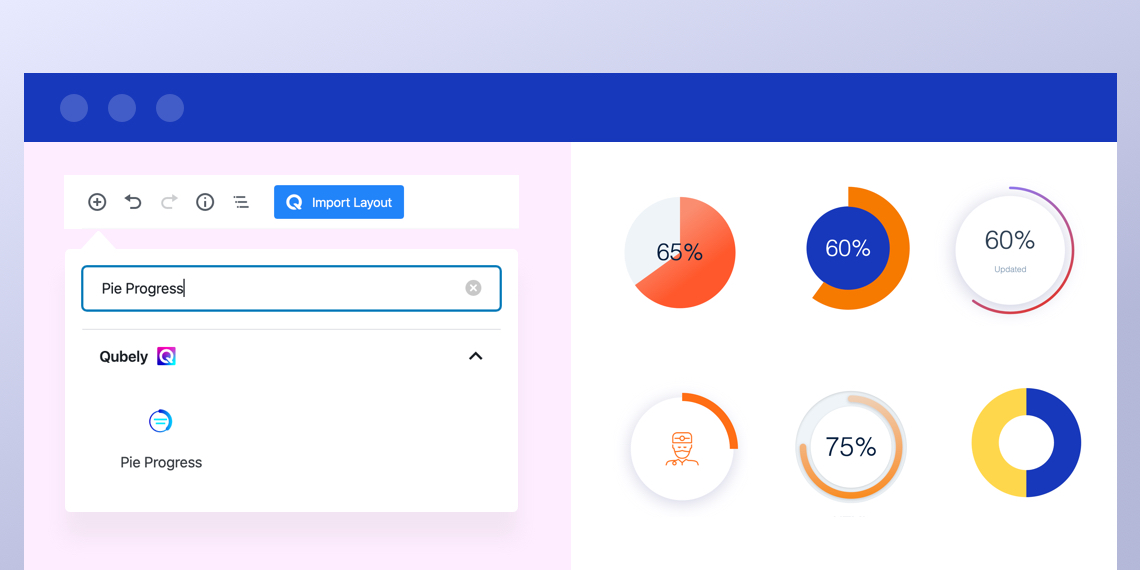
Have you ever wondered how to showcase some progress to your site visitors? Visual cues are always better carriers of information compared to text, and will most definitely catch the visitor’s eye. These are exactly the use cases for a block called Pie Progress offered by Qubely.
Whether it be financial statistics, the overall progress of a project, or resource usage in the admin dashboard, a circular progress indicator is a super easy solution to all of this, and more.
You may find several tools or plugins to add a pie progress section to your WordPress website. But in today’s tutorial, we will show you the Gutenberg way- because it’s the future of WordPress publishing and page building. Since there is no default Gutenberg block for adding a pie progress section so far, we will use Qubely in this tutorial. Qubely is a versatile Gutenberg block toolkit that you can use to build tons of page elements on WordPress.
So, let’s go through some simple steps you need to follow to create a beautiful Pie Progress chart on your posts and pages.
Step 1: Install and Activate Qubely
The first thing you have to do is to make sure that you’ve installed and activated Qubely Pro.

Step 2: Add Surrounding Content
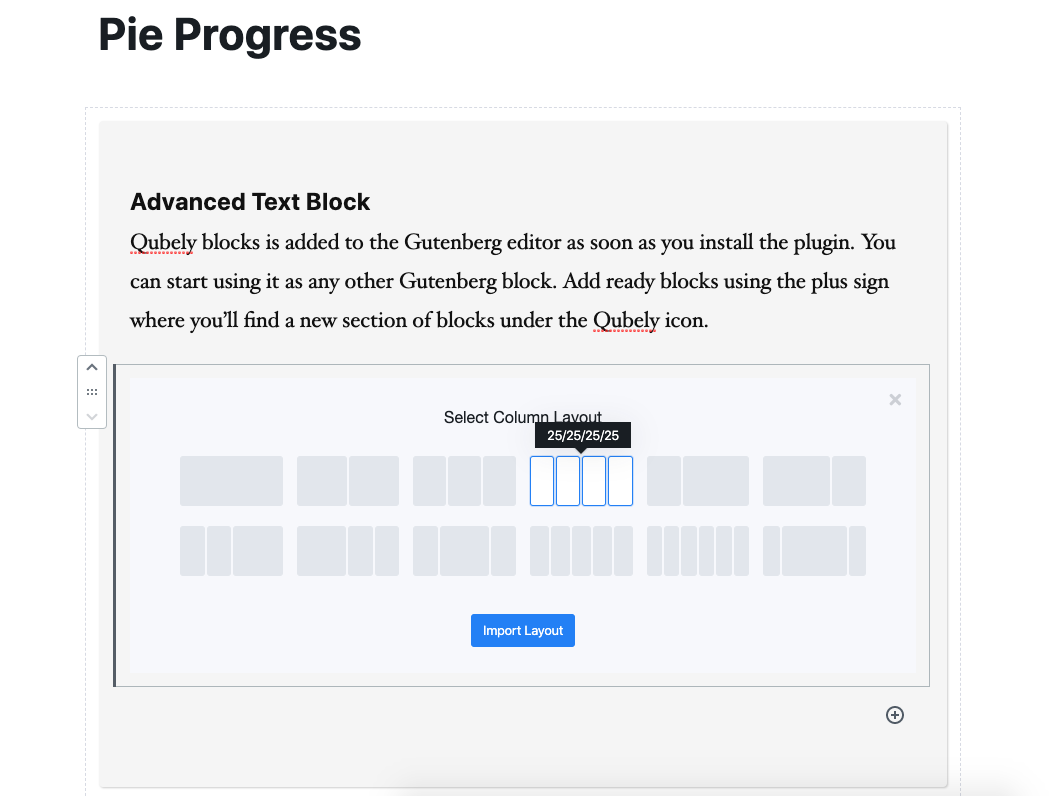
To add the pie progress block anywhere, navigate to the Gutenberg editing interface of your desired page, and click on the (+) icon. We don’t just want one pie progress, we want an entire section of them! To do so, first, we’ll add a Block Wrapper, then insert an Advanced Text block, followed by a Qubely Row block with 4 columns. In each of the columns, we will add a Pie Progress block.
Step 3: Customize the Background Block
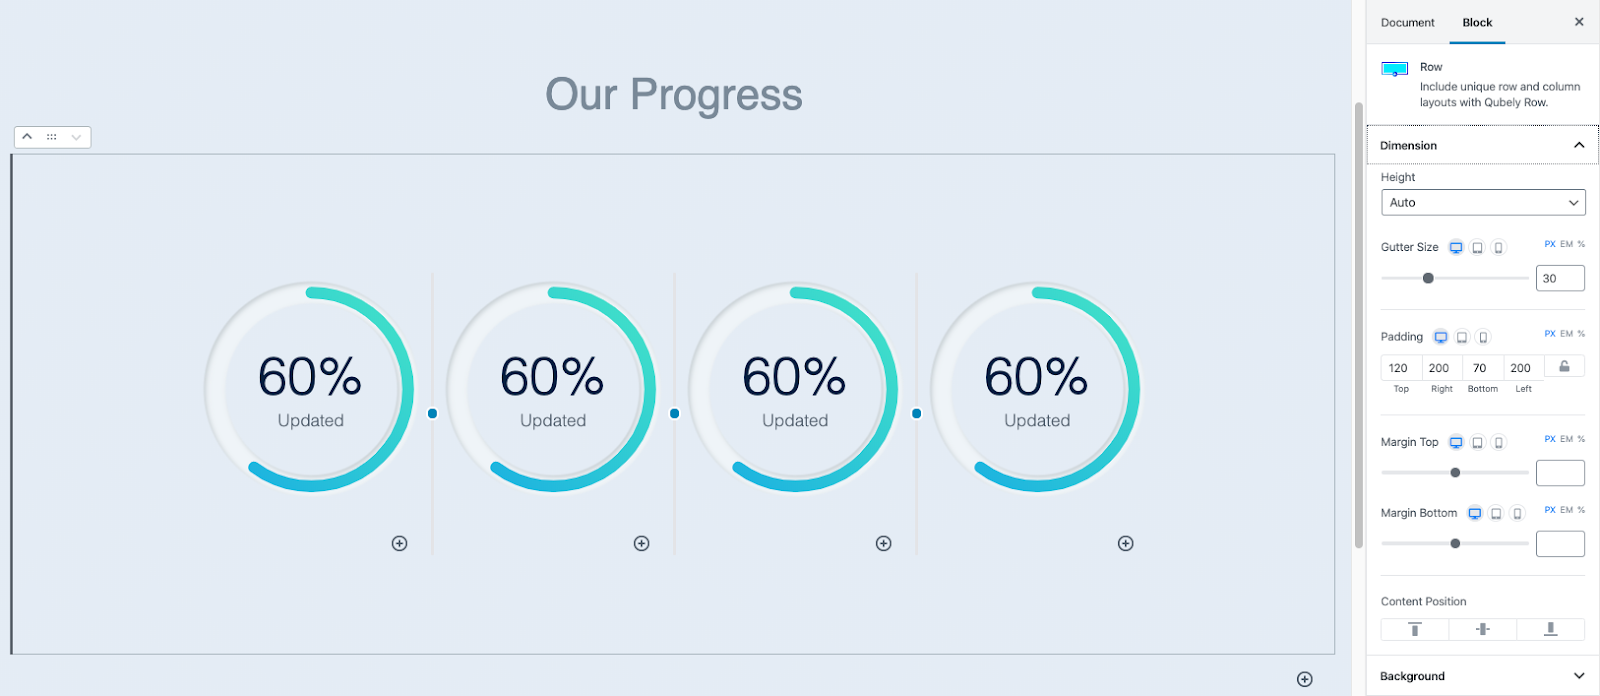
Before we start on the Pie Progress block itself, we need to take some time to edit the background for these pie progress elements. To do so, we’ll add a background color to the block wrapper by going into its background options. We will also set the block width to full width so that it spans the entire horizontal screen real estate.
Along with that, we’ll also set the row block to wide width. After that, we’ll also change the header section’s font styling to match our overall theme.
Step 4: Set the Starting Template
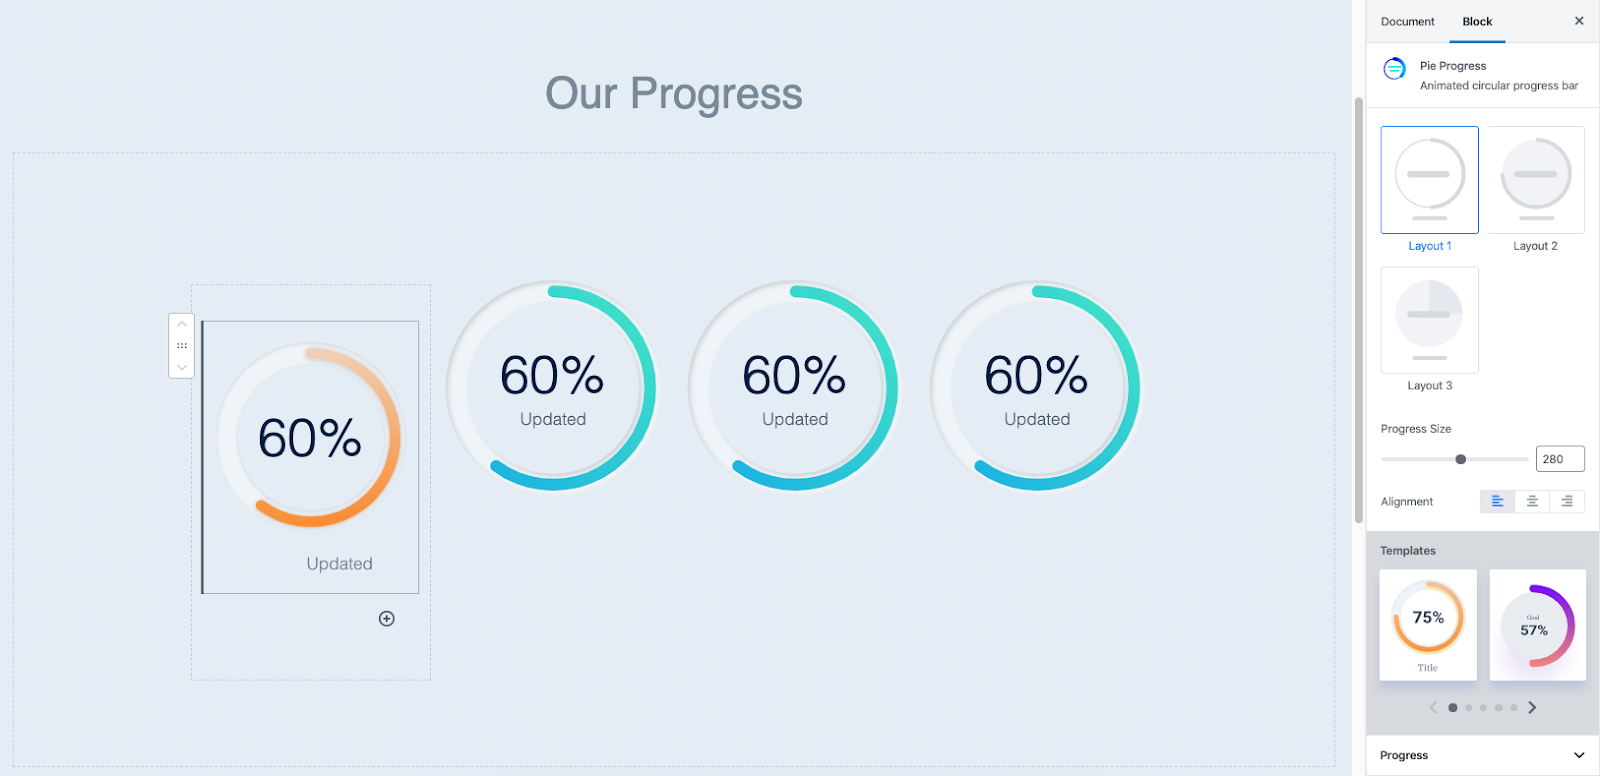
We can now start customizing the Pie Progress block. You can pretty much do anything you want with the block at this point, but we’ll go through some of the settings that we like to do.
Select a template: There are 10 pre-designed templates for you to choose from. These are preconfigured by our brilliant team of designers & devs to give your section an elegant look.
Realistically, you can pick one and be done with it. But there’s no fun in that, right? We’re going to pick template 1 and then modify it to blend in with our overall theme.
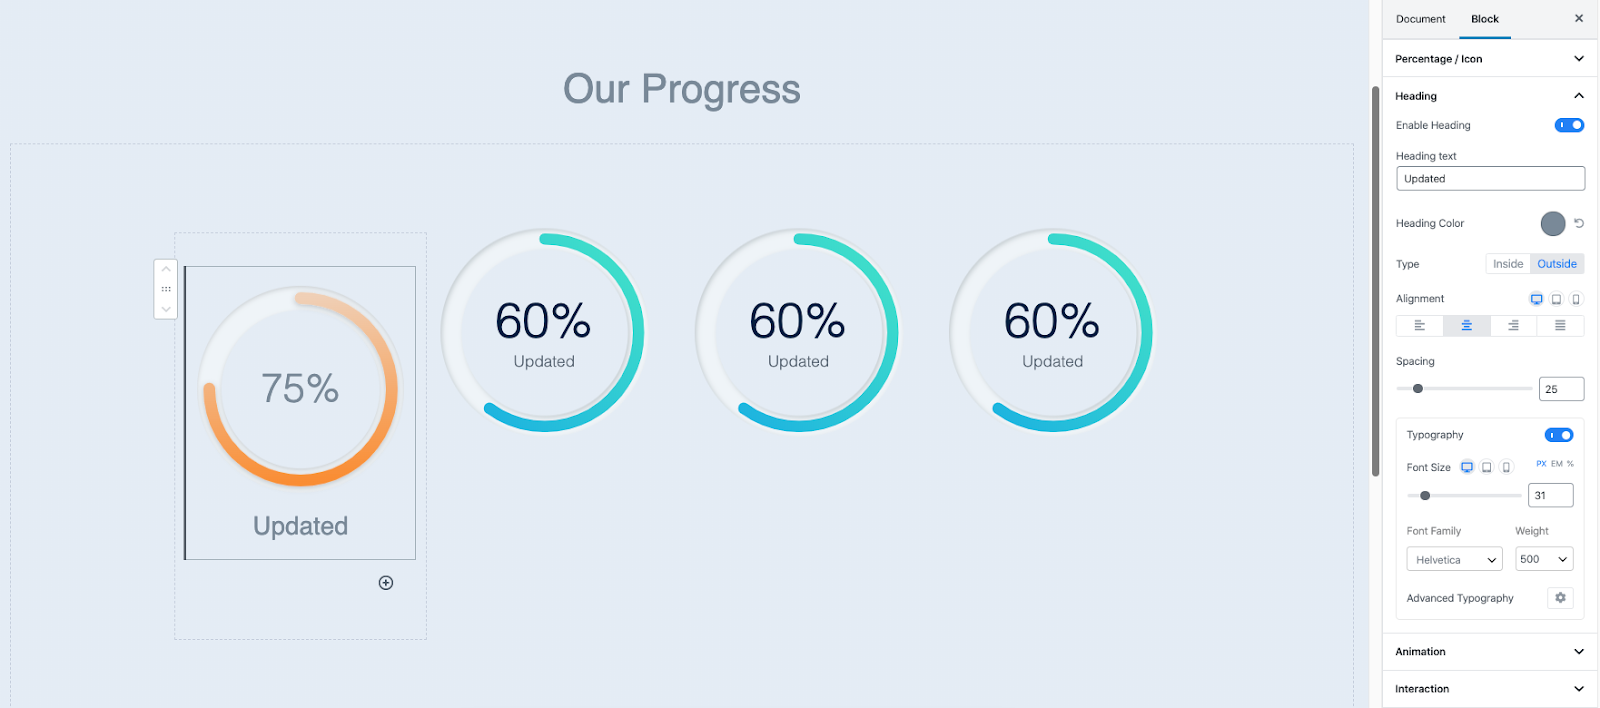
Step 5: Customize the Pie Progress Block
After picking template 1, let’s start adjusting our settings.
- In the progress tab, we’ll set the Progress color to a gradient. You can choose your colors, and we went with 4 vibrant colors with a smooth gradient. This changes the color of the band.
- We will pick a thinner progress width to give a cleaner look.
- In the percentage/icon tab, we’ll select a grey color and decrease the font size.
- We will set the heading type to Outside and again select a grey color for the heading text.
Step 6: Duplicate the Blocks to Make a Section
Now all you have to do is repeat all of step 5 for each of your pie blocks. Pretty annoying right?
Nah, just kidding! You don’t have to style each block all over again every time. Just style one pie progress block, and then right-click on one pie block to find a “copy style” option. Next, paste this style on all your other blocks, and you can have a uniform pie progress section. Now all you have to do is edit the heading’s text and you’re done!
After copying the styles, all that’s left is to give each of the progress bands a unique gradient color. Finally, hit “Save Draft” and head over to preview the page to see your Pie Progress section in action.
Wrapping Up
See how easy it is to add a pie progress section to your WordPress site using Gutenberg? That’s all thanks to our most advanced Gutenberg plugin, Qubely. I hope you were able to follow along with it and make yours as easily as we did. Please comment if you’re stuck somewhere or need any help!