
Tutor LMS 2.0 is finally here for the world to use and we could not be more excited to share its features with you all. Tutor 2.0 has come in with game-changing features that are bound to elevate your LMS experience as a whole. Although this is a new feature, it is mostly an extension of a pre-existing option in Tutor LMS; Email Notifications.
Previously, Tutor LMS did not have an editor to change the email content as it does now. So you had to override the plugin files from your theme if you wanted to make any changes, and honestly, that just sounds like quite the hassle. In this article, we will go over what the new email template editor can do, how it works, and how we can use it.
What Is the New Email Template Editor?
Before we begin let us quickly introduce what the email notifications and the email template editor are. Email notifications are not new to Tutor LMS, it has been there for a while.
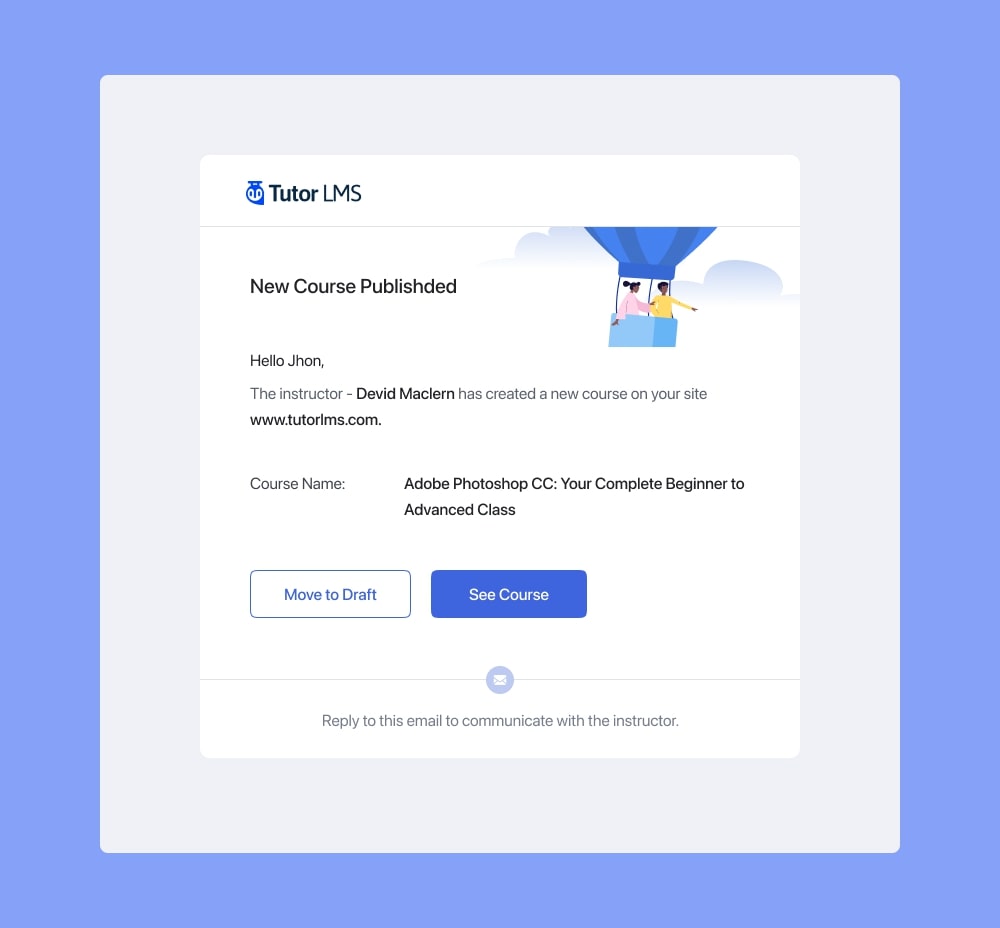
Email notifications essentially send automated emails to students, instructors, or admins based on set events taking place. So let’s say that a new student has joined a course, if the email notification toggle for that event was turned on the instructor will get an email notifying them about the new joining. This could work the other way when an instructor grades a quiz, students of that course will get an email that the instructor has graded their quiz.
But what about the content of the emails? We could change it in a much more complicated way as we said before. The process is now much more simplified and intuitive.
You can use the Email template editor to change the content of the emails that are sent out with the email notification toggles. This is to give a more personalized touch to emails that are sent out or if you prefer to give more detailed information when notifying the recipients of emails.
How It Works
Now that we have an understanding of what the email template editor is, let us go over how we can use it. Before that, we first need to follow through with some steps to activate it.
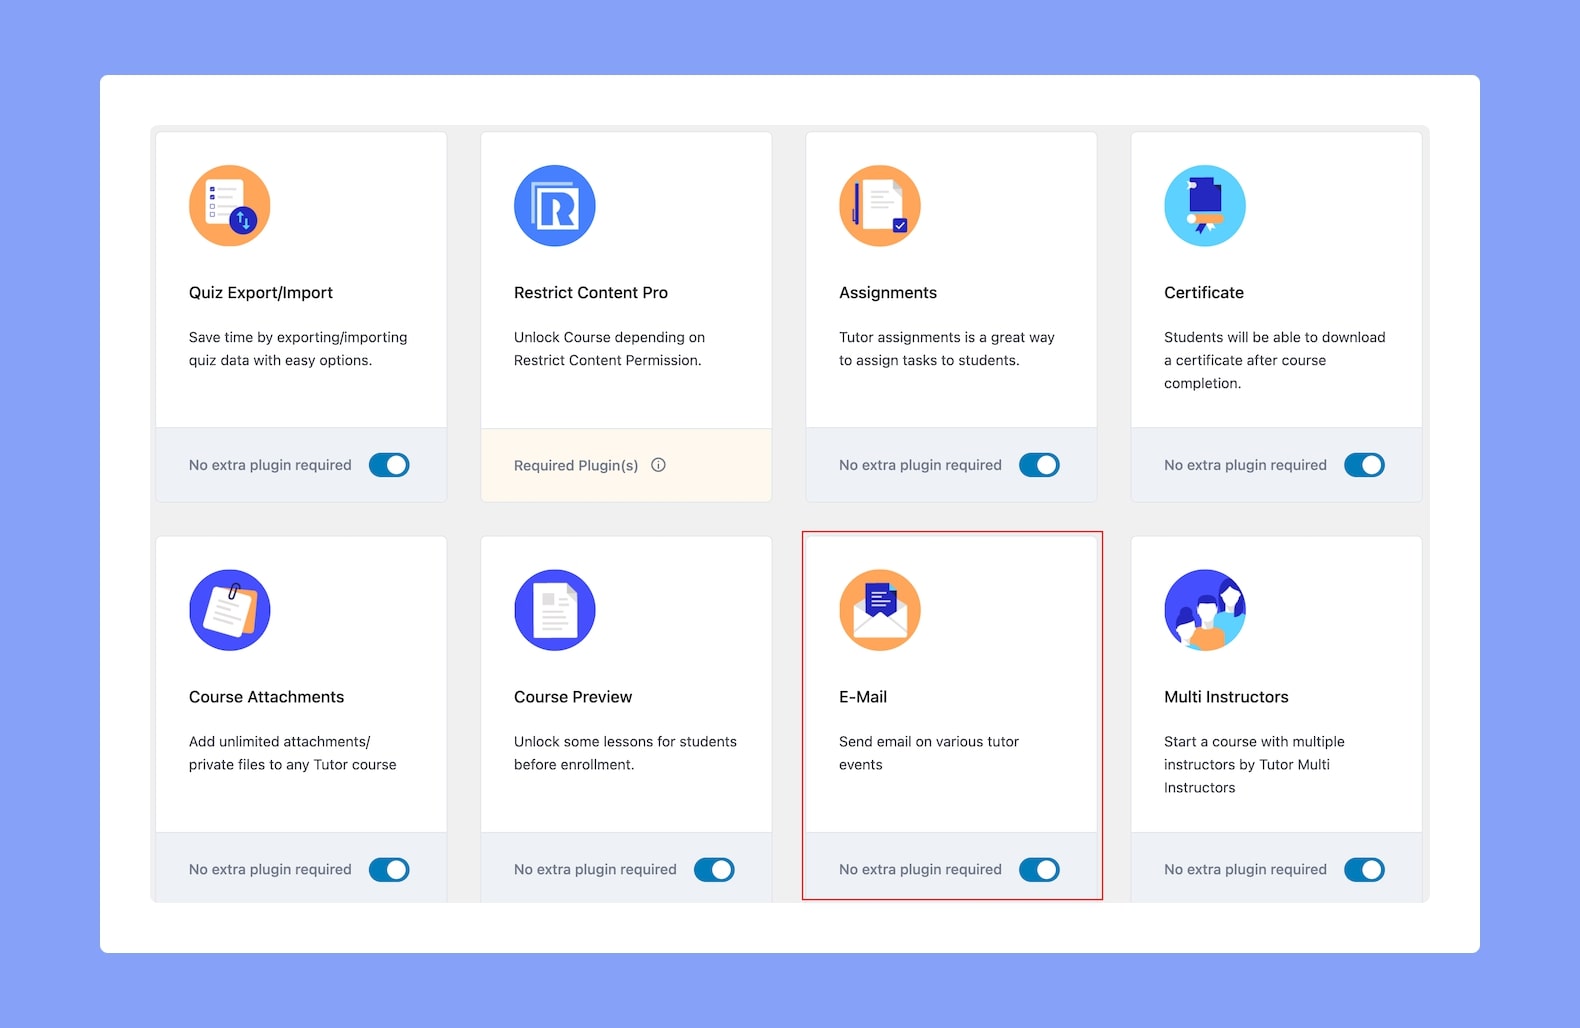
From the WordPress admin dashboard, we navigate to Tutor LMS > Add ons and toggle the Email on. This will ensure that we see the email settings in the Tutor LMS settings tab.
After this, we go to Tutor LMS > Settings > Email.
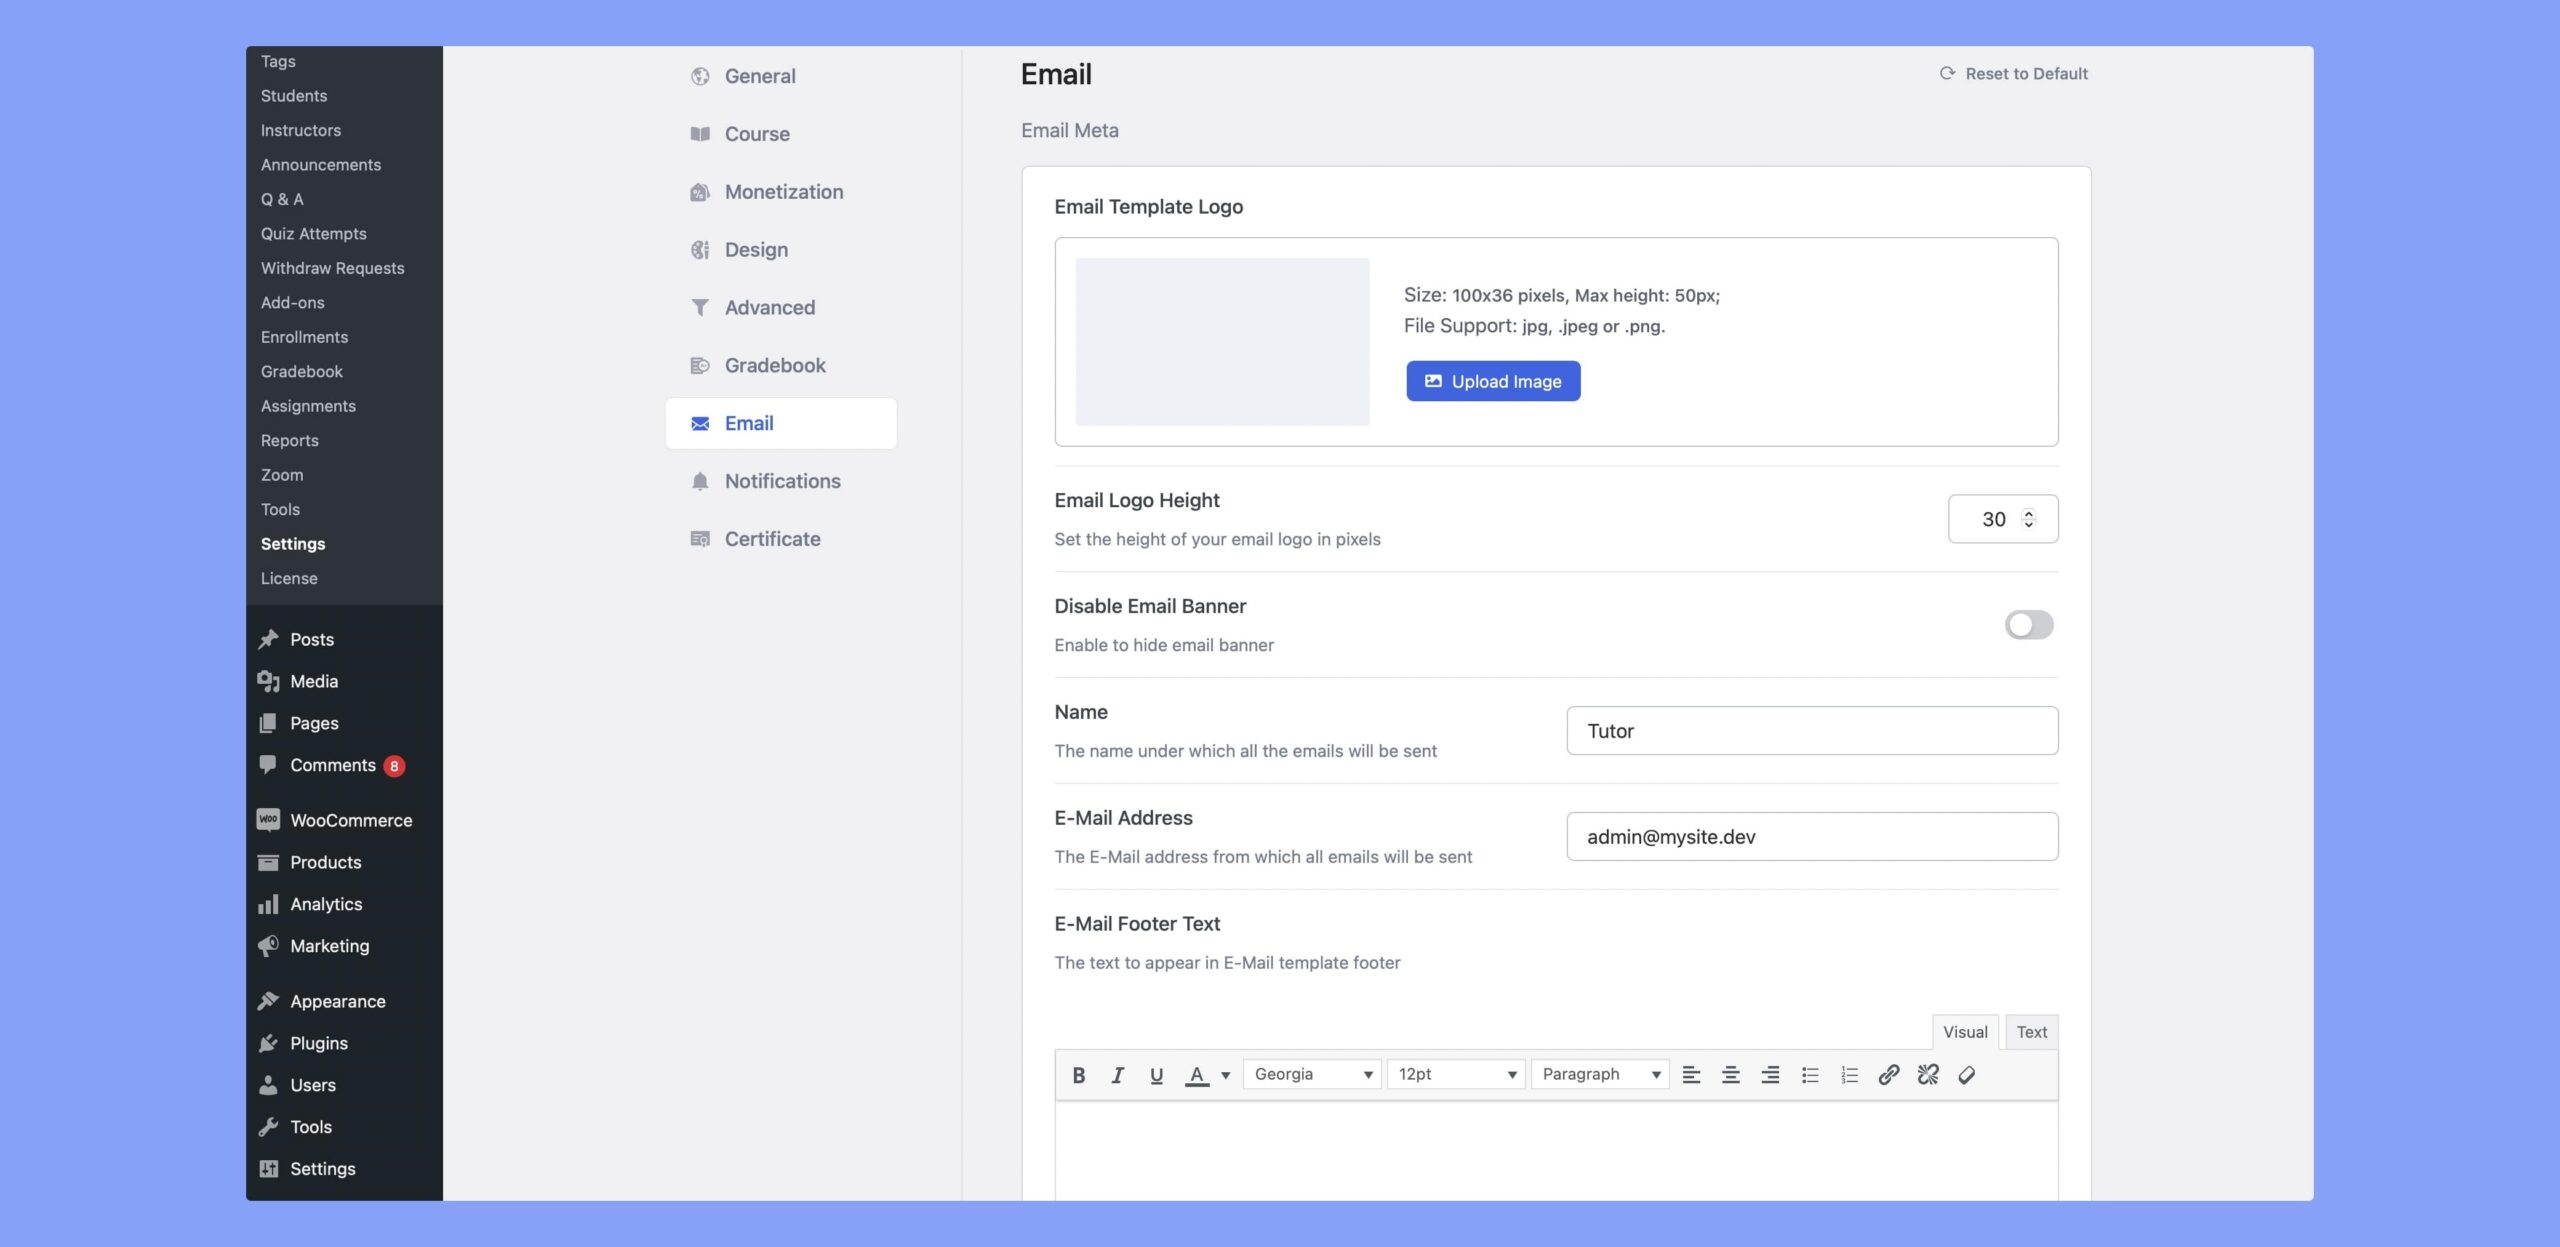
Once at this tab, we can see some new settings under the email meta subheading. To talk about a few, we can globally change the email template logo from here. Remember that this is a global change and will affect all your email templates. You can change the email logo height also from here.
Another important setting is the option to disable the email banner, if disabled this will remove the banner image that is by default present on every email template. Go ahead and disable this if the banner is not something that is not to your liking.
Scroll down to find a large list of events with toggle buttons. These settings are not entirely new to Tutor LMS. But just to review, these events are for when you want to send an email notification to either a student, an instructor, or even the admin of the site.
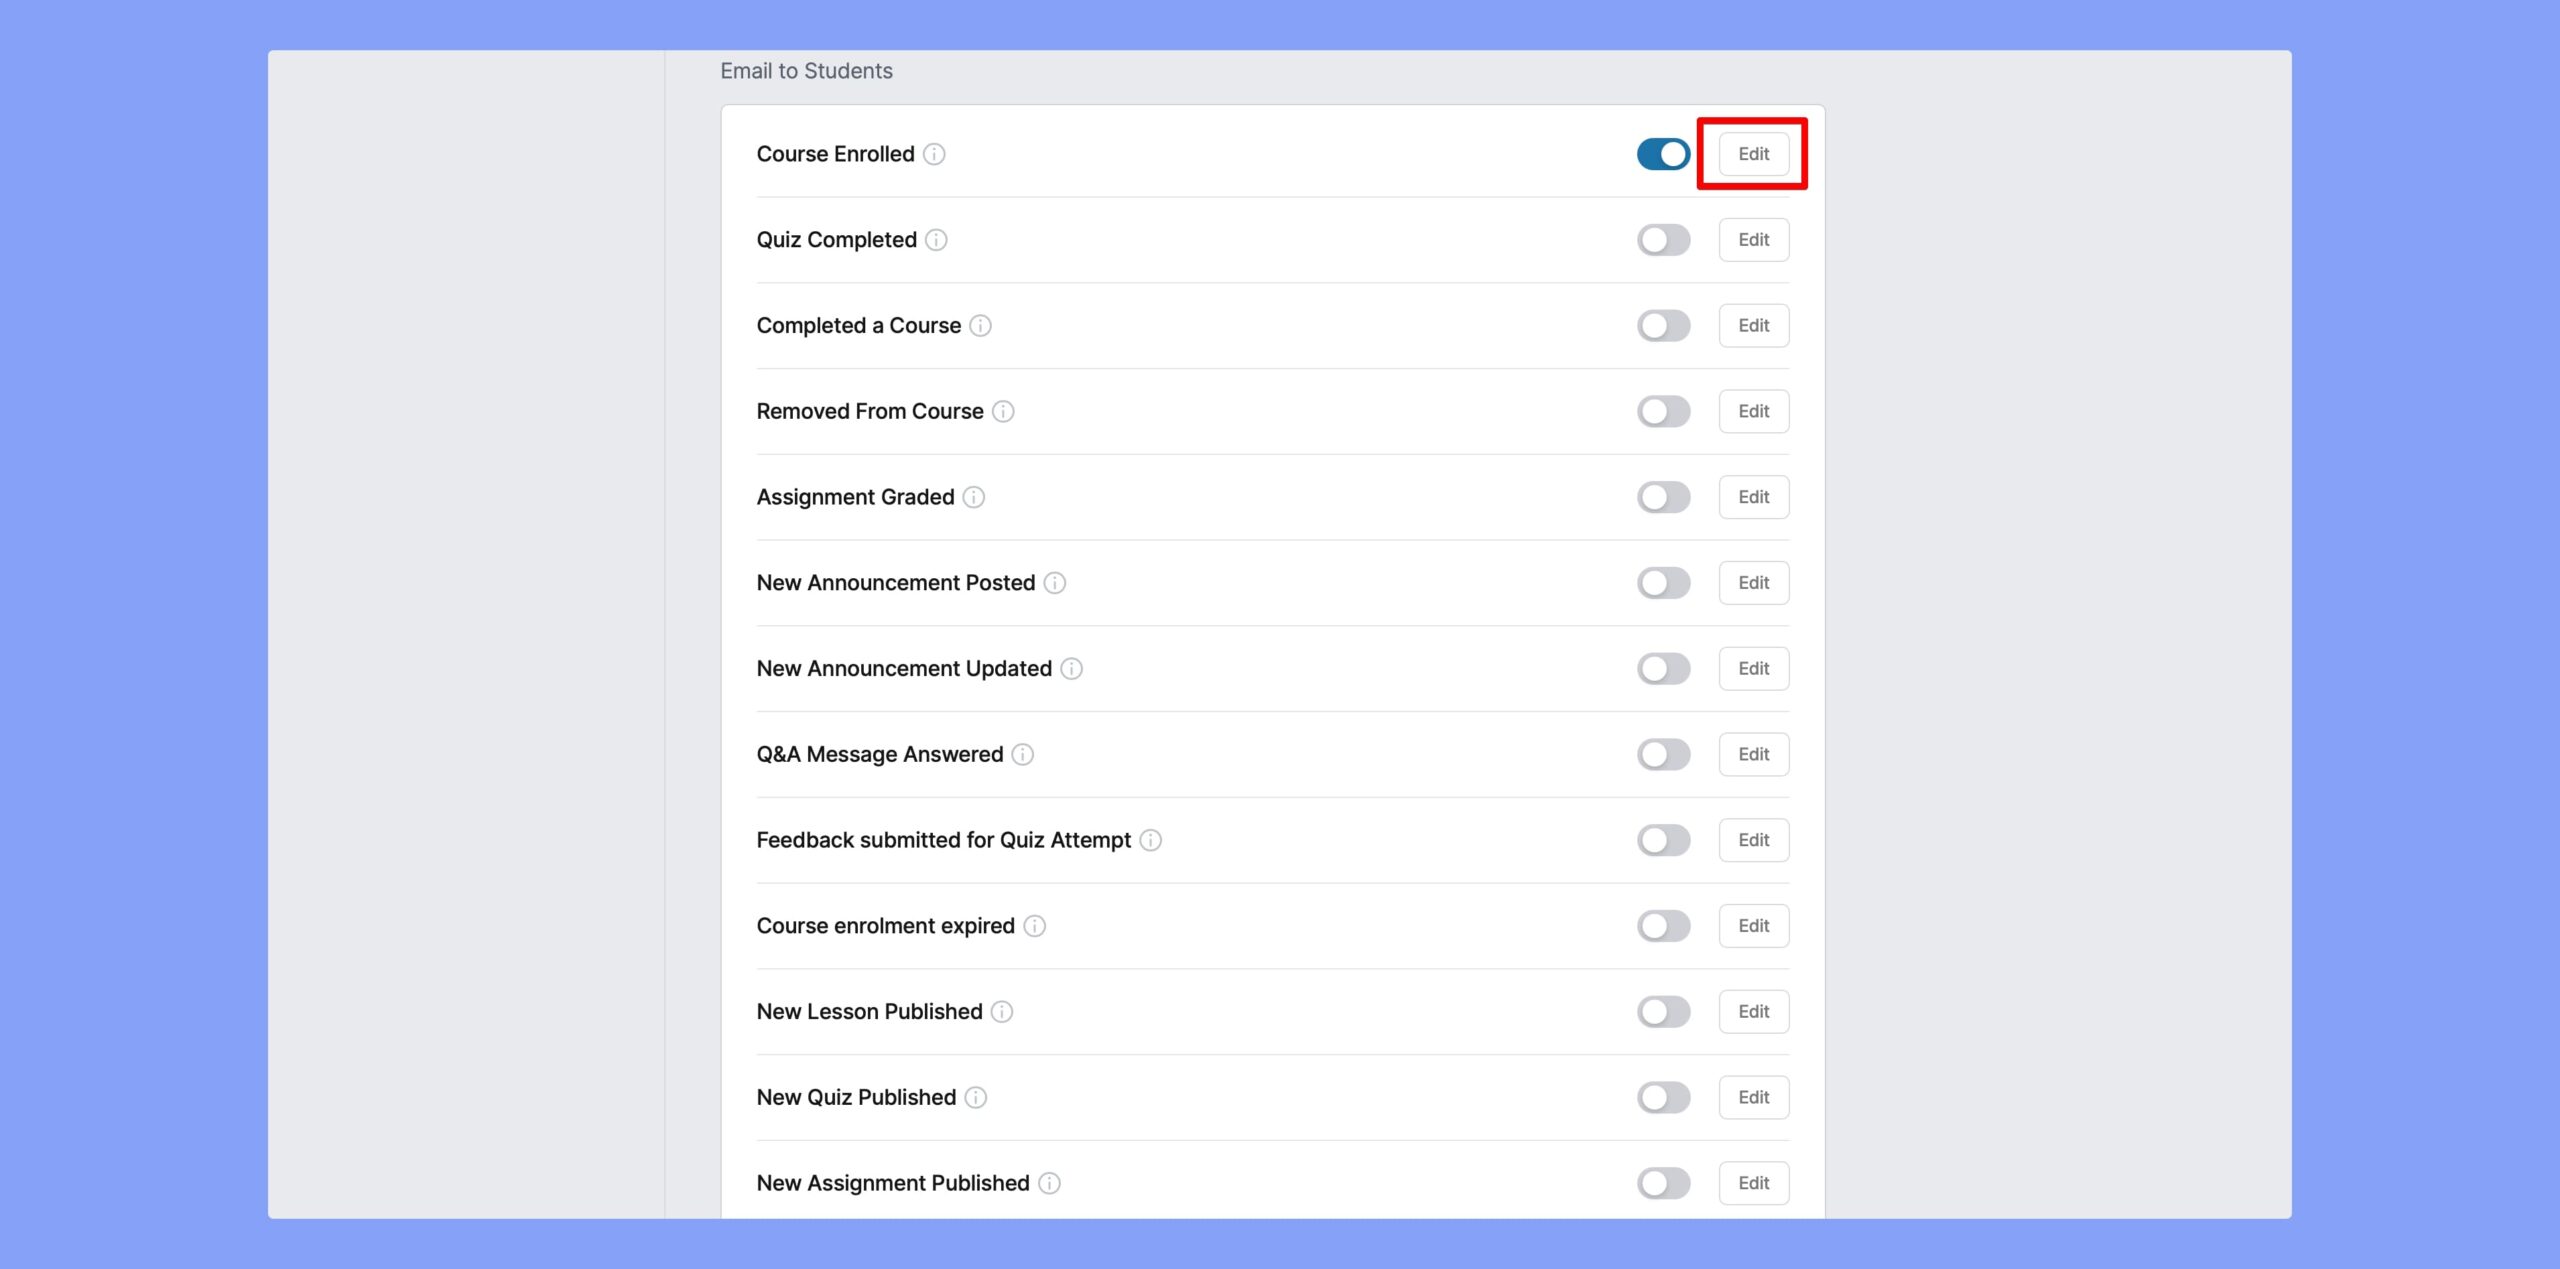
Our main focus though is on editing the content of the emails. Previously changing the content of the emails was quite the hassle. Now the process is much more streamlined and quite beautiful. To edit the content of the email that is to be sent we simply click on edit and it will take us to the email template editor.
Email Template Editor
Finally, here we are, the email template editor. You can see the page is divided into two major parts:
- Template Content
- Template Preview
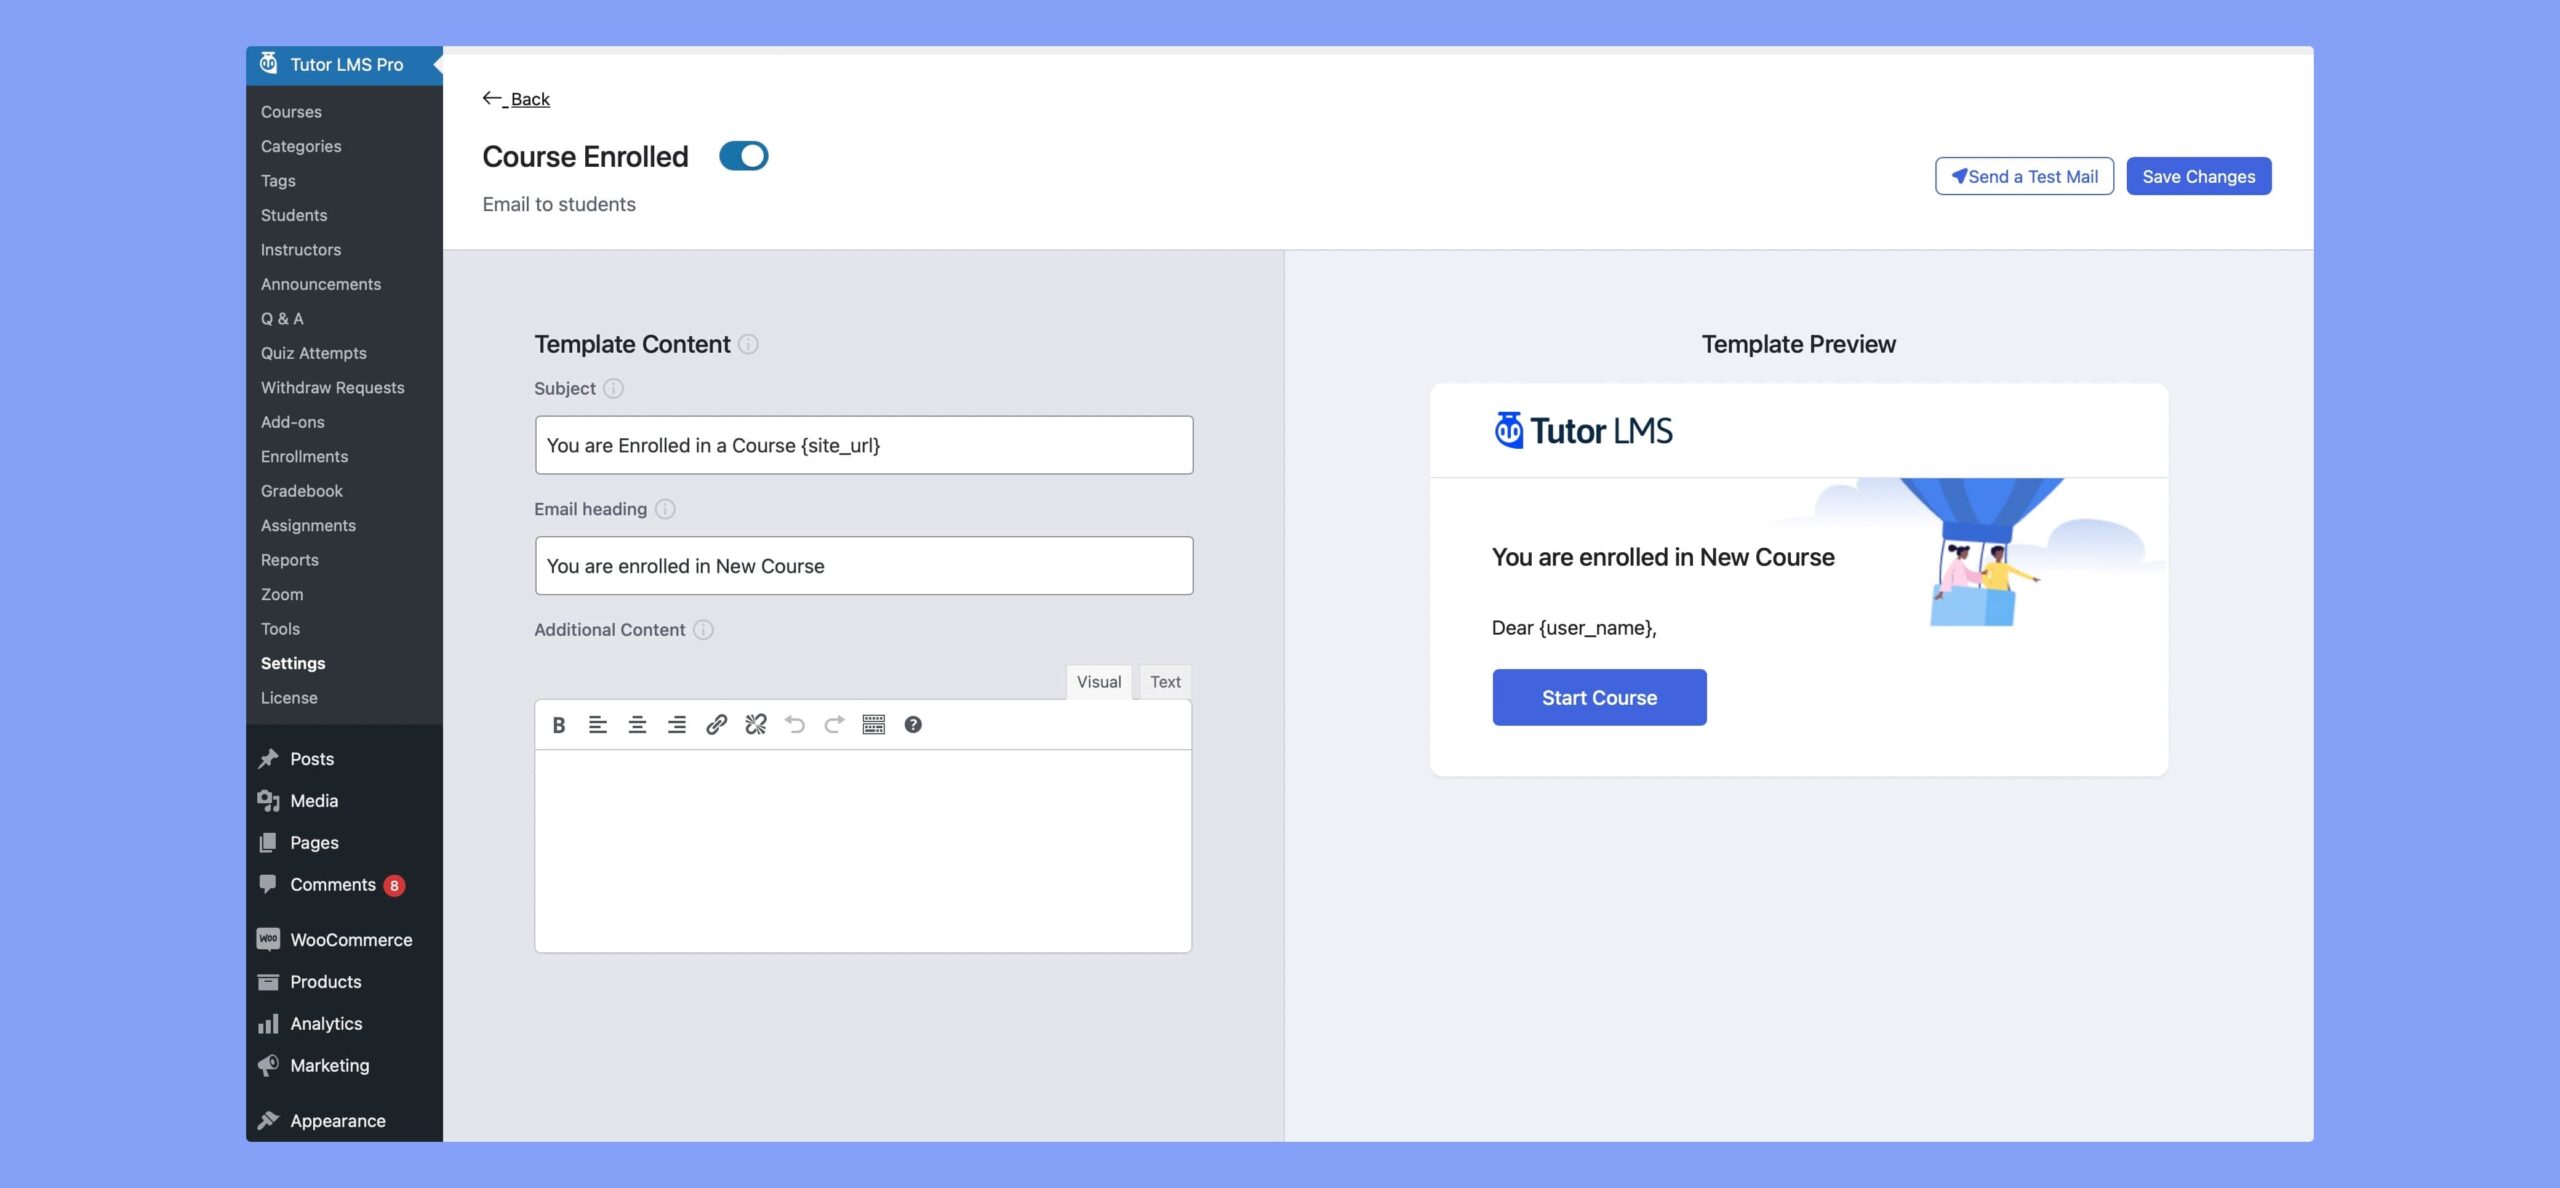
Email Template Content
This is where you would make the changes to the content of the email that you want to send out.
The first section allows for changes to the email subject. Here we will find a default subject is given for all the email templates and while these default texts suffice you can manually change them too.
After this section comes the email heading editing ability. Now, something to point out, there are variables that we can use in the email template body that will dynamically fetch content from our site.
The last section is titled additional content which is basically the body of the email. Just like in the previous section, we can add the variables to dynamically fetch site names, students’ names, and more.
Template Preview
This section of the template editor shows a dynamic preview of what our email looks like as we edit it. This is quite nifty as we can shorten the process of checking what the email looks like by constantly sending test emails to ourselves.
After the changes to the email, we can do a check by clicking the test email button at the top. This will send an email to the site admin at their email. This is a great way to check if our email is showing up how we want it to be.
Check the test mails for other scenarios you are setting up as well and once you are satisfied you are good to go.
Wrapping Up
There you have it, that’s the email template editor in a nutshell. We can already see the potential of this wonderful tool and how streamlined it makes the email process for us. We tried to cover all bases with the numerous different email notification events to ensure all common events are mentioned. Let us know down in the comments how you liked the email template editor and have a good one.

Gianni Golfera
How can I change the button text (in the enrollment e-mail sent to the user)? For some reason, the button text is not translated.
Net Banana
Hi, how can I remove the ‘Rate Course’ button from the email template? In the child theme what is the correct path for Tutor to take the modified template and not the original?
Thank you
juan Devis
Hi, we can only change the logo and other contents but there is no guideline to change the image on the template with the custom image so please guide us if there is any option launched, please.
Sami Muhammad Gazi
Hi thank you so much for the comment! As of right now, if you want, you can enable/disable the banner image from Tutor LMS > Settings > Email > Disable Email Banner.
dehincome
But how can we change the color code of the button?