
The folks over at WordPress introduced Gutenberg to give the editing freedom, the general users had long hoped for. As it succeeds in many aspects of that goal, it also falls short in some.
Options like applying advanced customization to your texts are still missing in Gutenberg text blocks, which many people would need. But you don’t have to worry. Today, in this short tutorial, we will show you how to add advanced customization to your Gutenberg text.
How will Advanced Texts Help You
Before we jump into the tutorial, let’s point out why you should add advanced customization to your texts. Besides making your texts unique from the rest of the pack, there are some other benefits as well. Such as:
- Getting your customers’ attention to a specific section
- Using special typography to state something important
- Different fonts for different types of users
- Convey different emotions with different types of fonts
- Achieve a better conversion rate with your copies
And the list goes on. So to get all these benefits and more let’s check out the step by step guide below.
Getting Started
To get started with advanced customization to your Gutenberg text, you need to make sure that you are using a Gutenberg block plugin. For this tutorial, we are using the latest version of Qubely, the top of the line Gutenberg block toolkit in the market. It’s a free Gutenberg page builder to create, style, and customize your websites easily. So, install and activate Qubely on your site first.
? Get the latest version of Qubely
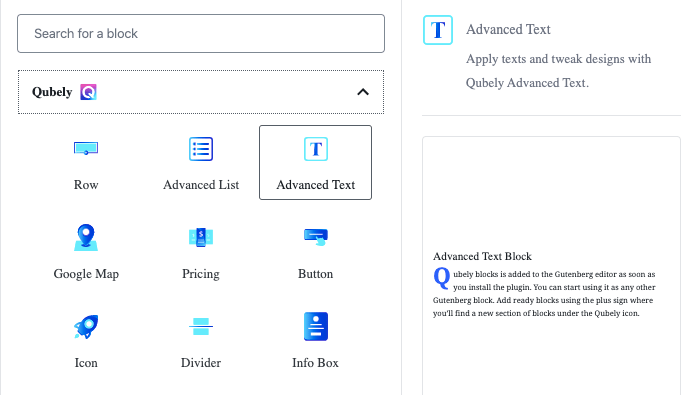
Step 1: Add the Advanced Text Block
Now that you have the latest version of Qubely. Go to your post/page’s Gutenberg editing mode, and add the Advanced Text block from the Qubely section. Once you find it click on it to see all the customization features.
Step 2: Apply a Layout of Your Choice
The first customization option you get with the Qubely Advanced Text block is layouts. These layouts offer a one-click solution to create a section in your post/page.
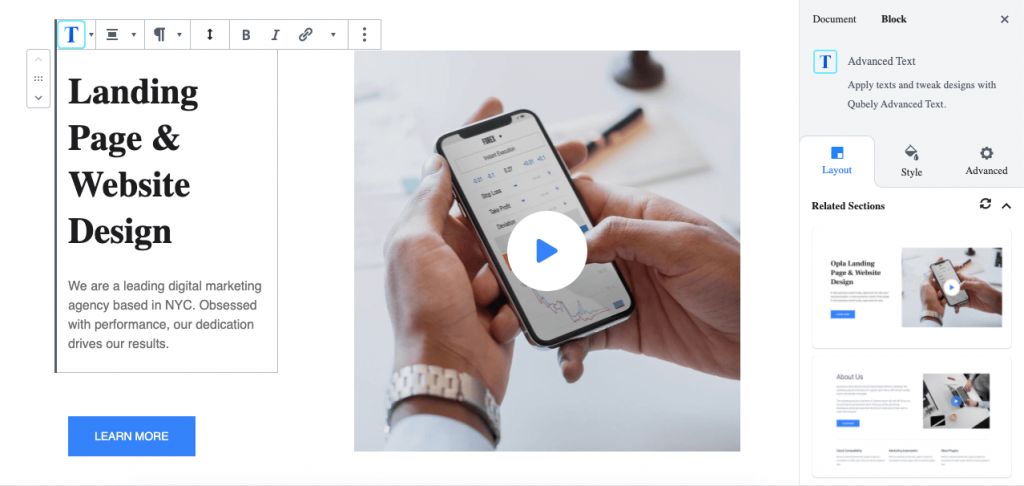
Once you find the layout section you like, simply hover over the layout image and click on the import button. Importing takes seconds & you will find that you have created a professional looking section in your post/page without any complication. You can also customize your recently imported section in any way you like.
Note: These layouts are built using other Qubely blocks along with the Advanced Text block.
Step 3: Configure Styles of Your Text to Make it Unique
Once you have taken the Advanced Text block and written your text inside, in the Style tab, you will find the options to style your texts.
Alignment
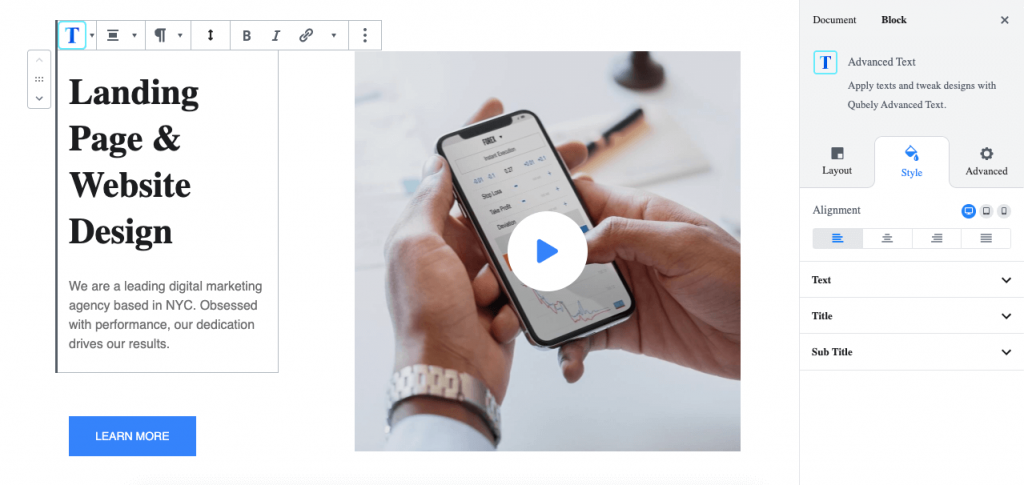
You can set the alignment of your text from here. Choose from left, right, middle, and justify alignment.
Configure Text
In this section of the settings, you can set the properties for your Gutenberg text. You can apply specific typography, set the font size, define the text color, and more.
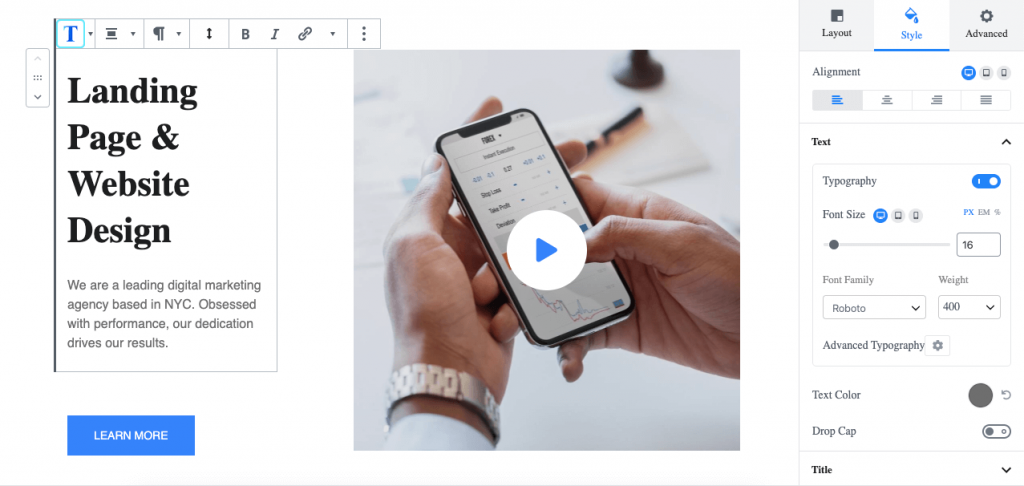
If you are interested in adding a drop cap to your texts, you can do that by enabling the Drop Cap toggle button in the Advanced Text block. Once you enable it, you can choose the size, color, and spacing attributes of the Drop Cap.
Drop Cap: Drop cap (dropped capital) is the large capital letter used as a beautifying property at the beginning of a section.
Set Your Title
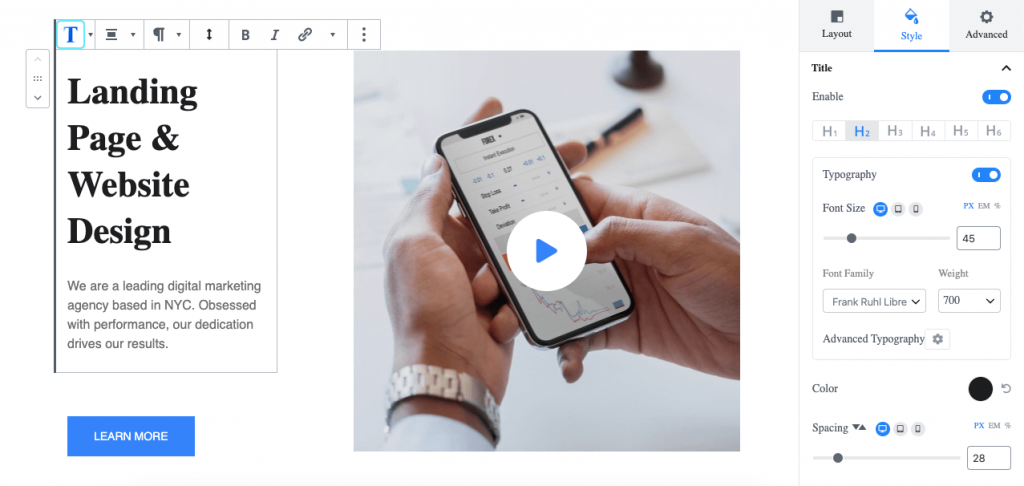
You can change the heading level of your text, font size, apply specific typography, change the text color, define the spacing between the text & header, etc. Use the Title section of the Advanced Text block for this.
Also if you are looking to add a separator above the title, simply enable the separator toggle button. Once you enable it, you can add different types of separators such as Line, ZigZag, Line-dashed, etc.
After you have added your separator, you can also change how it looks. You will be able to change the color of the separator, stroke properties, width, spacing, the exact position where you want the line.
Define the Subtitle
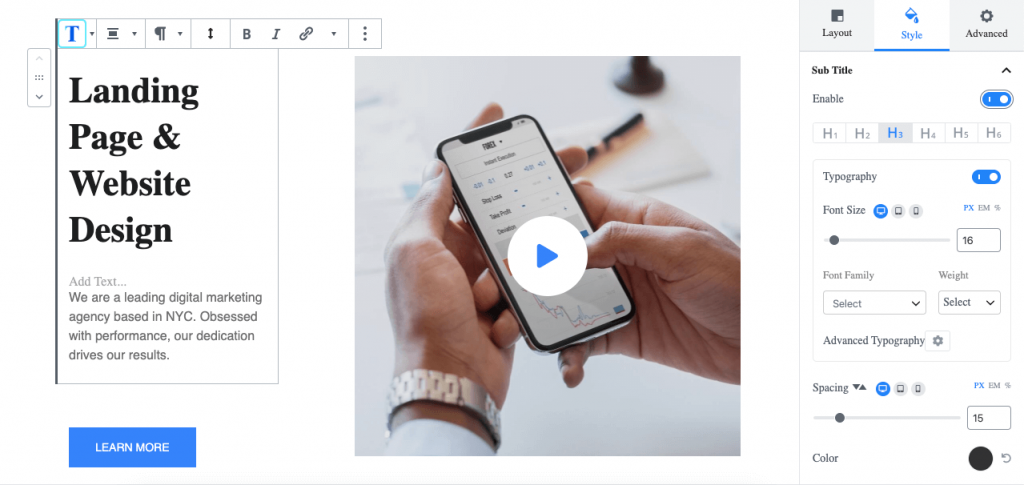
If you are looking to add a subtitle, then just enable the Subtitle option in the Advanced Text block. After you have enabled the subtitle features, you will find multiple configuration options. Set the level of the subtitle text, add specific typography, define the spacing between the subtitle & the paragraph text, apply a color, etc.
Extra: Advanced Customization Settings
This section comes default with every Qubely block. It enables you to add advanced features to your page elements. You can set animations for your block from the library. Apply effects such as fading, sliding, bounce, etc. All without any additional plugin!
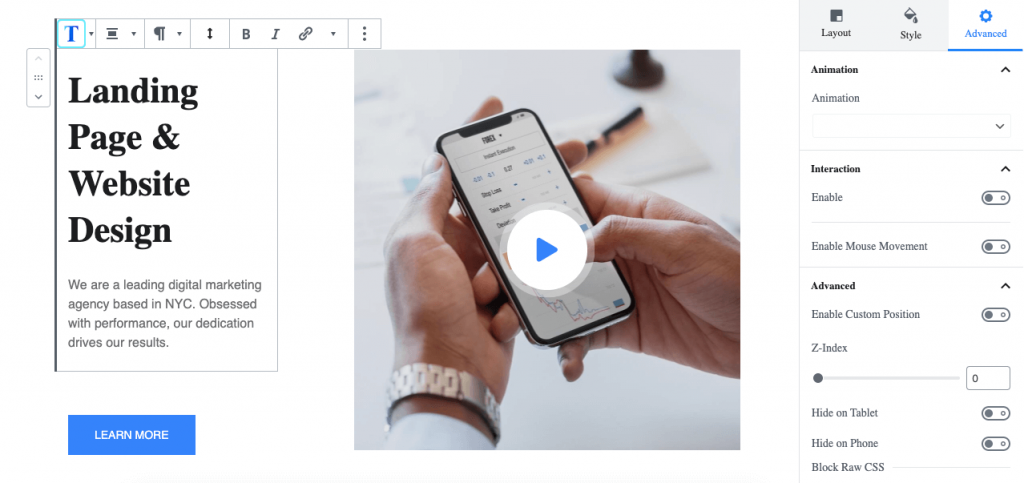
Also, you can enable interactions from the advanced configuration panel. Choose exactly how your Gutenberg text content will interact with the users’ mouse movements. There are other options like custom positioning, enable/disable to hide/show in tablets or phones, add block row CSS along with additional CSS classes, etc.
Frontend View: How it Will Look
Once you have set everything according to your choice, you can expect a similar result from the following frontend view.

Apply Advanced Customization to your Gutenberg Text
In this tutorial, you can see how advanced customization for your simple Gutenberg text can unlock amazing potential for your copywriting efforts. If you are interested, check out the documentation for the Advanced Text block. And if you would like, Qubely also offers 38+ amazing Gutenberg blocks.
We publish these Tutorial blogs on a regular basis. If you found value with this, stay connected for future updates.

One Comment