
May 7, 2024
Share


Do you dream of building stunning WordPress websites without the risk of messing with your live site? You know, like tinkering with your plugins, themes, or other sites without breaking anything for real. Well, you can do it using a local WordPress development tool.
The only question is, which local WordPress development tool is the best fit for your needs?
Introducing DevKinsta: a powerful local WordPress development tool crafted by Kinsta. It revolutionizes the way WordPress developers create, design, manage, and deploy WordPress sites locally with just a few clicks.
Today, we’ll explore DevKinsta’s features, installation process, website creation process, and overall effectiveness. So, let’s get this show on the road!
DevKinsta is available for all major operating systems like Windows, Mac, Ubuntu, etc. Here are the prerequisites and system requirements for creating a local WordPress development platform using DevKinsta.
You’ll need only the following tools to create a local server using DevKinsta.
Here are the official requirements for installing DevKinsta.
| Requirements | Minimum | Preferred |
|---|---|---|
| Disk Space | 5 GB | 10 GB |
| Memory | 2 GB | 4 GB |
| Docker Desktop Version | v2.0.0 | >=v4.17.0 (>=v2.5.0 for Ubuntu) |
However, there are some additional requirements for each operating system.
Windows:
Mac:
Linux:
Here is the step-by-step process of installing DevKinsta:
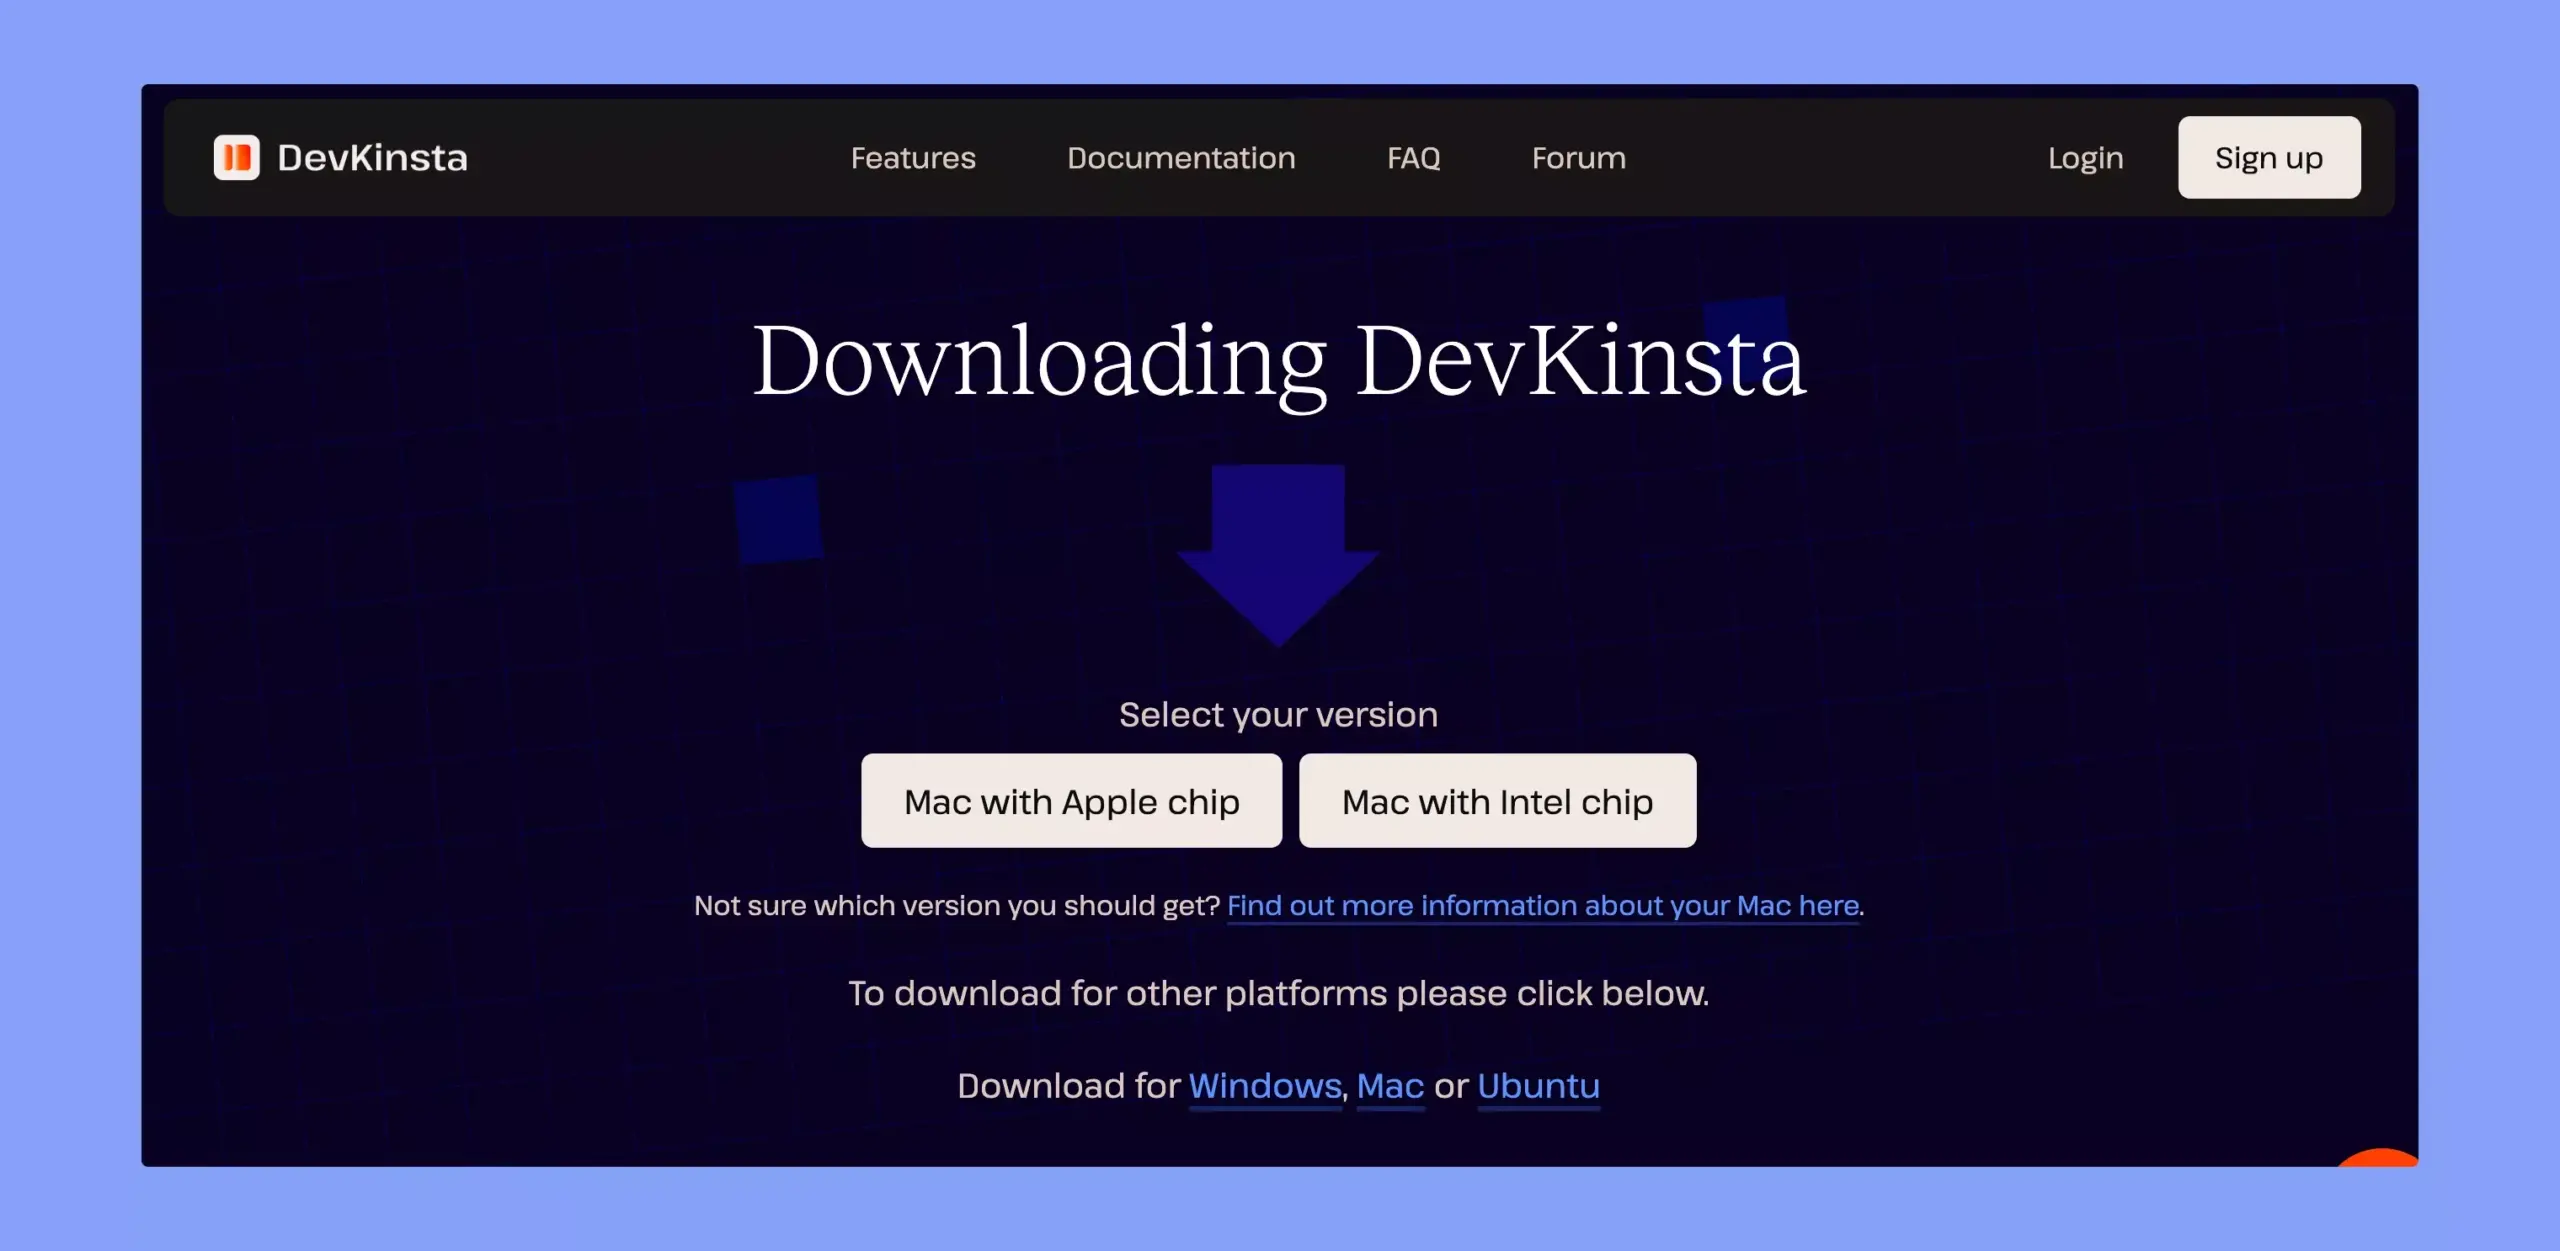
Downloading DevKinsta is pretty simple. It’s a completely free application. So, you don’t need to sign up for an account or provide any card information to download it. Just visit the DevKinsta official download page, click on the download button, and you are good to go.
Note: If you’re using macOS, make sure to install the appropriate version for your specific chip – Apple Silicon or Intel. You’ll see options for both versions on the download page.
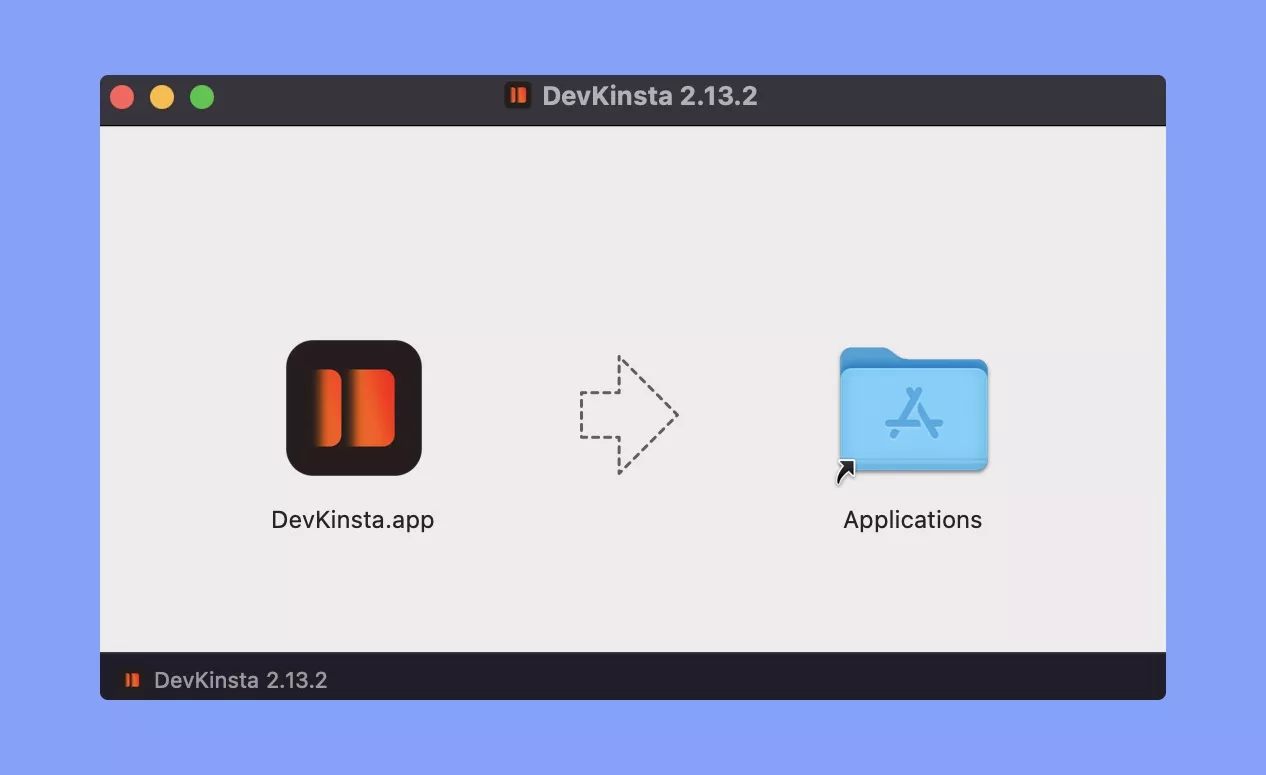
Once the download is complete, locate the downloaded file and double-click it to initiate the setup process. Then, follow the on-screen tips to continue the setup process.
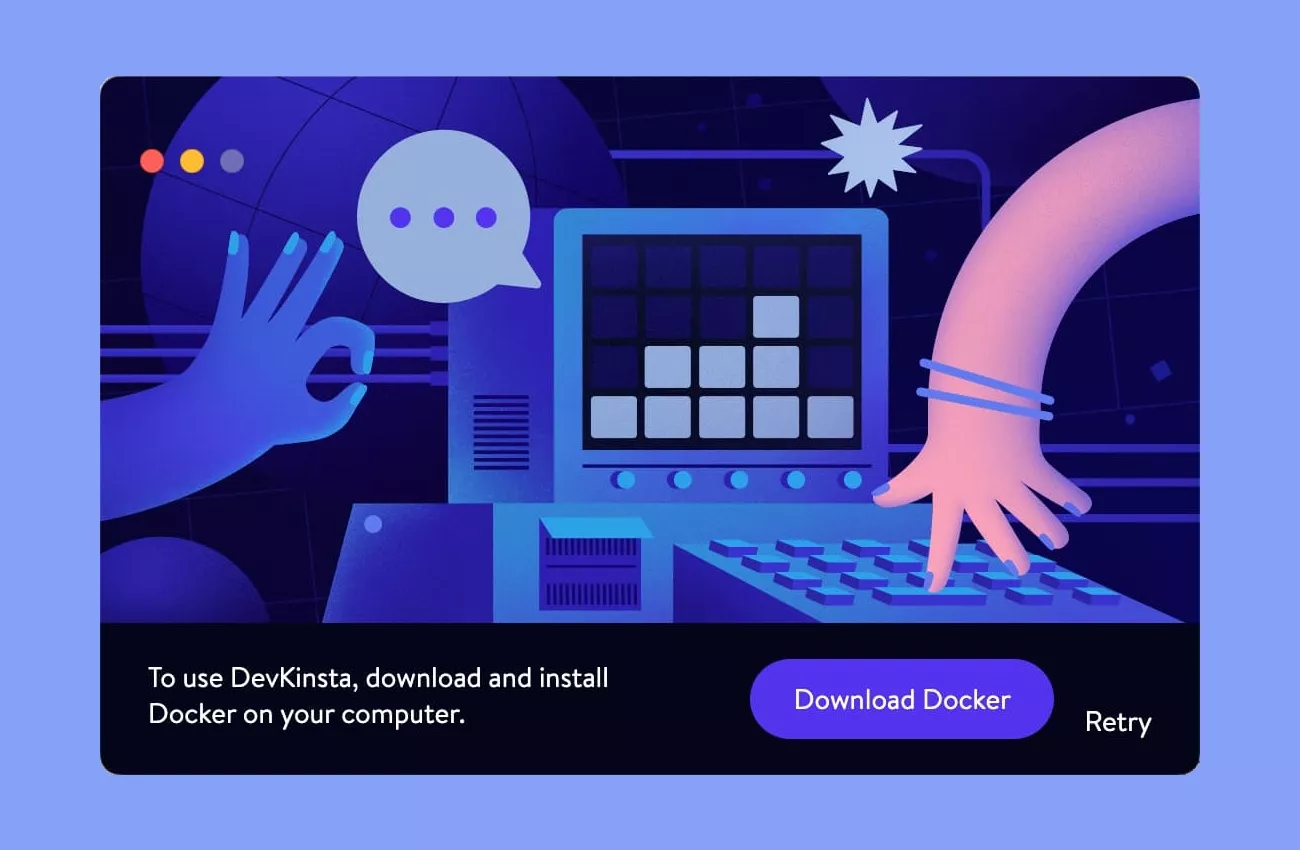
DevKinsta may prompt you to install Docker Desktop during the installation process. But you can also install it manually by downloading it from the Docker website.
DevKinsta requires Docker to create a separate container for each website. It allows you to adjust the development environment (e.g. PHP version, WordPress version) for each site.
Follow the on-screen instructions to install Docker Desktop. Make sure to select the appropriate options and configurations as required.
After the Docker Desktop is successfully installed, you may need to relaunch DevKinsta. This step ensures that DevKinsta can detect and utilize Docker Desktop to create and manage local WordPress environments effectively.
If you get this screen, it ensures that your installation is successfully completed. Now, you can proceed to create a new website using DevKinsta.
Here are the steps to create your first local WordPress website with DevKinsta.
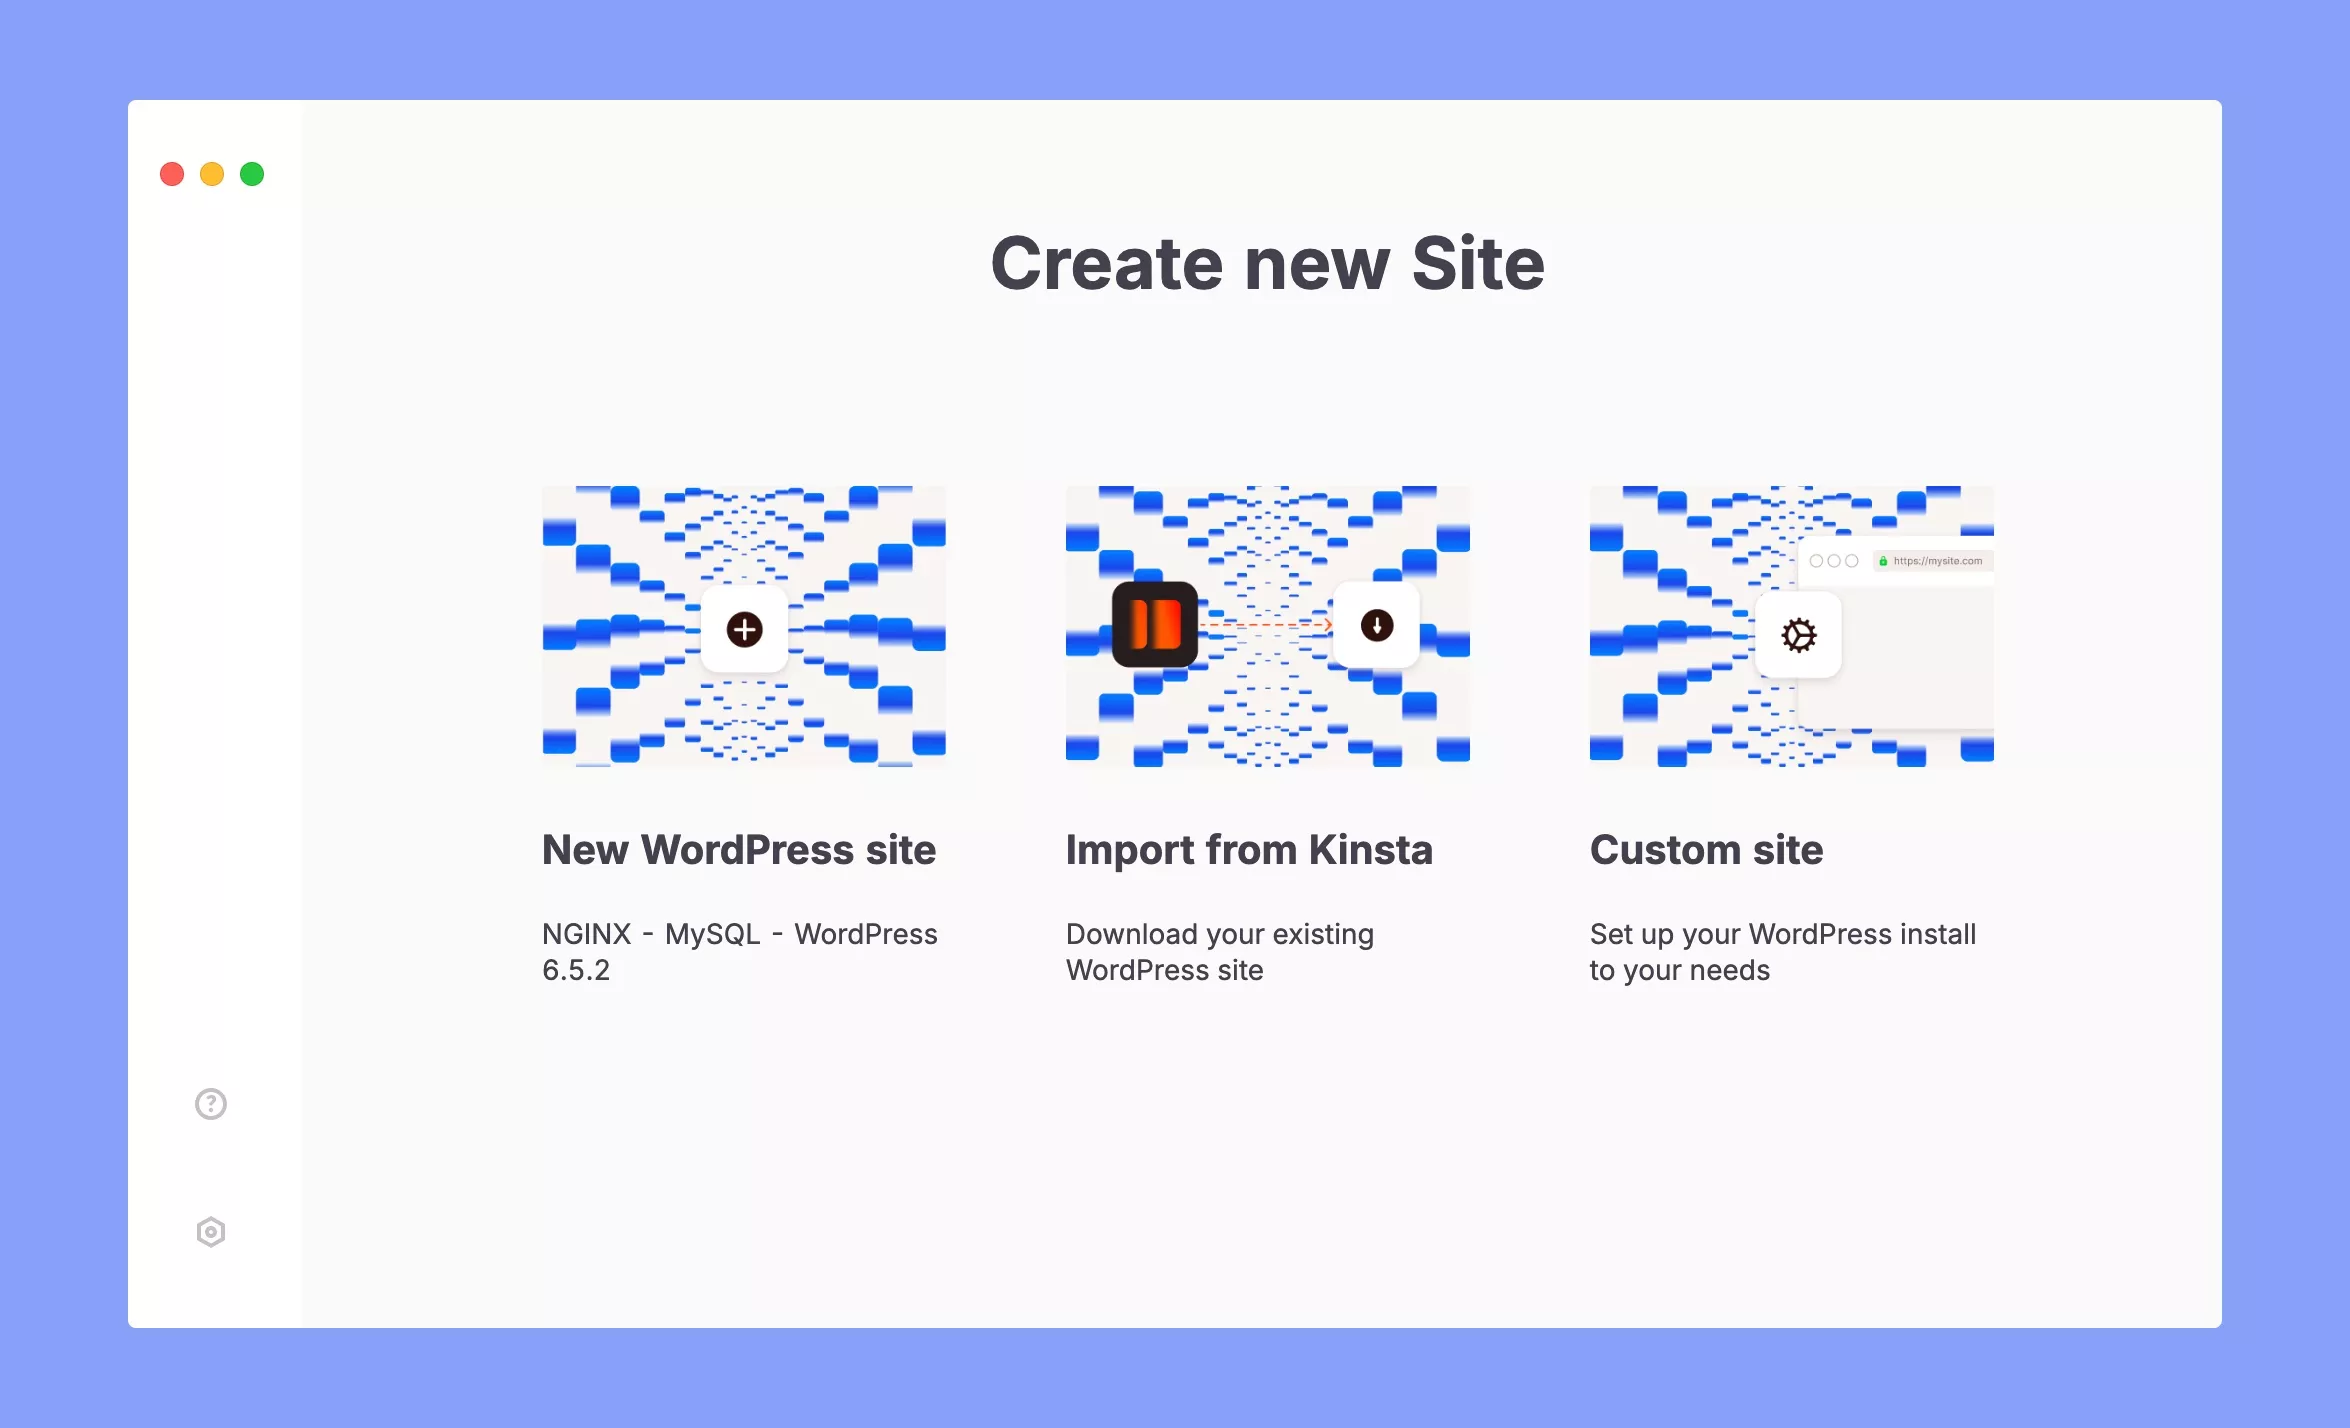
Launch the DevKinsta application and you will get three different options to choose from. These are:
Choose whichever option is suitable for you. Here, we’ll choose the ‘New WordPress site’ option to create a website faster.
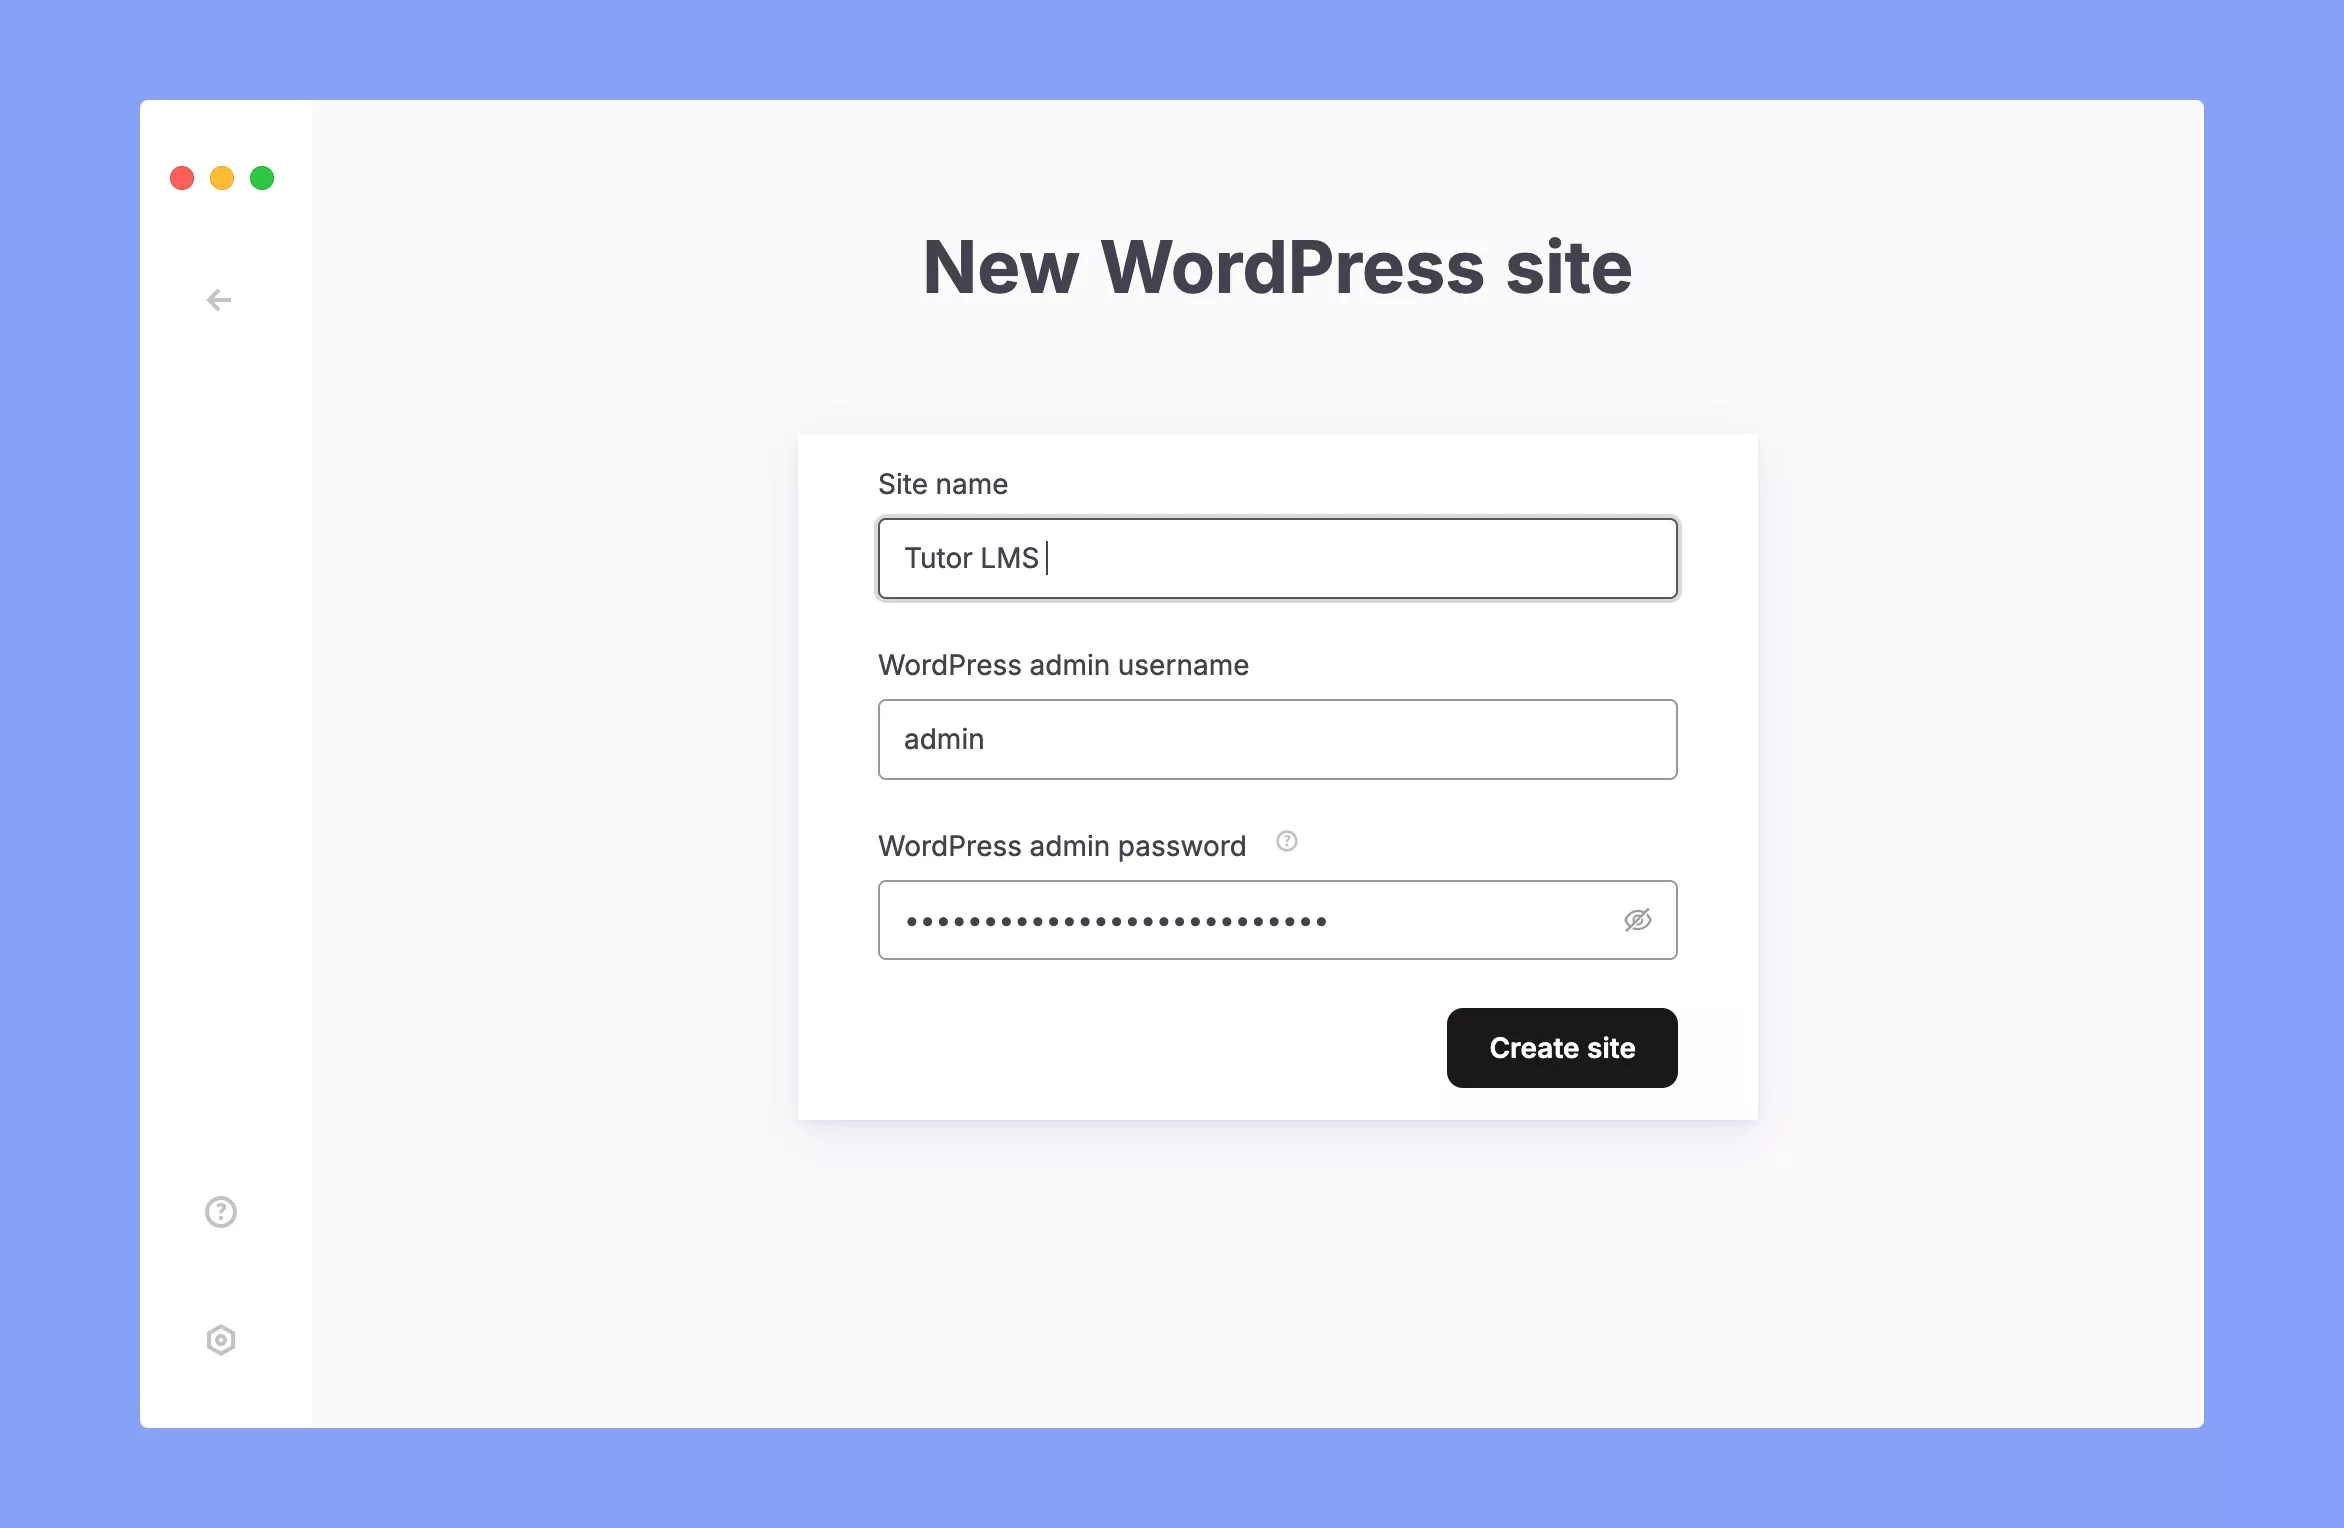
After clicking on the ‘New WordPress site’ option, you have to set your website title and admin credentials. After that, click on the ‘Create site’ button.
On the next screen, you can see the progress of your website creation, including NGINX configuration, MySQL setup, WordPress setup, host file, and DNS server updating.

Note: DevKinsta needs permission to write the hosts file (for macOS: /etc/hosts, & for Windows: C:/Windows/System32/drivers/etc/hosts). It allows your site to use a pretty URL instead of an IP address.
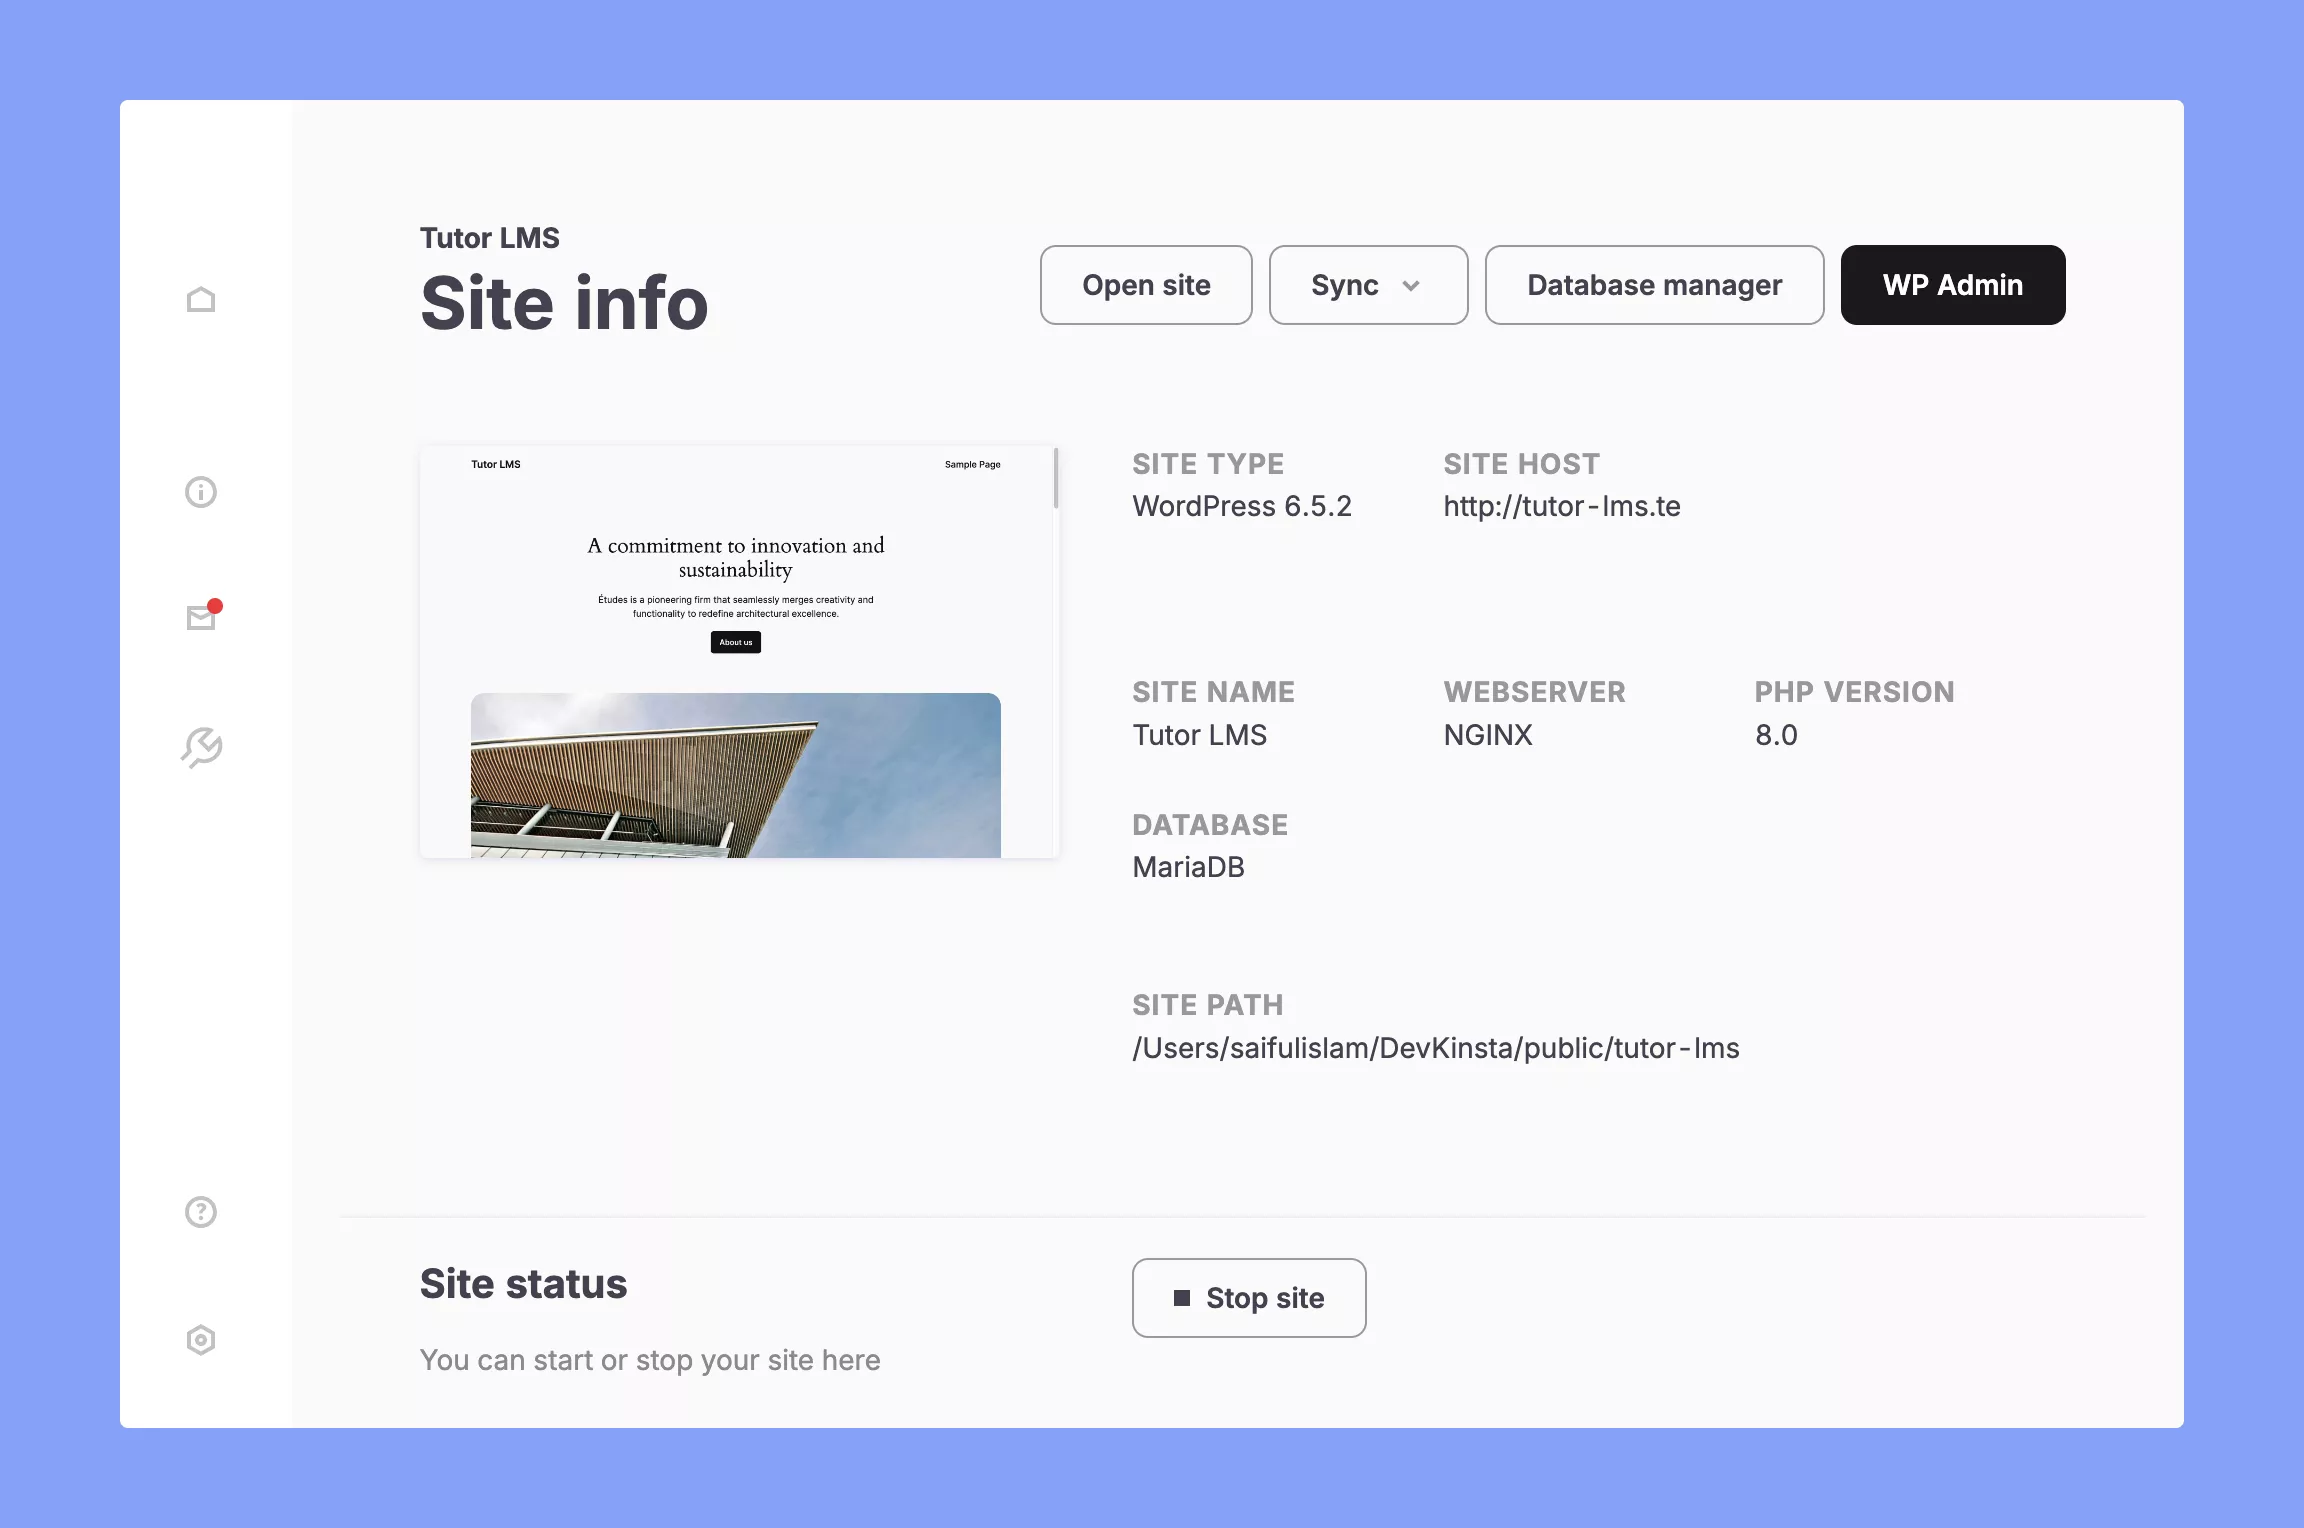
Once the setup is completed, you’ll be automatically redirected to your website dashboard. There, you can view the technical details of your website. Besides that, you can also open the admin panel, check database, setup SSL, and lots more.
And that’s it! You just created your first WordPress website!
By the way, if you want more control over your WordPress install, you have to use the ‘Custom site’ option. That will let you choose different versions of PHP and WordPress and customize technical details like setting up WordPress multisite, SSL, and lots more.
You can access or view your website right from the DevKinsta dashboard. For that, go to your website list and click on the ‘Open site’ icon. You can also access the local website folder or admin dashboard directly from the DevKinsta homepage.
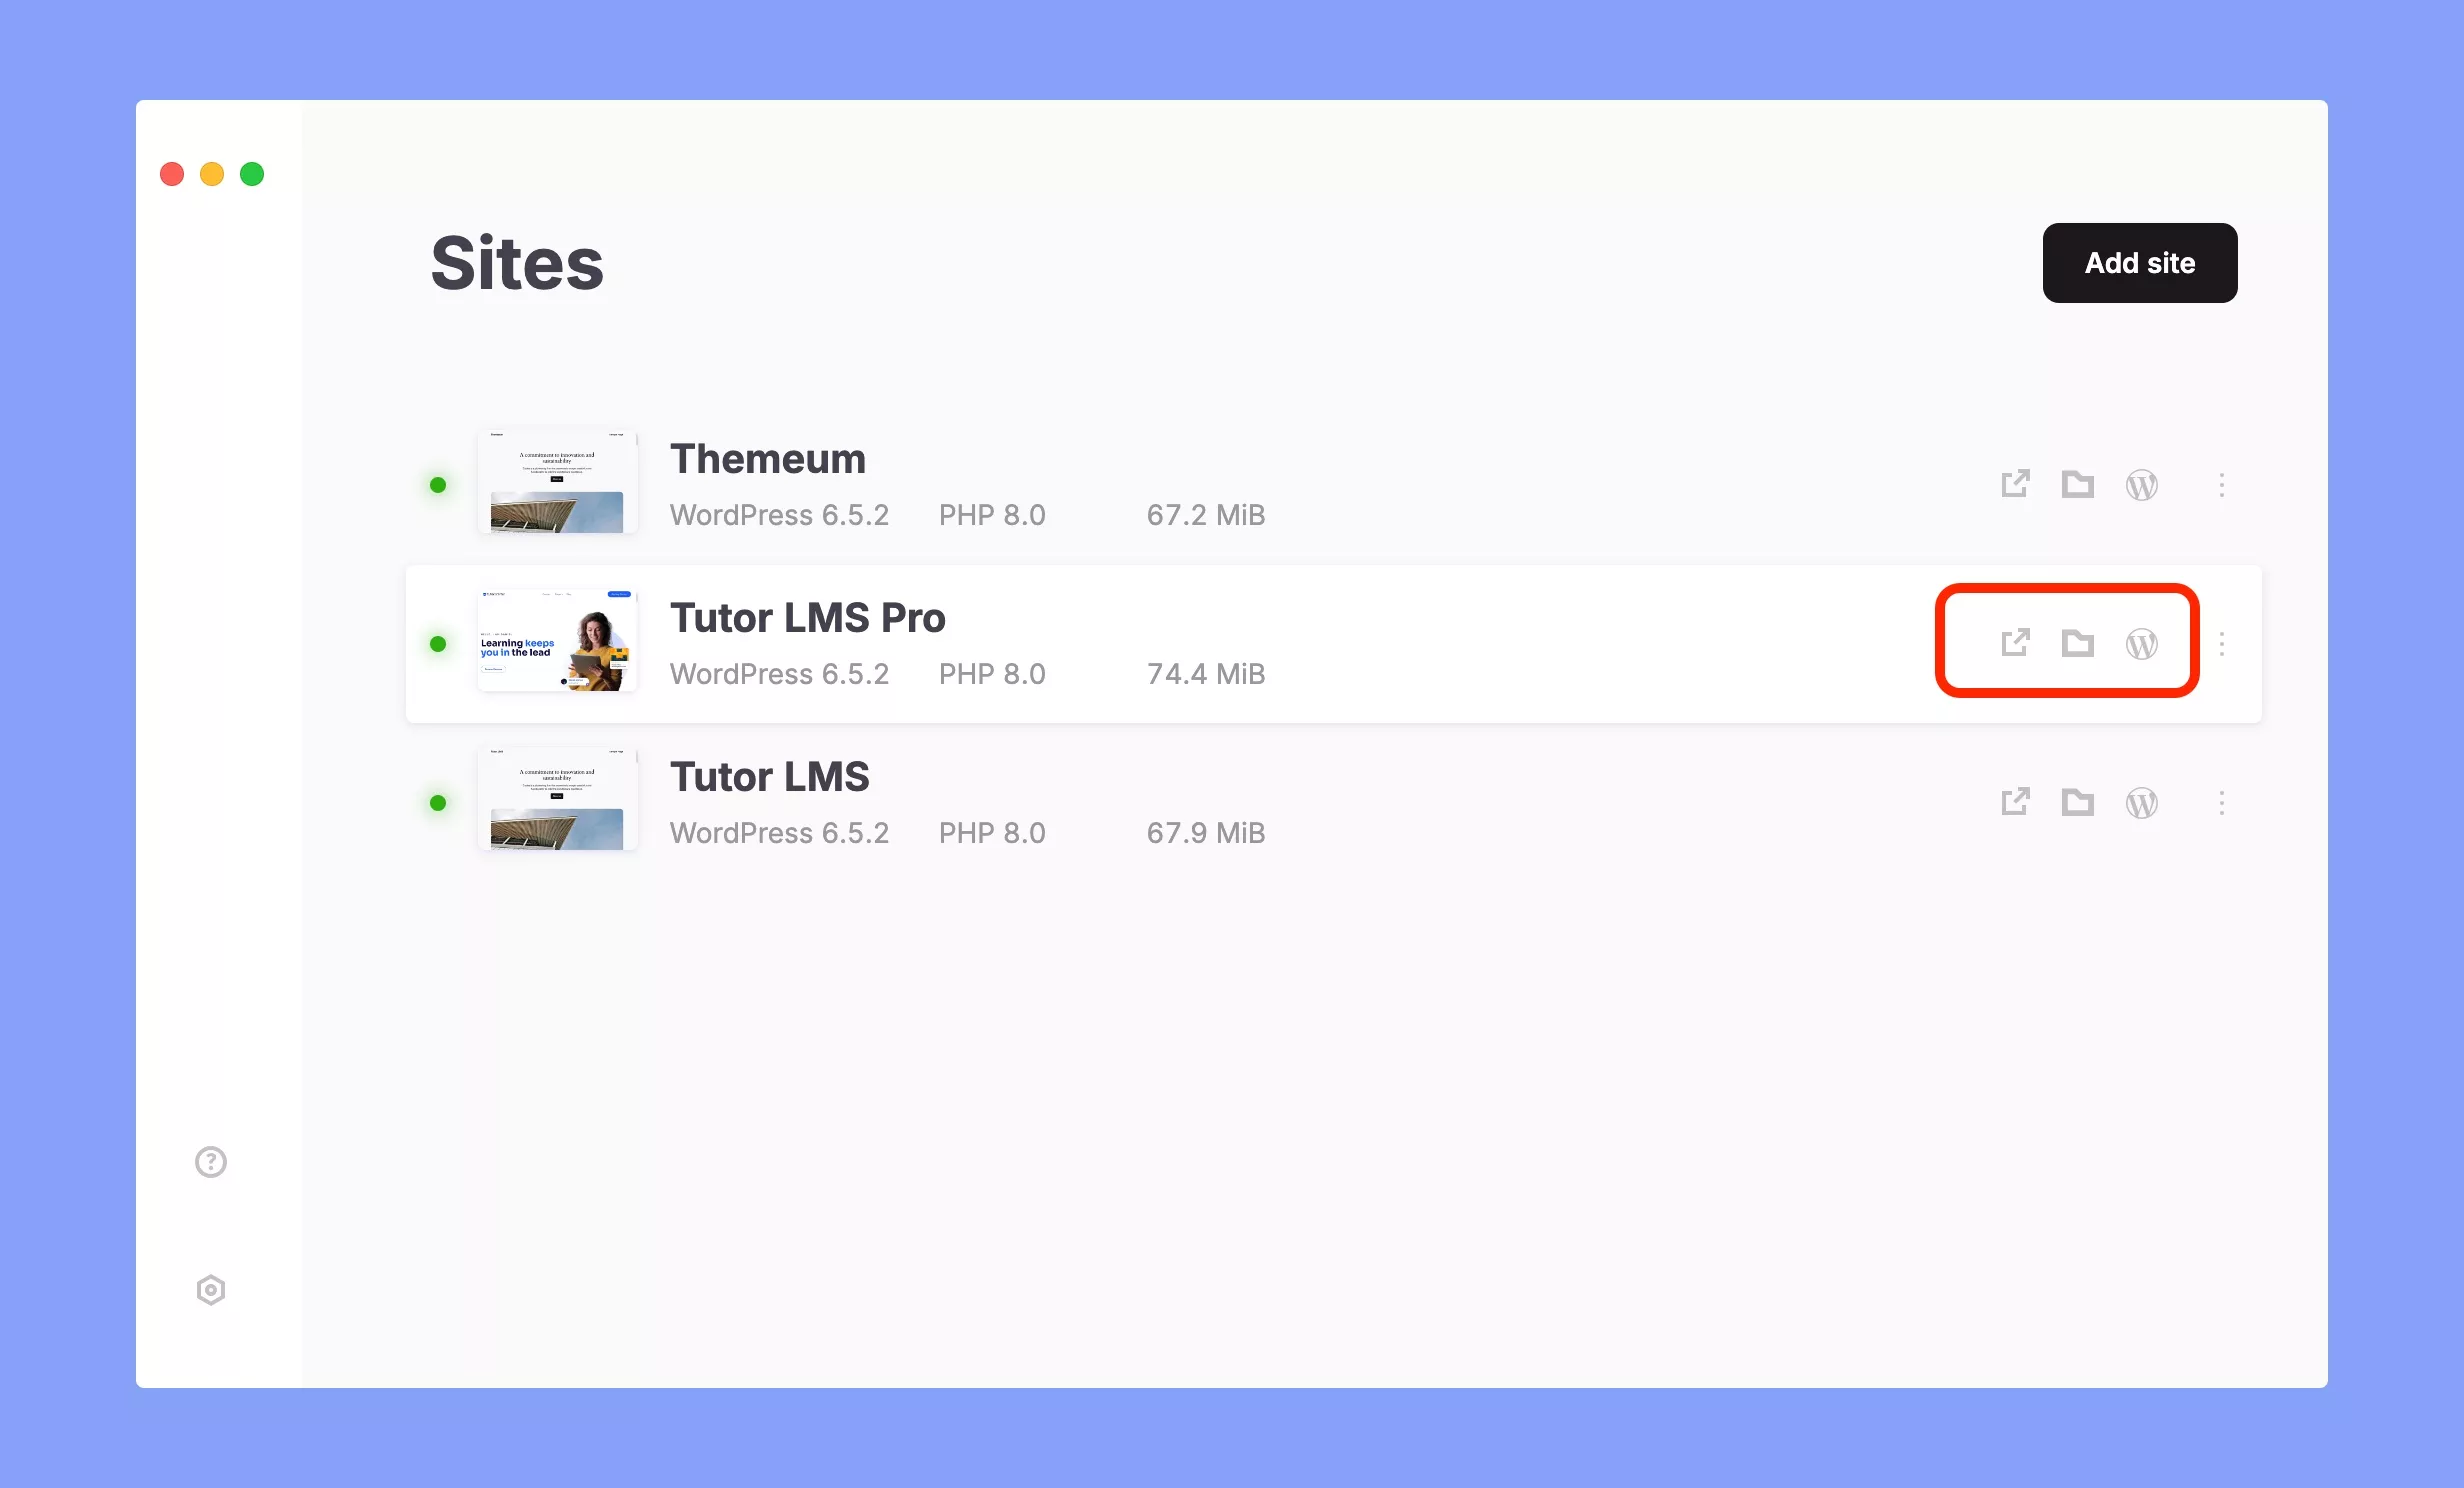
Clicking on the vertical ellipsis icon also allows you to access a few other important features, like cloning or renaming your website.
DevKinsta’s email inbox offers a separate inbox for each local site’s emails. It uses MailHog to catch all outgoing emails from PHP mail(). You can check the emails by clicking on the envelope icon on the left side of the Site info page.
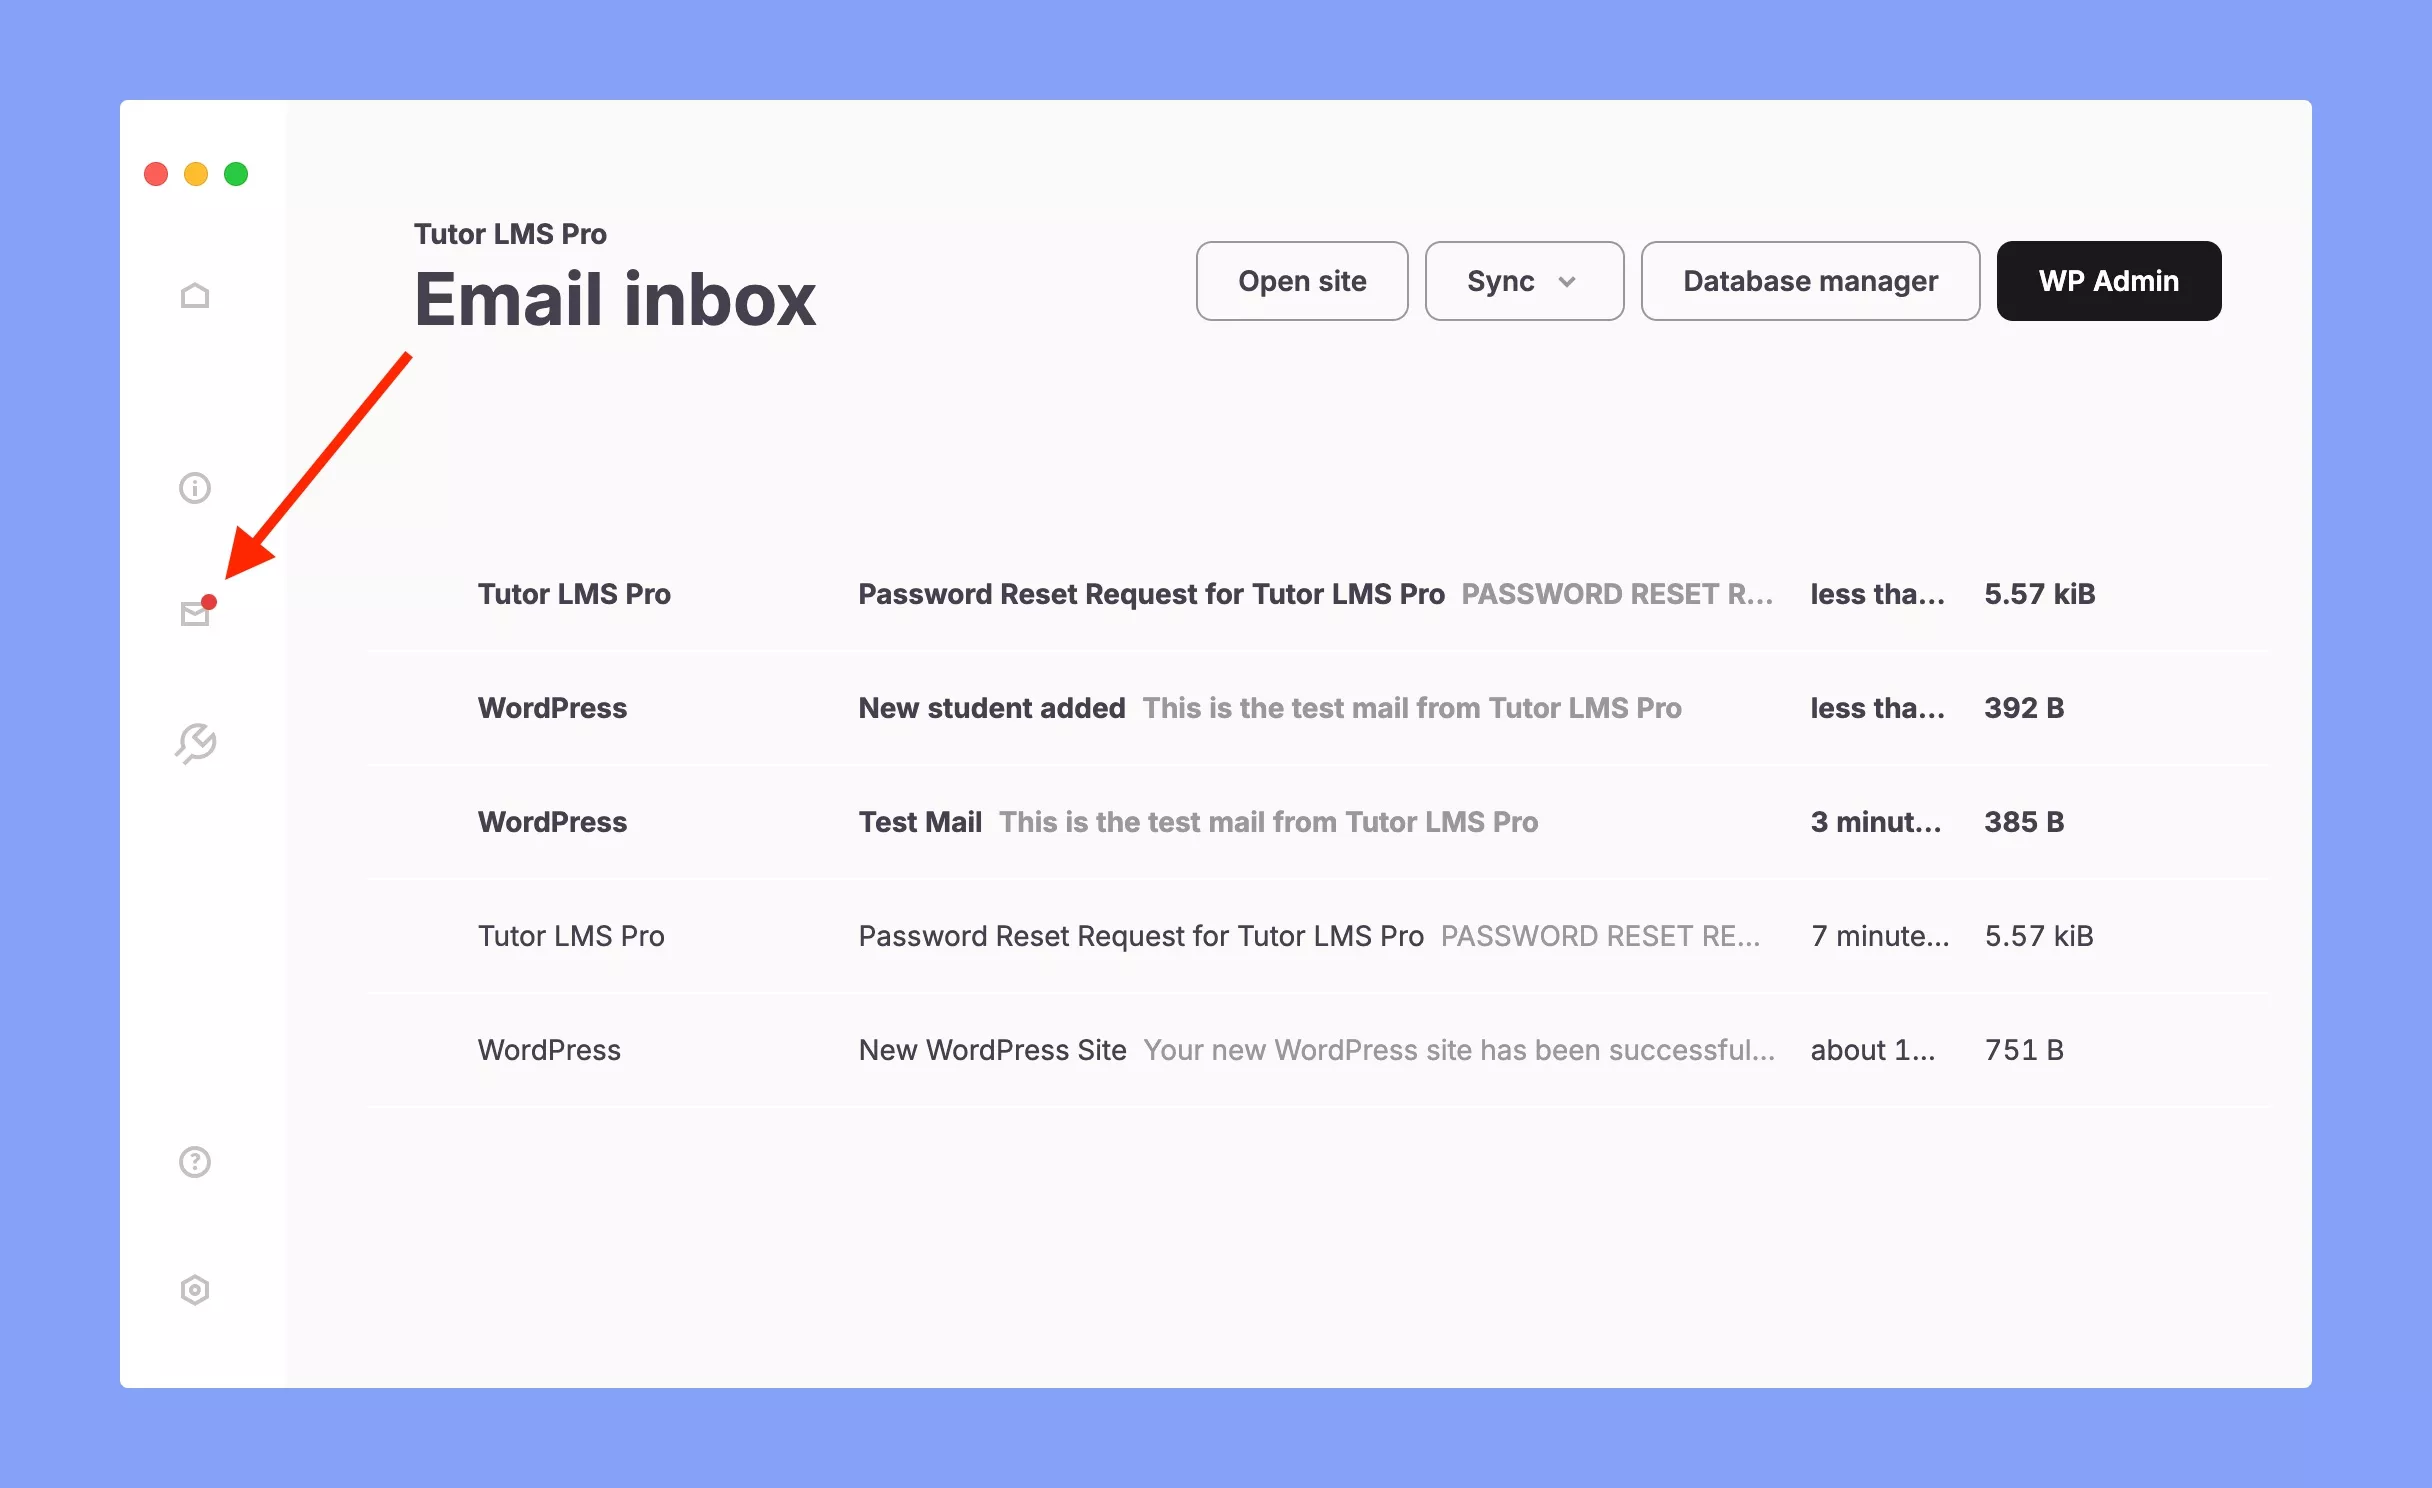
However, you can also check the MailHog logs using the following command:
docker logs -f devkinsta_mailhogDevKinsta uses Adminer to display your website’s database. There are two different ways to access your website database –
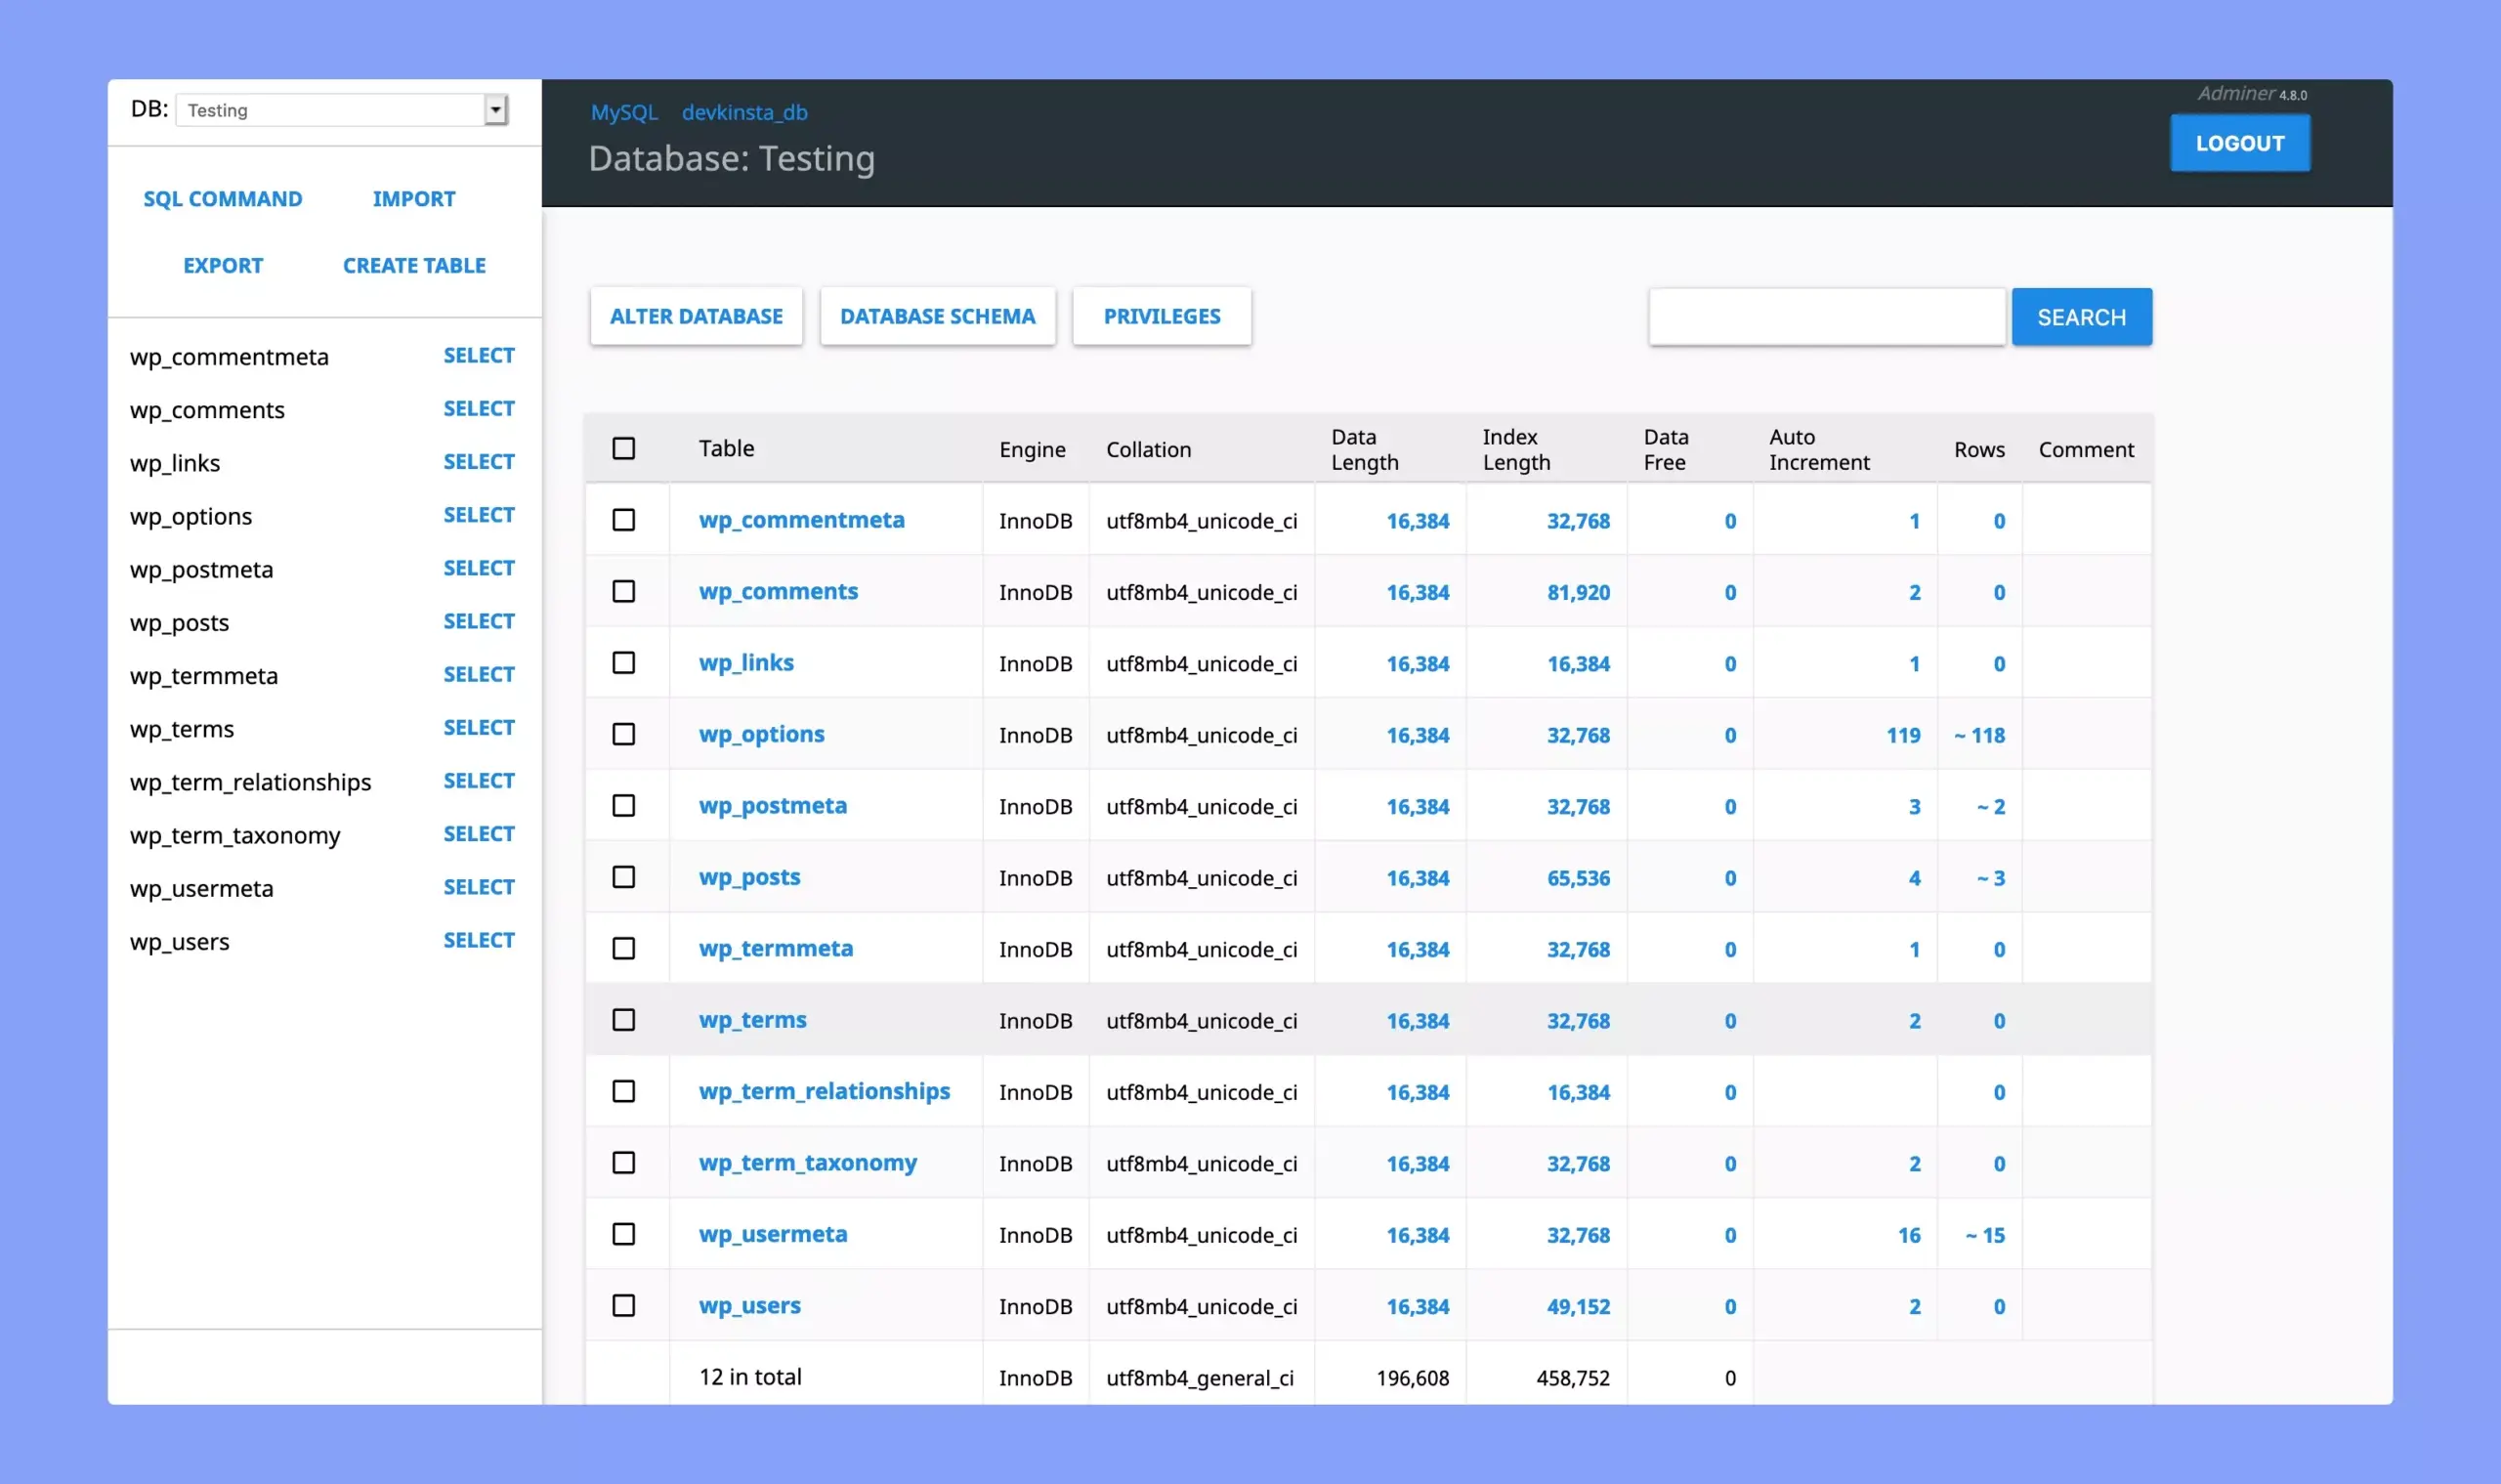
Most importantly, you can also access the database directly from the host OS. Use the following command on your terminal or command line:
mysql -h 192.168.99.254 -P 15100 -u root -pSo, that’s the overall process of creating a local WordPress website using DevKinsta.
DevKinsta is a comprehensive toolbox designed to empower you to build, test, and deploy stunning WordPress websites with ease. Here’s a breakdown of the key features that elevate your development experience:
Overall, DevKinsta is a solid software to create a local development environment. It offers the right balance of features and functionality for every developer and freelancer to build and develop WordPress sites locally.
DevKinsta is a suite of tools that eases the overall local WordPress site creation and development process. With its powerful features, you can efficiently build, test, and ultimately launch stunning WordPress websites.
Download it today and experience the difference!
© 2026 All Rights Reserved. An Ollyo company