Timelines are a great way to showcase your brand’s history, product’s lifeline, development stages of projects, and so on. Displaying them on your website not only tells the timeline of a particular thing but also builds trust in the visitors. If you are looking to add a nice looking timeline to your WordPress site, then look no further. Today, we’ll show you the step by step process of how to create a timeline on Gutenberg, WordPress’s default editor.
Gutenberg has enabled WordPress users to achieve newer abilities in terms of what they can do while creating a post or a page. But you can not create a timeline with the default blocks in Gutenberg. A Gutenberg toolkit like Qubely can rescue you in such a situation by offering a Timeline block.
Timelines are perfect for telling stories, visualizing products, and processes making it simpler to convey a complex message to the end-user. To showcase your brand history, achievements, and product development stages, timeline comes very handy. If you want to showcase any of such things that include different stages, you need a timeline on your website. We are going to show you how to create a wonderful timeline with Qubely’s Timeline block.
How to Add a Timeline to a WordPress Site
Even though there are tons of timeline blocks offered by a lot of Gutenberg block plugins, not all of them provide the necessary customization options that you crave. Qubely’s Timeline block in this case offers rich features along with advanced editing options. This is what we are using for this tutorial today. So without wasting any more time, let’s get started!
Getting Started
To start with adding a timeline to your post/page, first, you need to make sure that you are using the latest version of Qubely in your WordPress site. You can find Qubely from the WordPress.org Plugins directory.
? The latest version of Qubely
Step 1: Add the Timeline Block
Once you made sure that you have Qubely installed & activated on your site, go to the block list section in the Gutenberg editing mode of a post/page.
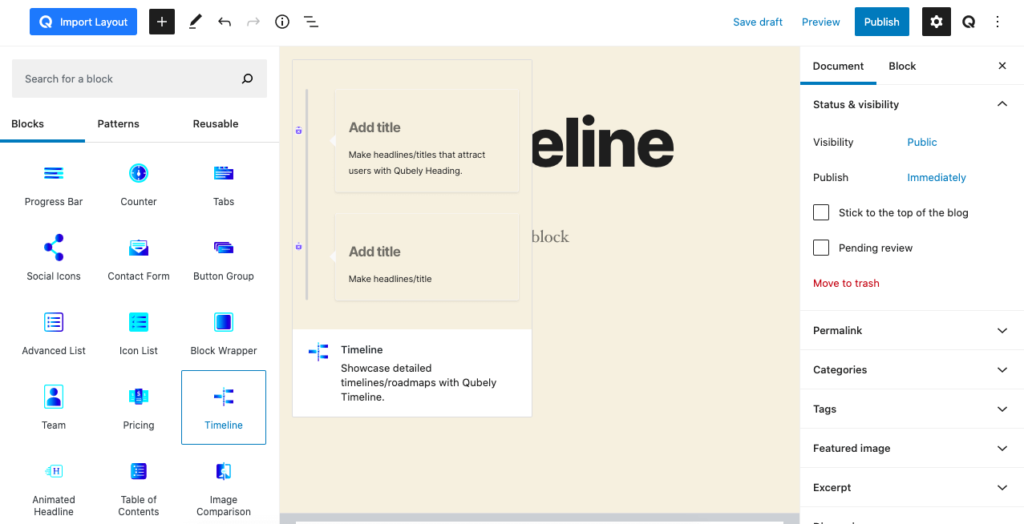
Choose Timeline and add the block to your desired section in your post/page. After you have added it to your page/post, click on the block to see all the available settings for the configuration of your list content.
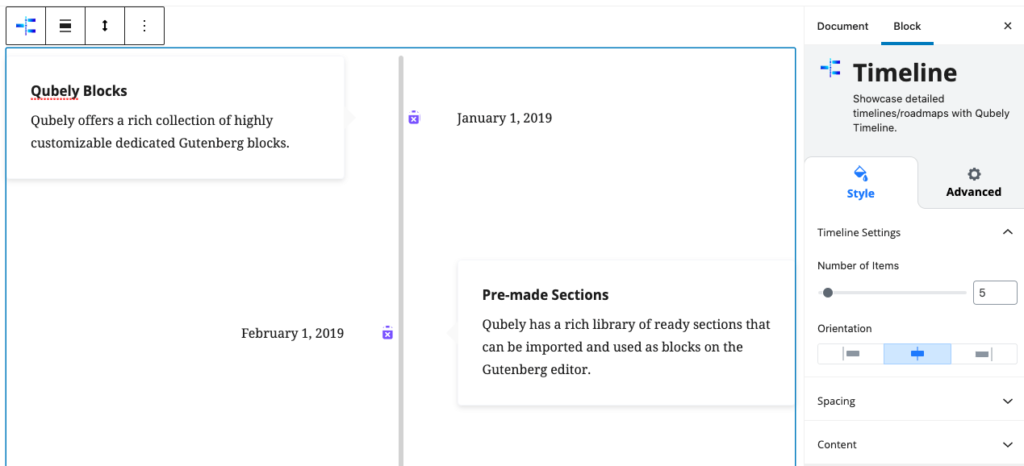
Step 2: Setting Up the Timeline
This is the first section of your timeline settings. From here, you will be able to control the number of items in your timeline as well as the orientation of your timeline.
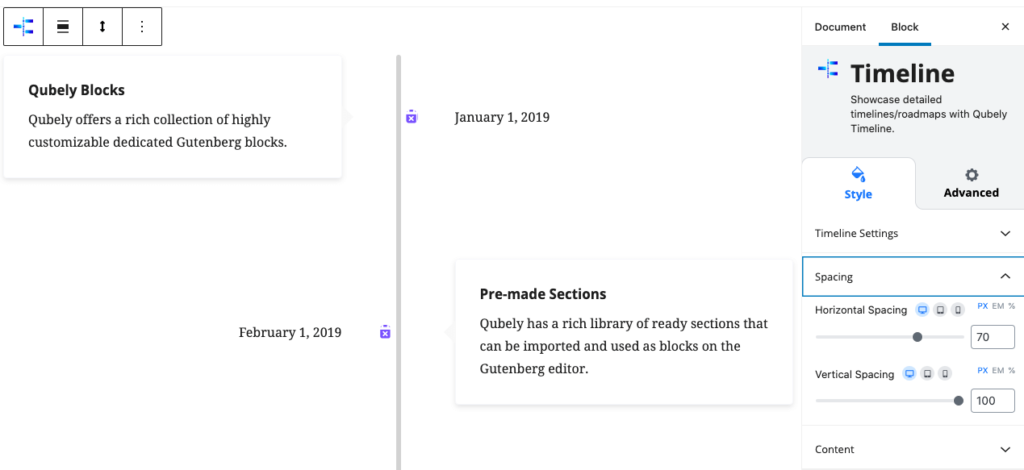
Step 3: Define the Spacing & Content
Spacing is a big part of customizing your timeline block. And with this Qubely block settings, you can define the spacing just the way you want. Set the specific number for both horizontal and vertical spacing.
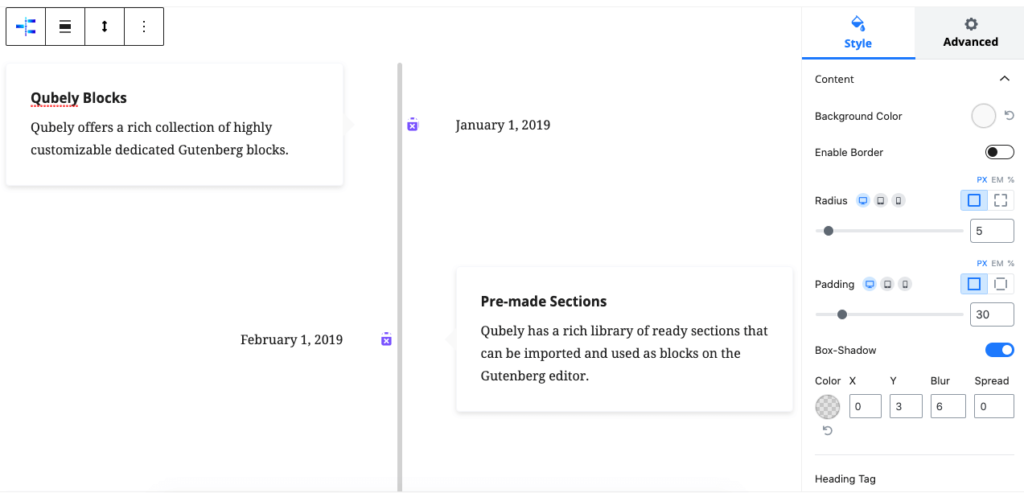
The Content settings allows you to set the content portion of the timeline. You have the option to set the background color, enable/disable border for the content, set radius, define the typography, and more. All the settings you will need are there with easy to understand options.
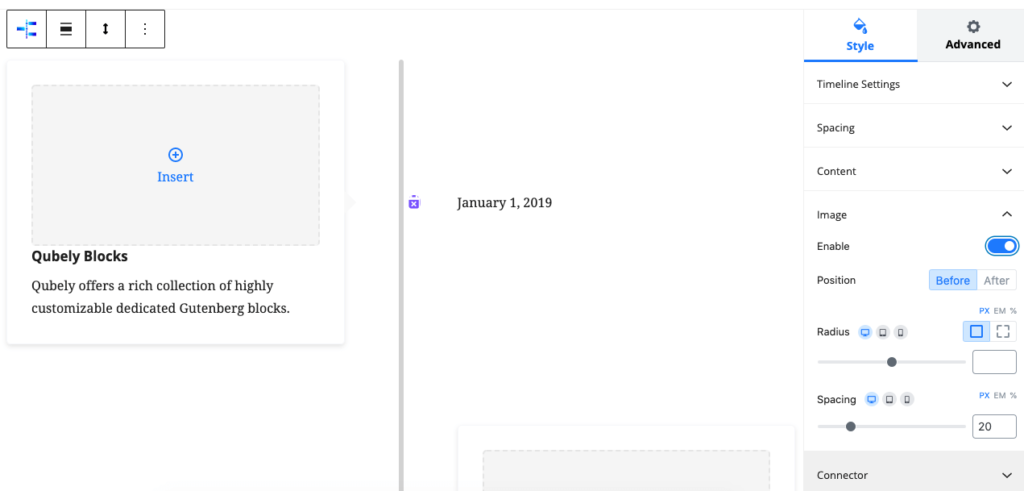
Step 4: Add Your Images
What you can’t tell using words, use images. And the image section will let you do just that.
Enable the image option, and you will find the settings to configure the images that you add to your timeline. Set the position of the image, define the radius & spacing, etc.
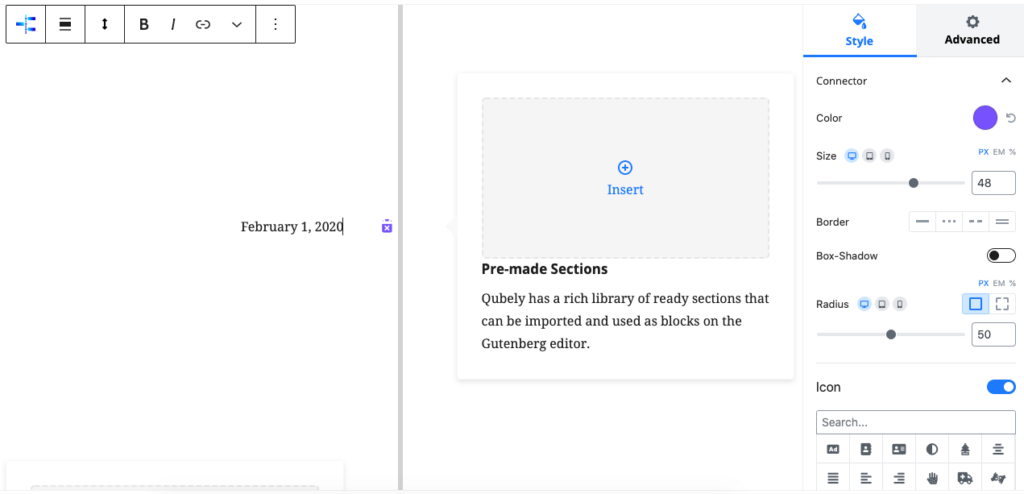
Step 5: Define the Connector
Each section of your timeline is connected using a connector. That’s what separates one section from another and forms the core of the timeline. And with the Qubely Timeline block, you will find the option to customize even this portion of your timeline. You can set the color from a wide range of selections, set the size of the connector, choose a specific icon from a wide collection of libraries, and more from the customization option.
Bonus: Advanced Customization Features
This section comes default with every Qubely block. It enables you to add advanced features to your page elements. You can set animations for your block from the library. Apply effects such as fading animation, sliding animation, bounce animation, etc. All without any additional plugins!
Also, you can enable interactions from the advanced configuration panel. Choose exactly how your list items interact with the users’ mouse movements. There are other options like custom positioning, enable/disable to hide in tablets or phones, add block row CSS along with additional CSS classes, etc.
Frontend View of the Timeline
Once you have set all the settings the way you want, the final preview of the frontend should look something like this.
Start Creating Your Own Timeline Today
As you can see there are many ways to make the Qubely Timeline block your own. With all the customization options available, you are sure to find your own flair for the Qubely Timeline block.
Keep an eye on our blog to get more useful tutorials like this. Also, don’t forget to share your thoughts in the comments below. Stay tuned!