
Zoom was one of the most stand-out companies providing a huge value to everyone in this pandemic-ridden world back in 2020; it continues to do so in 2021 as more and more people use it every day for a reliable and secure communication hub. So why should you, an educator, be any different?
Last year, we added an integration between Zoom and Tutor LMS which allowed instructors to create Zoom meetings from within their courses and within each lesson to create and manage live meetings. This was a great way of communicating with students as real-time conversations allowed a level of back-and-forth that was lacking in standalone video content. Students of a Tutor LMS powered site were finally able to ask questions, give suggestions and feedback, and have proper conversations with the teachers. With this update, we’ve made the integration much easier to work with, along with several other changes to the core Tutor LMS experience.
Let’s have a look at all the new stuff that you get!
Tutor LMS v1.9.4 Changelog:
- New: Zoom added to the Frontend dashboard
- New: Field to add Course Tags in Frontend course builder
- Update: Design update in Zoom backend dashboard
- Fix: Lesson video duration were not fetched for autofill URL
- Fix: Deprecated warnings in PHP 8
Zoom Integration Gets a Frontend Dashboard
With this update, we’ve tried to add a Quality of Life improvement for instructors and administrators. We have added Zoom to the frontend dashboard of any admin or instructor. This allows them to connect their own Zoom accounts, create meetings, manage schedules, configure them and so on without leaving the frontend. We’ve even included an FAQ section to help you get started.
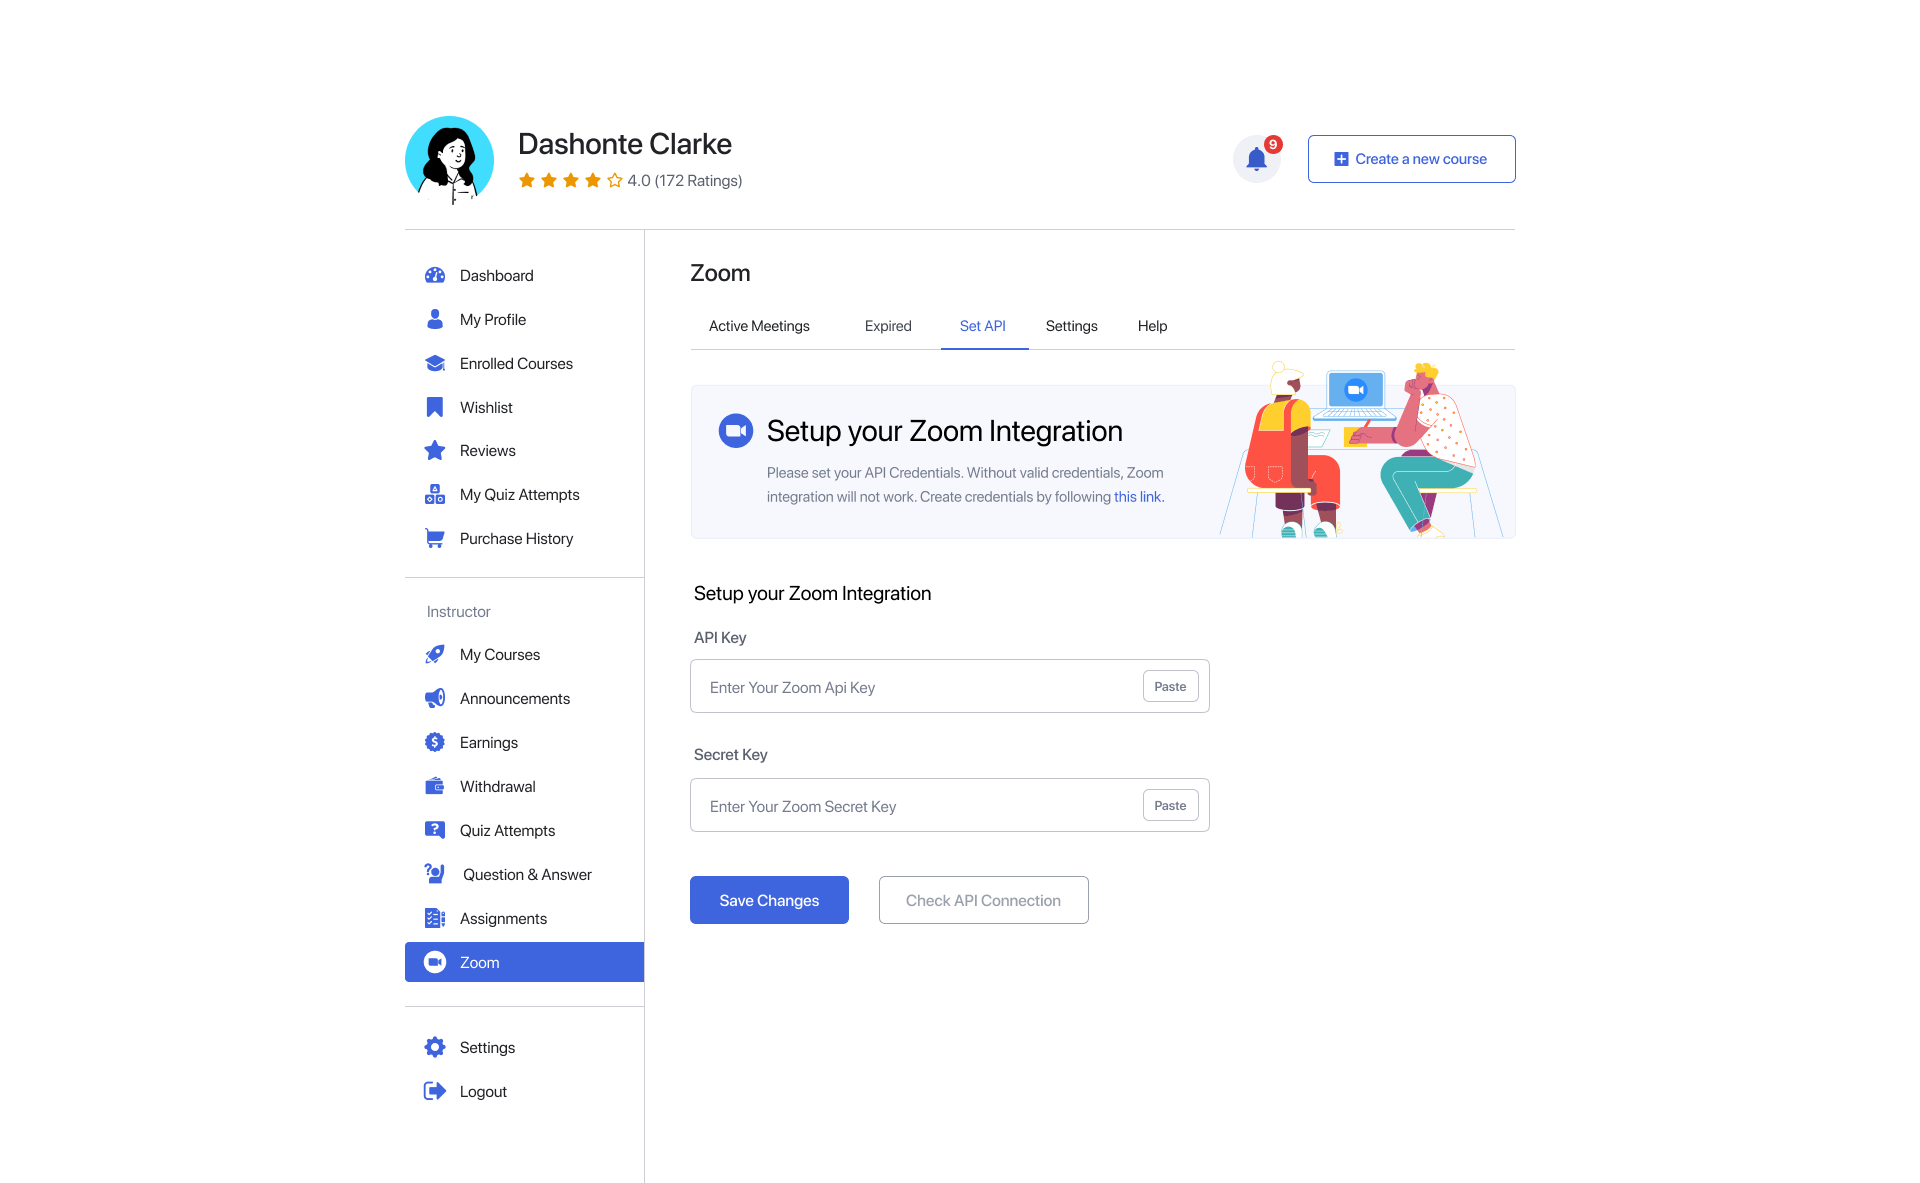
How To Integrate Zoom:
If you haven’t already, here’s a quick tutorial on how to connect Zoom with your Tutor LMS profile.
- Step 1: Create a Zoom API key by visiting marketplace.zoom.com
- Step 2: Generate a valid Zoom JWT and copy the the API key and Secret key
- Step 3: Navigate to Zoom Frontend dashboard or visit yourwebsiteurl.com/dashboard/zoom
- Step 4: Insert the API key and Secret key, and check the connection using the Check API Connection button.
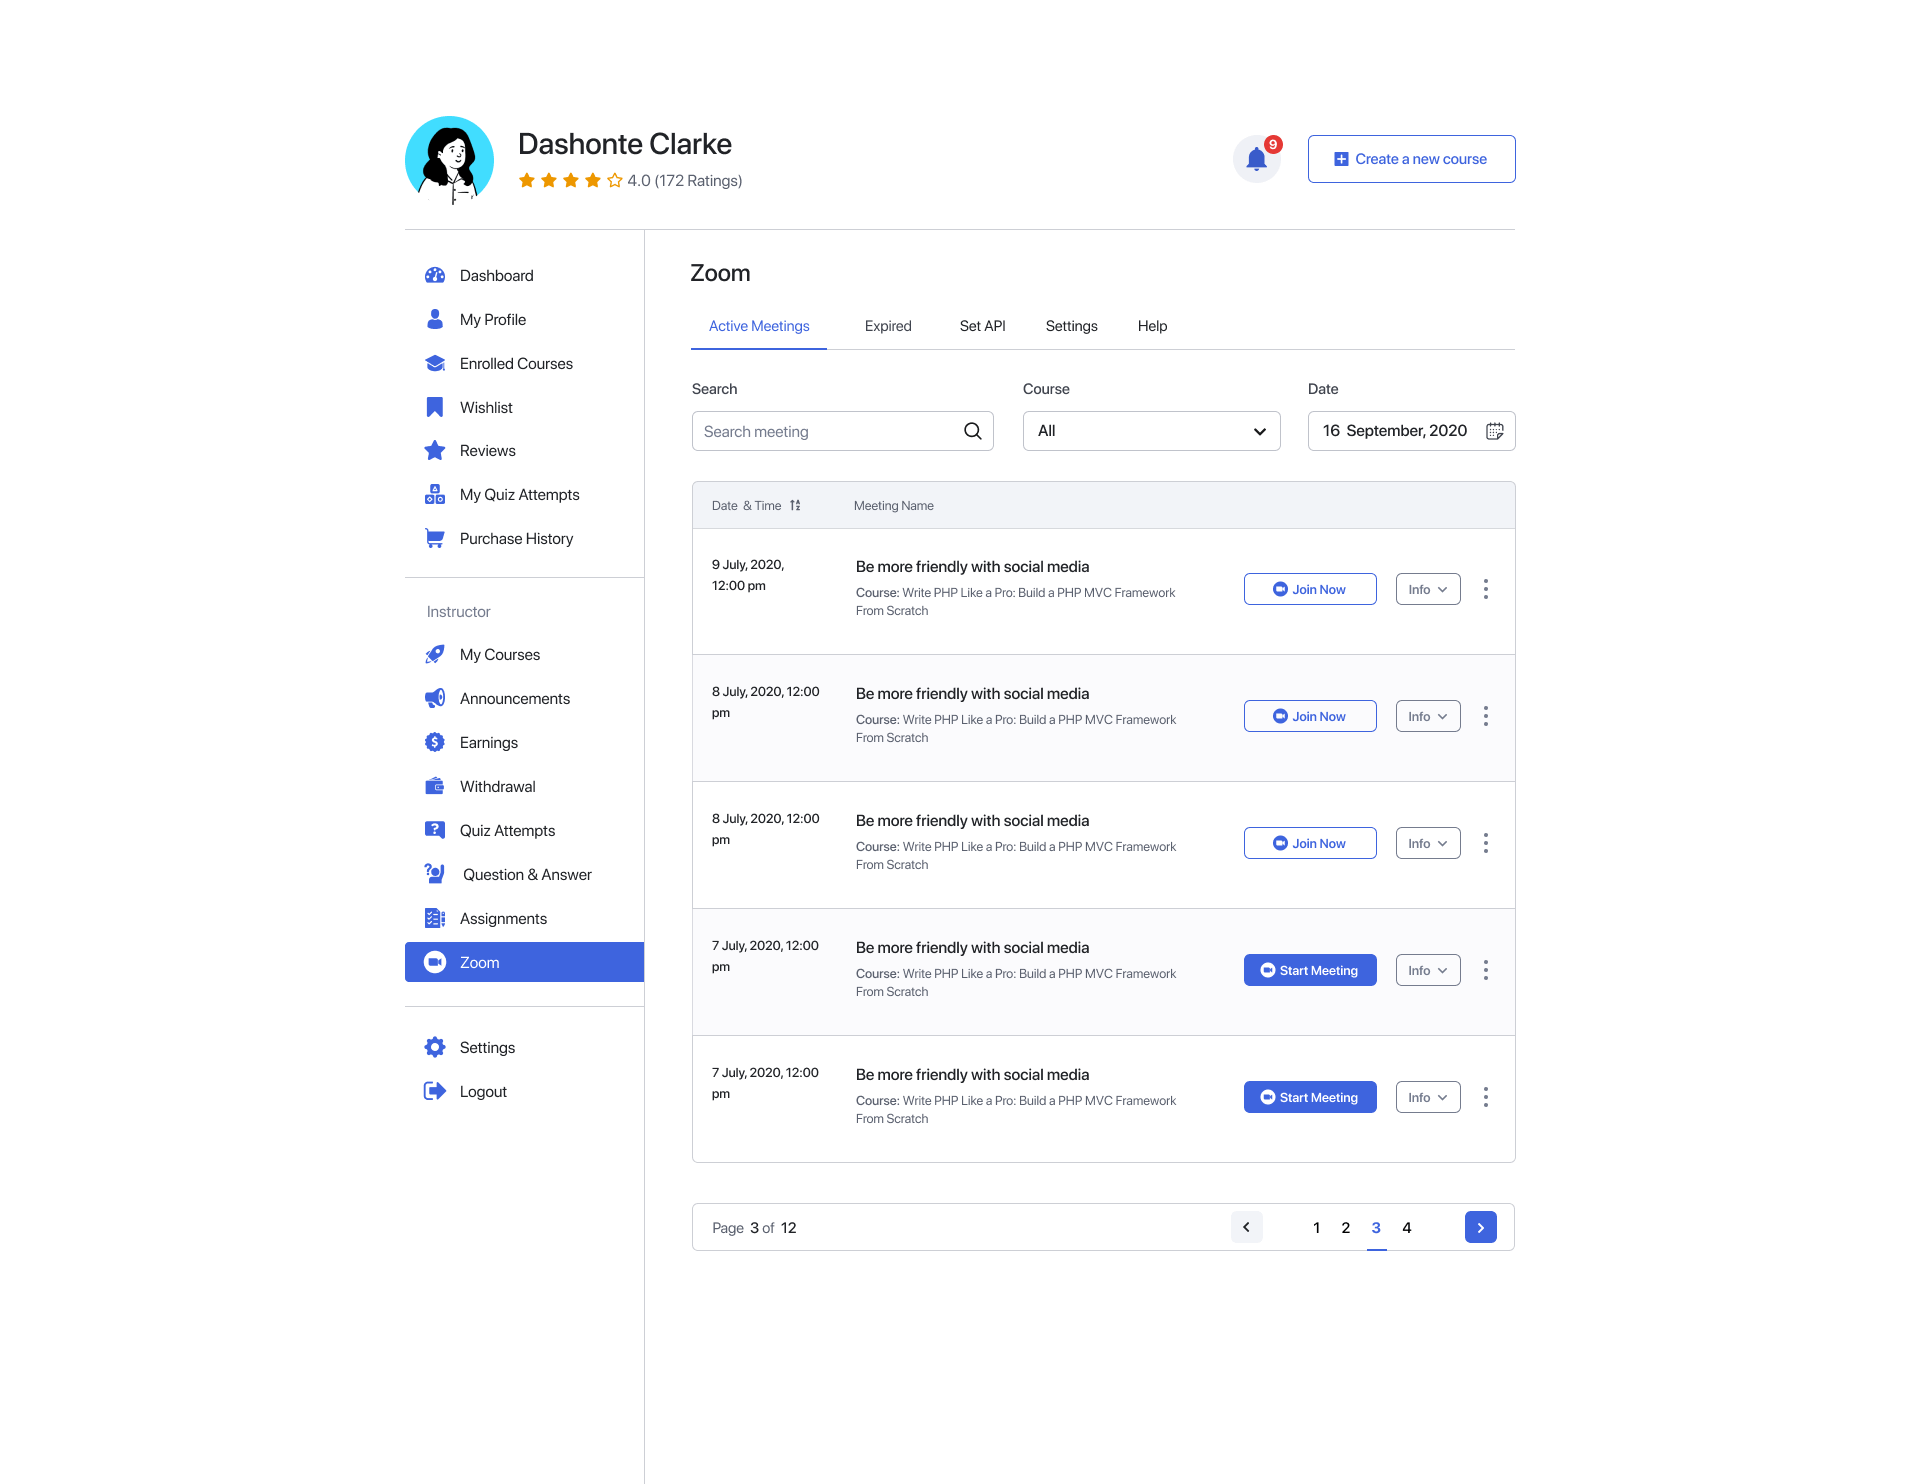
Tabs Inside Zoom Frontend Dashboard
In the main page, you can view all Zoom meetings in courses you have access to. This page lists all scheduled, ongoing, and concluded meetings. By clicking on info, you can also get metadata for each meeting such as meeting ID, password, and Host’s email address. You can also edit or delete each meeting by clicking on the context settings next to each meeting.
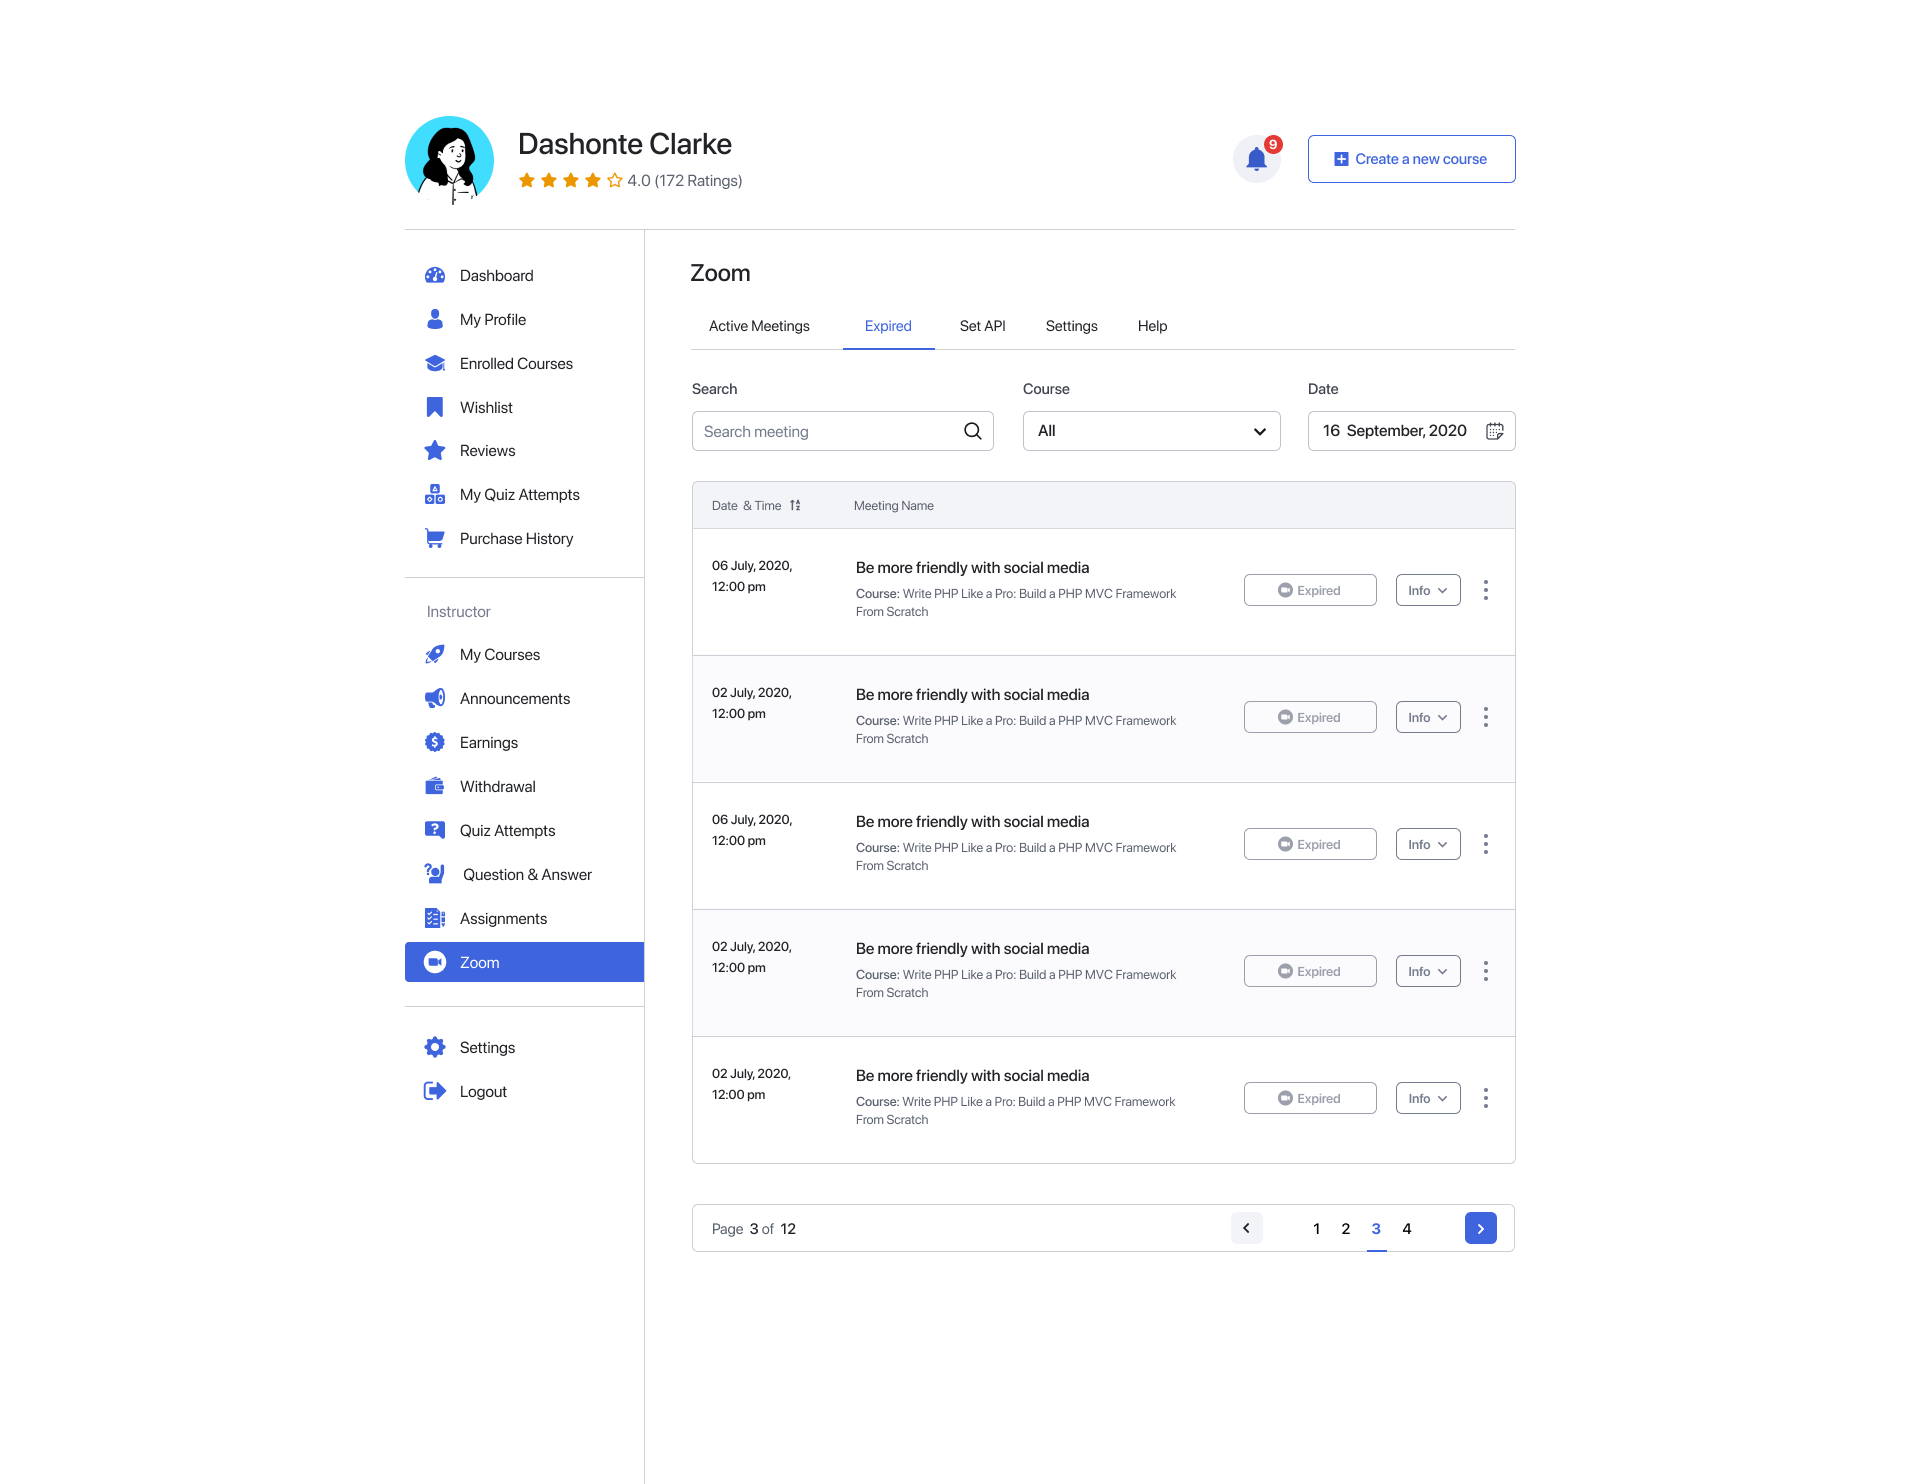
We have separated all expired meetings into a tab. This will be helpful if you need to reference previous meetings or need any resources from them.
The Set API page allows you to connect Zoom with Tutor LMS. We’ve discussed this previously, so there’s not much to say about it here.
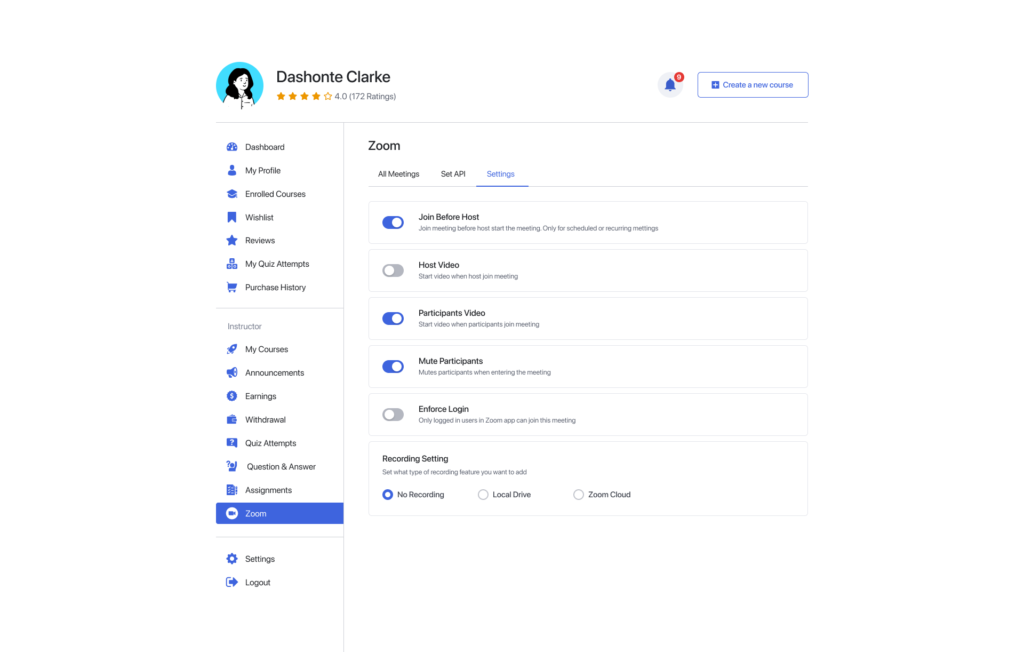
The Settings tab allows you to modify Zoom’s behaviour once the meeting begins. These are very rudimentary settings that any Zoom user should be familiar with, and they are very self-explanatory as well. Regardless, if you need more documentation, take a look here!
Zoom Backend Dashboard Updated
To be consistent with the changes to our frontend Zoom panels, we have also updated the backend Zoom panels. The tabs have been updated and separated into two, “Active Meetings” and “Expired”. We also redesigned the list of meetings with quick links, host mail addresses, and so on.
Wrapping Up
Do you like what we’ve done with the newest edition of Tutor LMS? Let us know in the comments below!

shamimreza
Thanks ei update ta dewar jonno ki bole je dhonnobad dibo /////
Sekander
You’re welcome! We’re glad that our work made you happy 😀